Walnut Shell Blasting Intake Valves

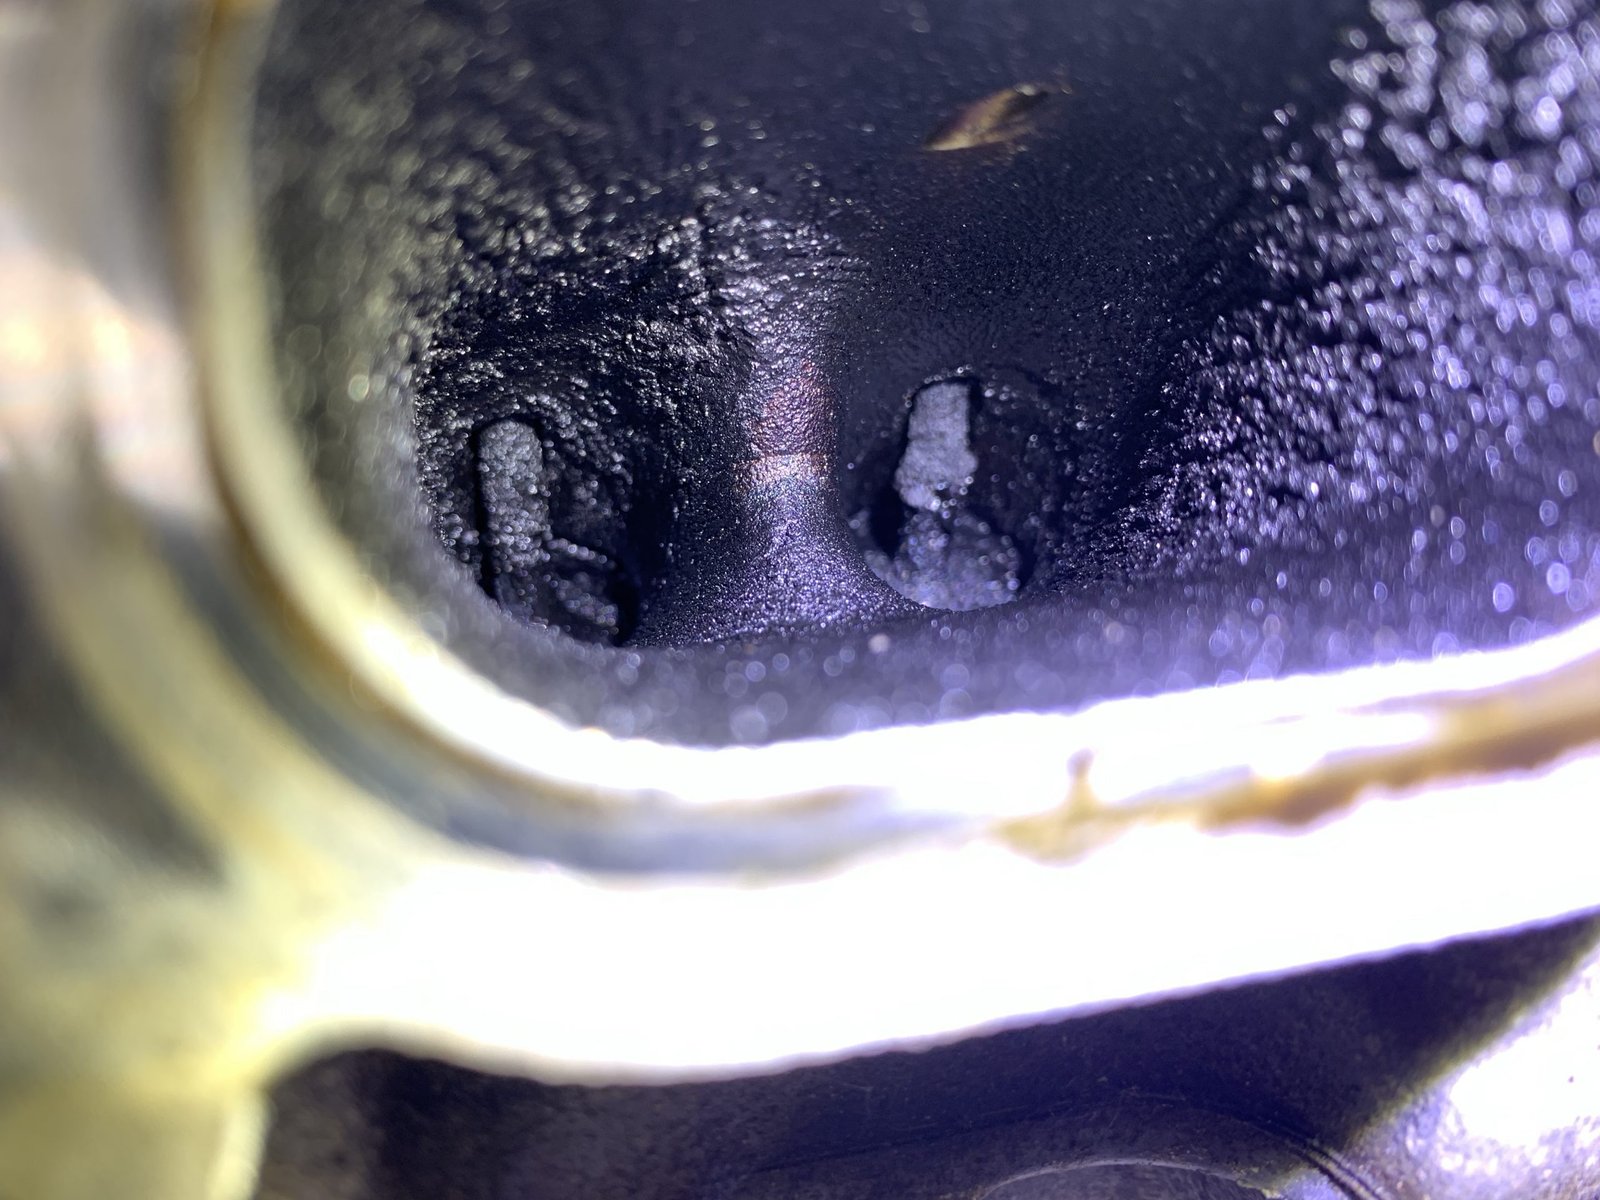
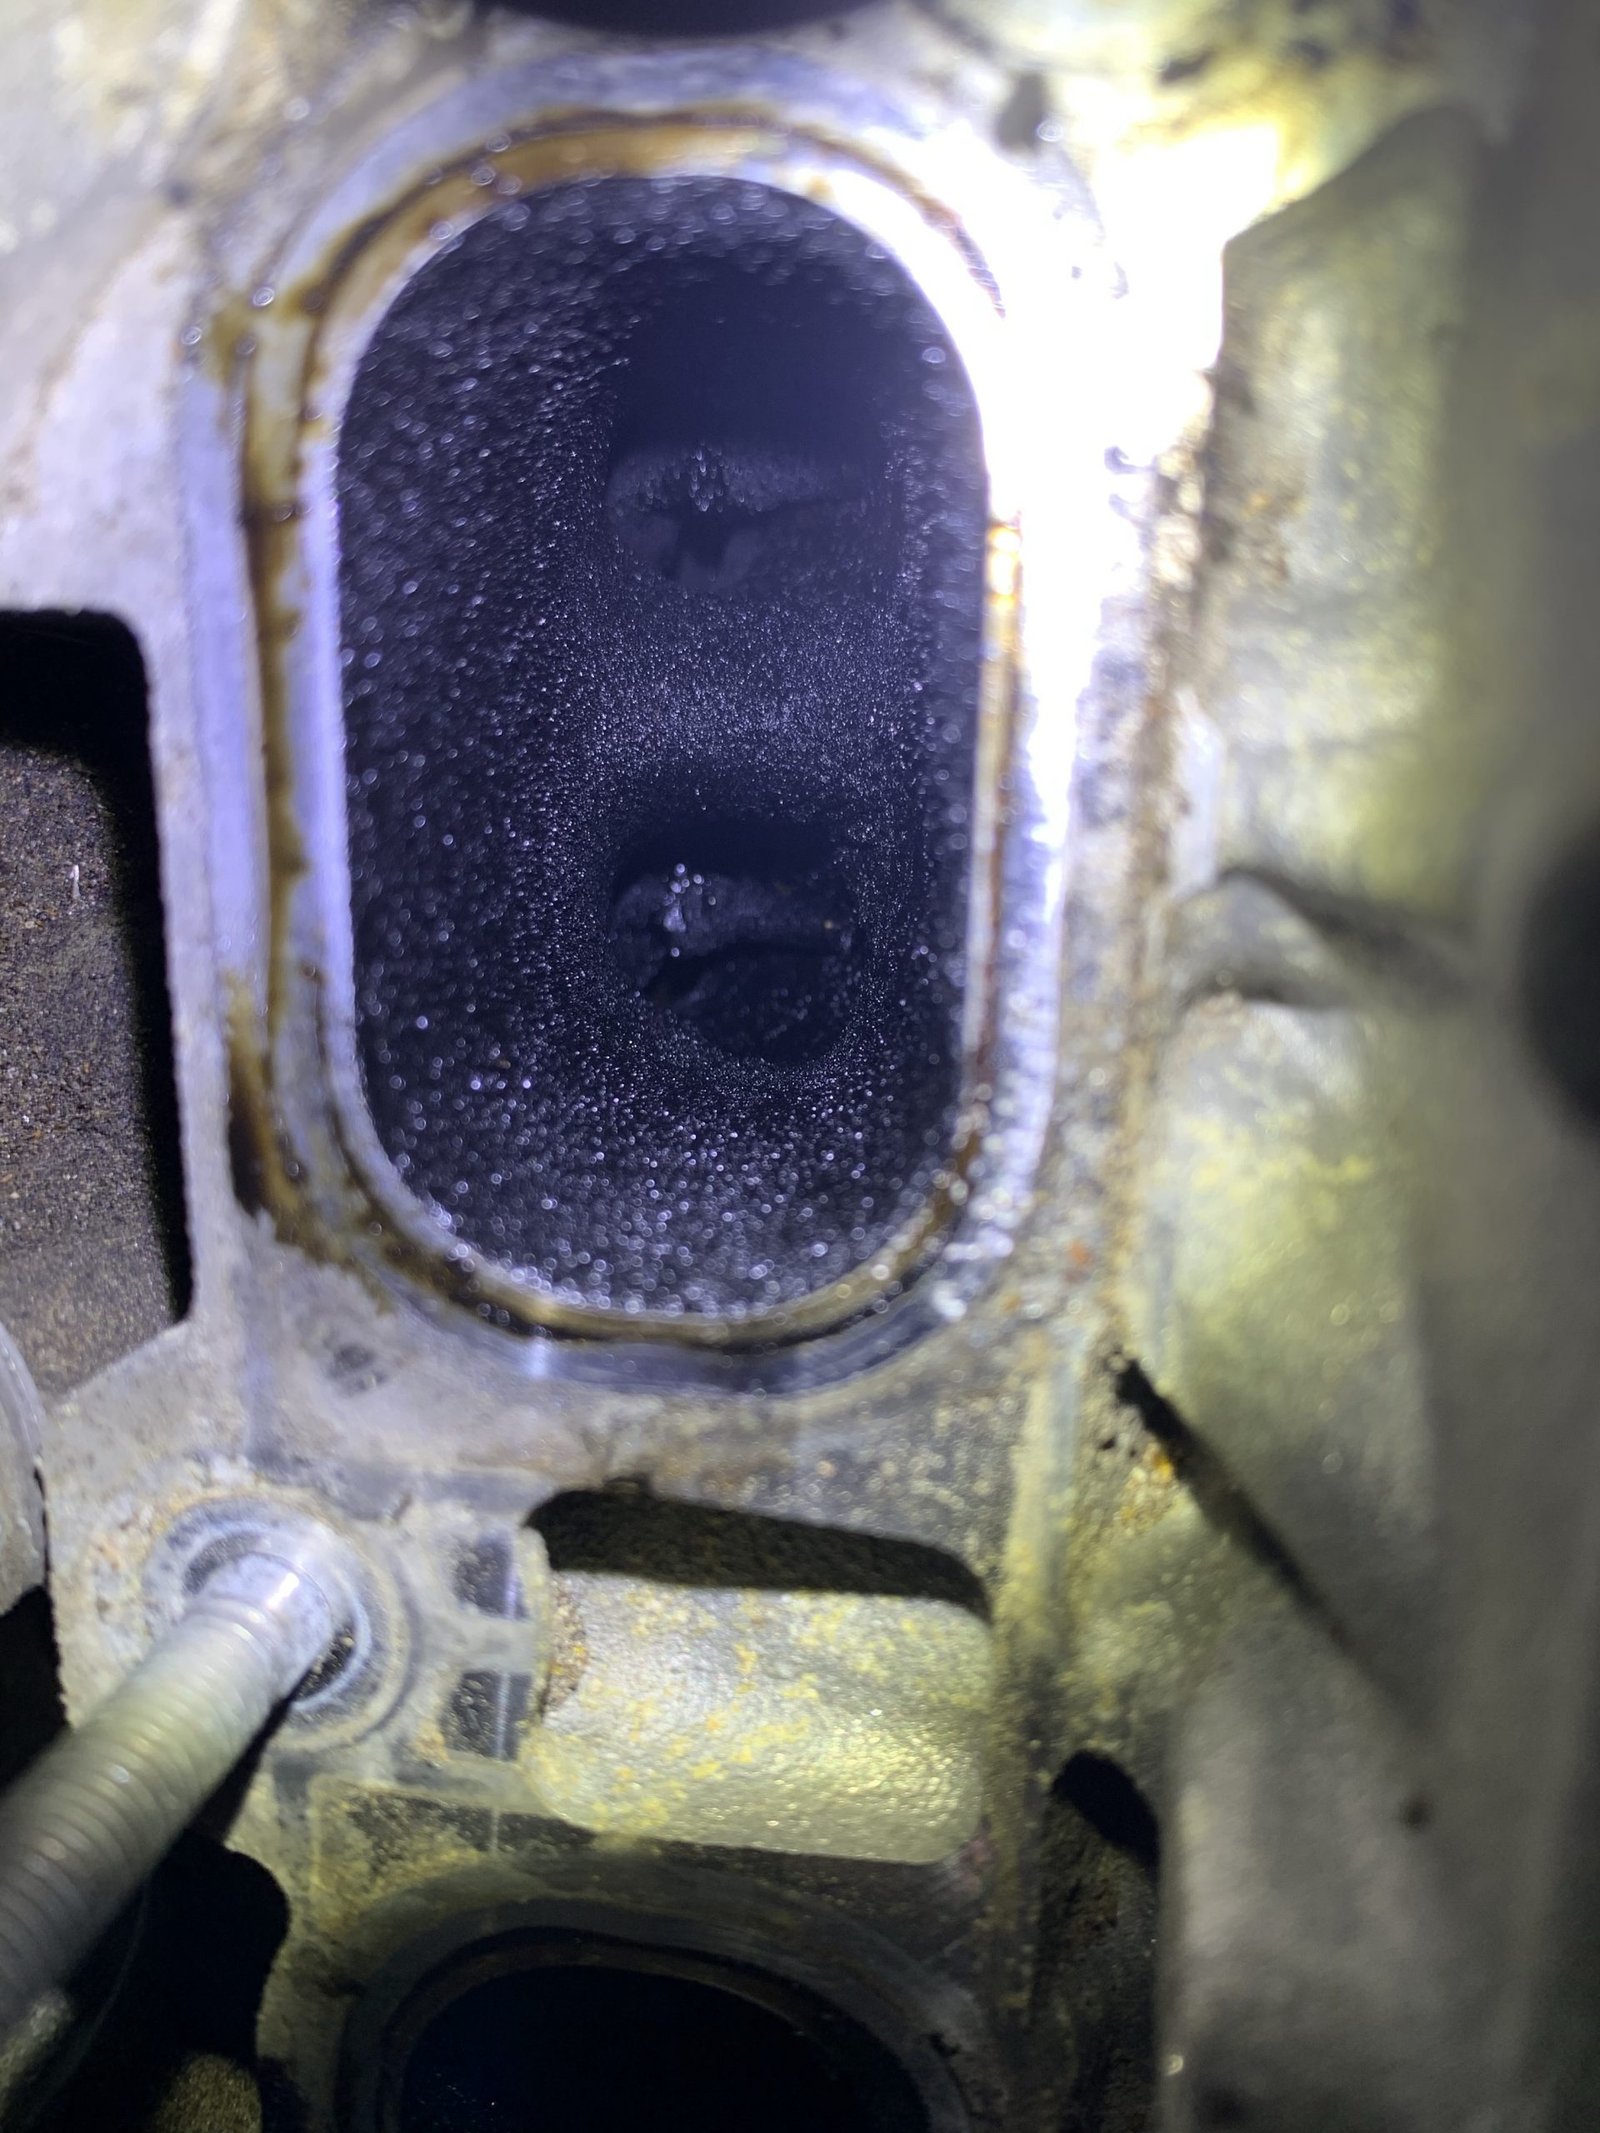
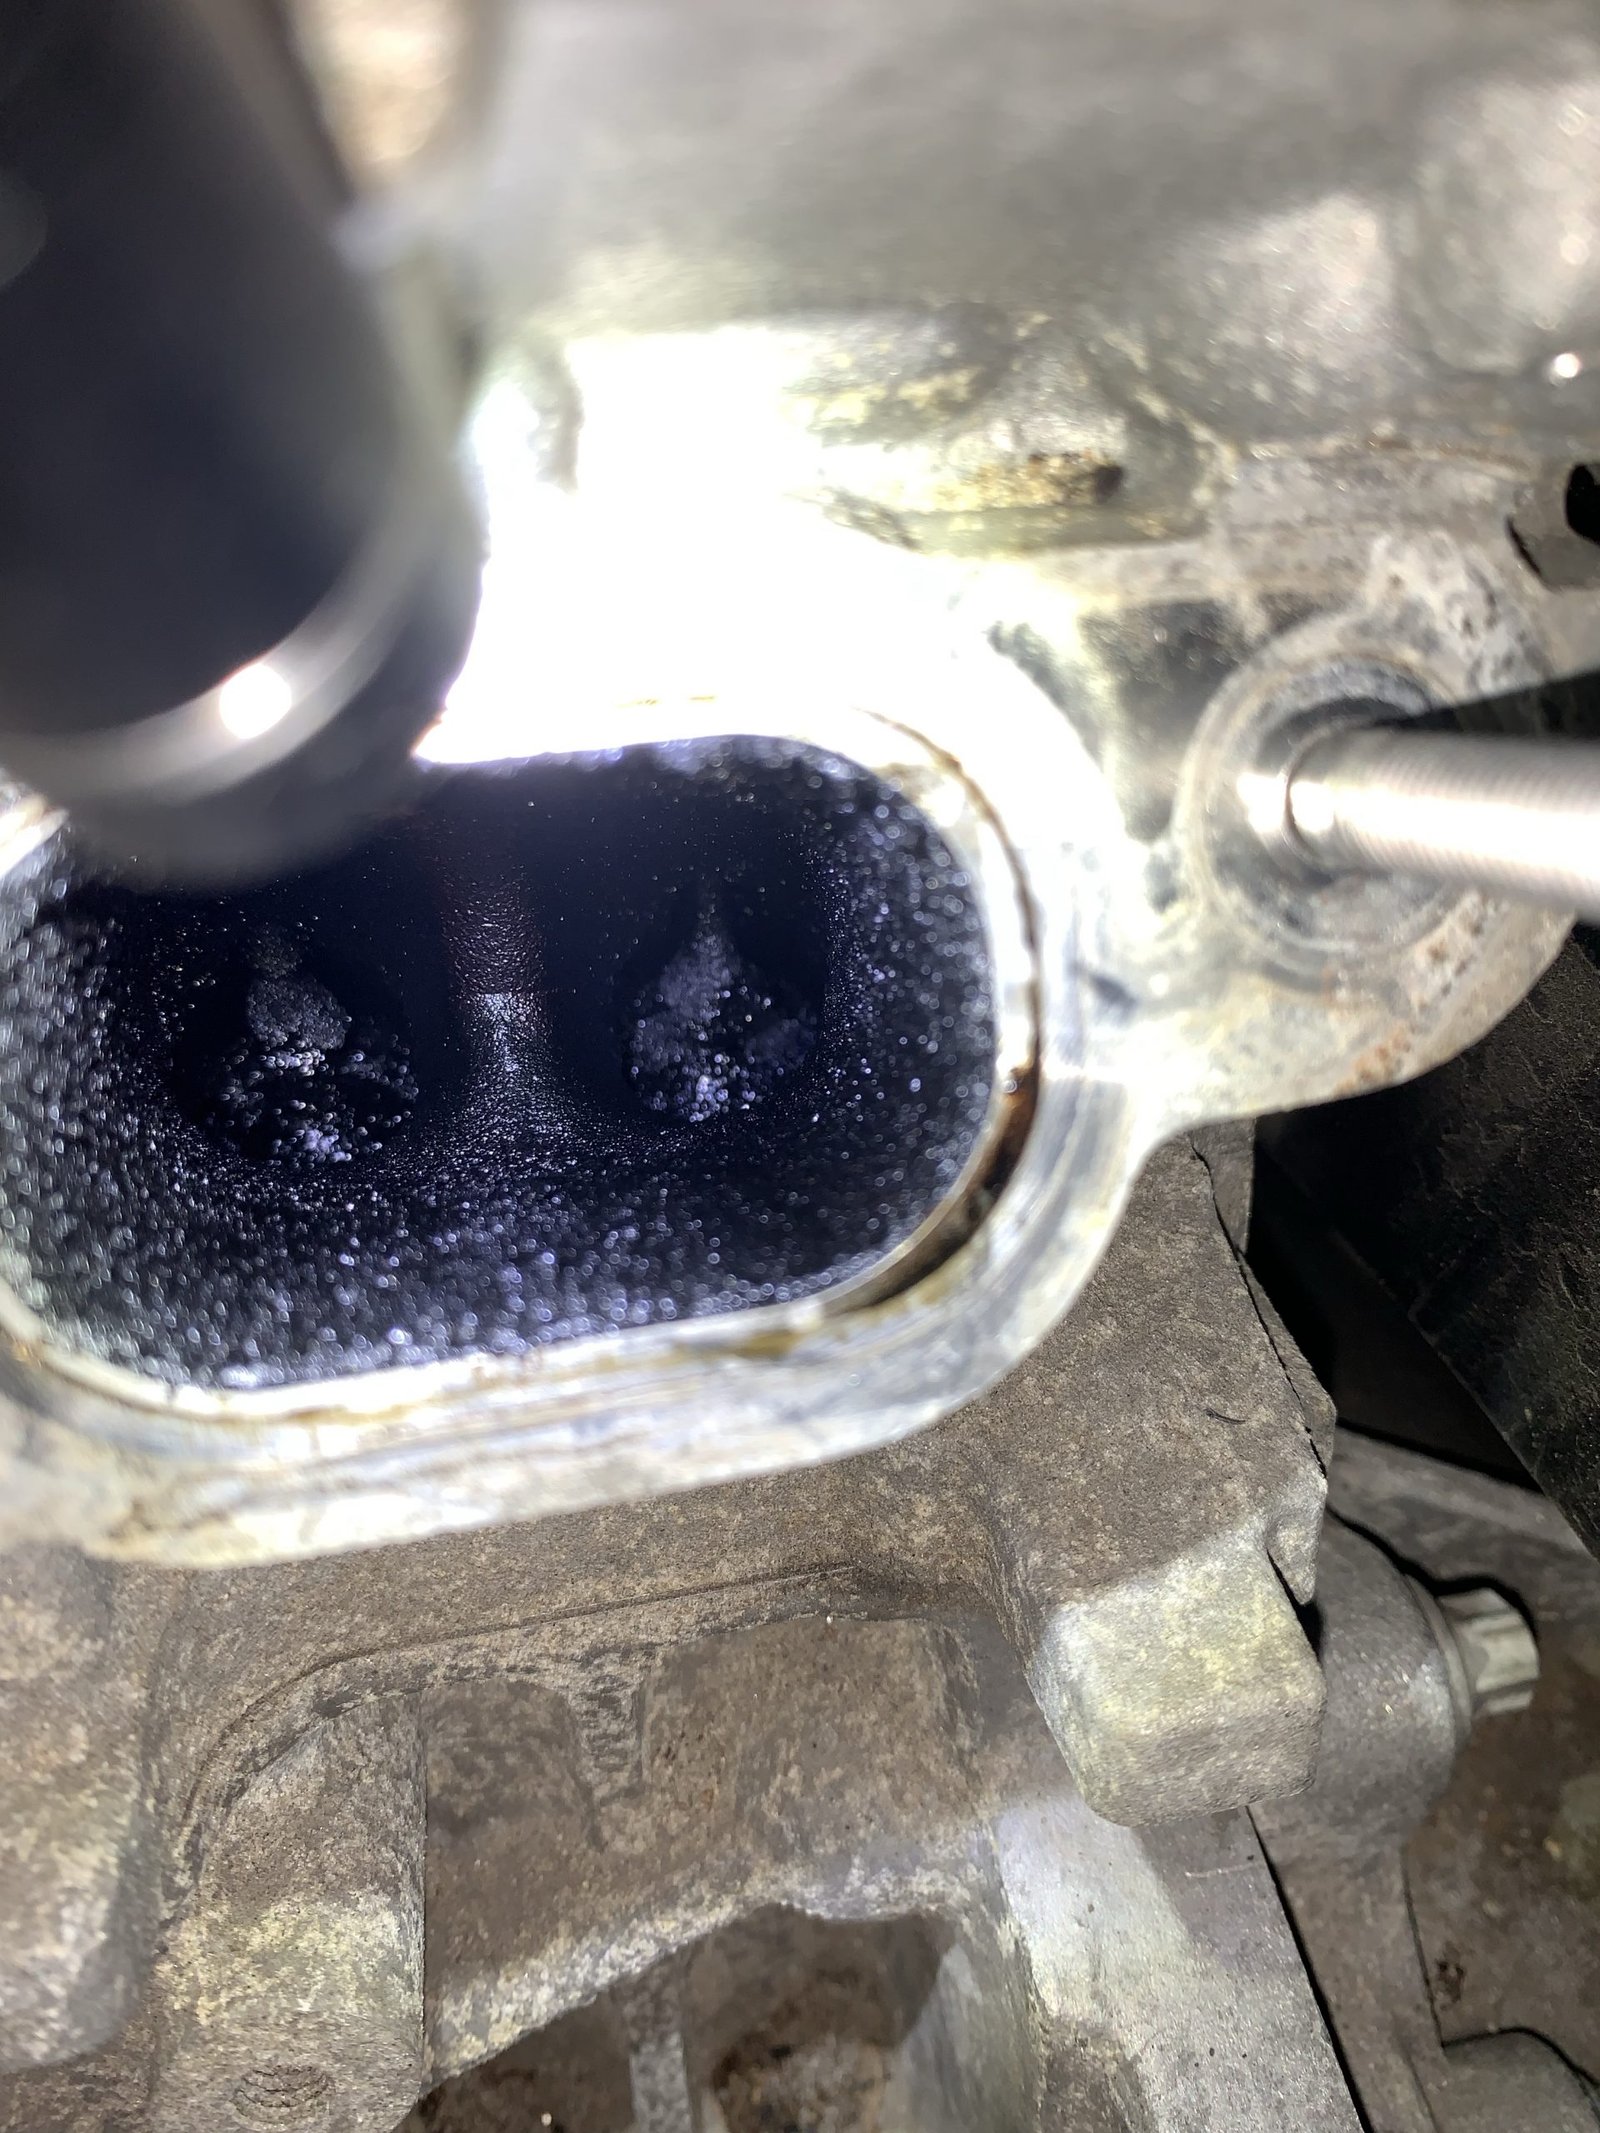
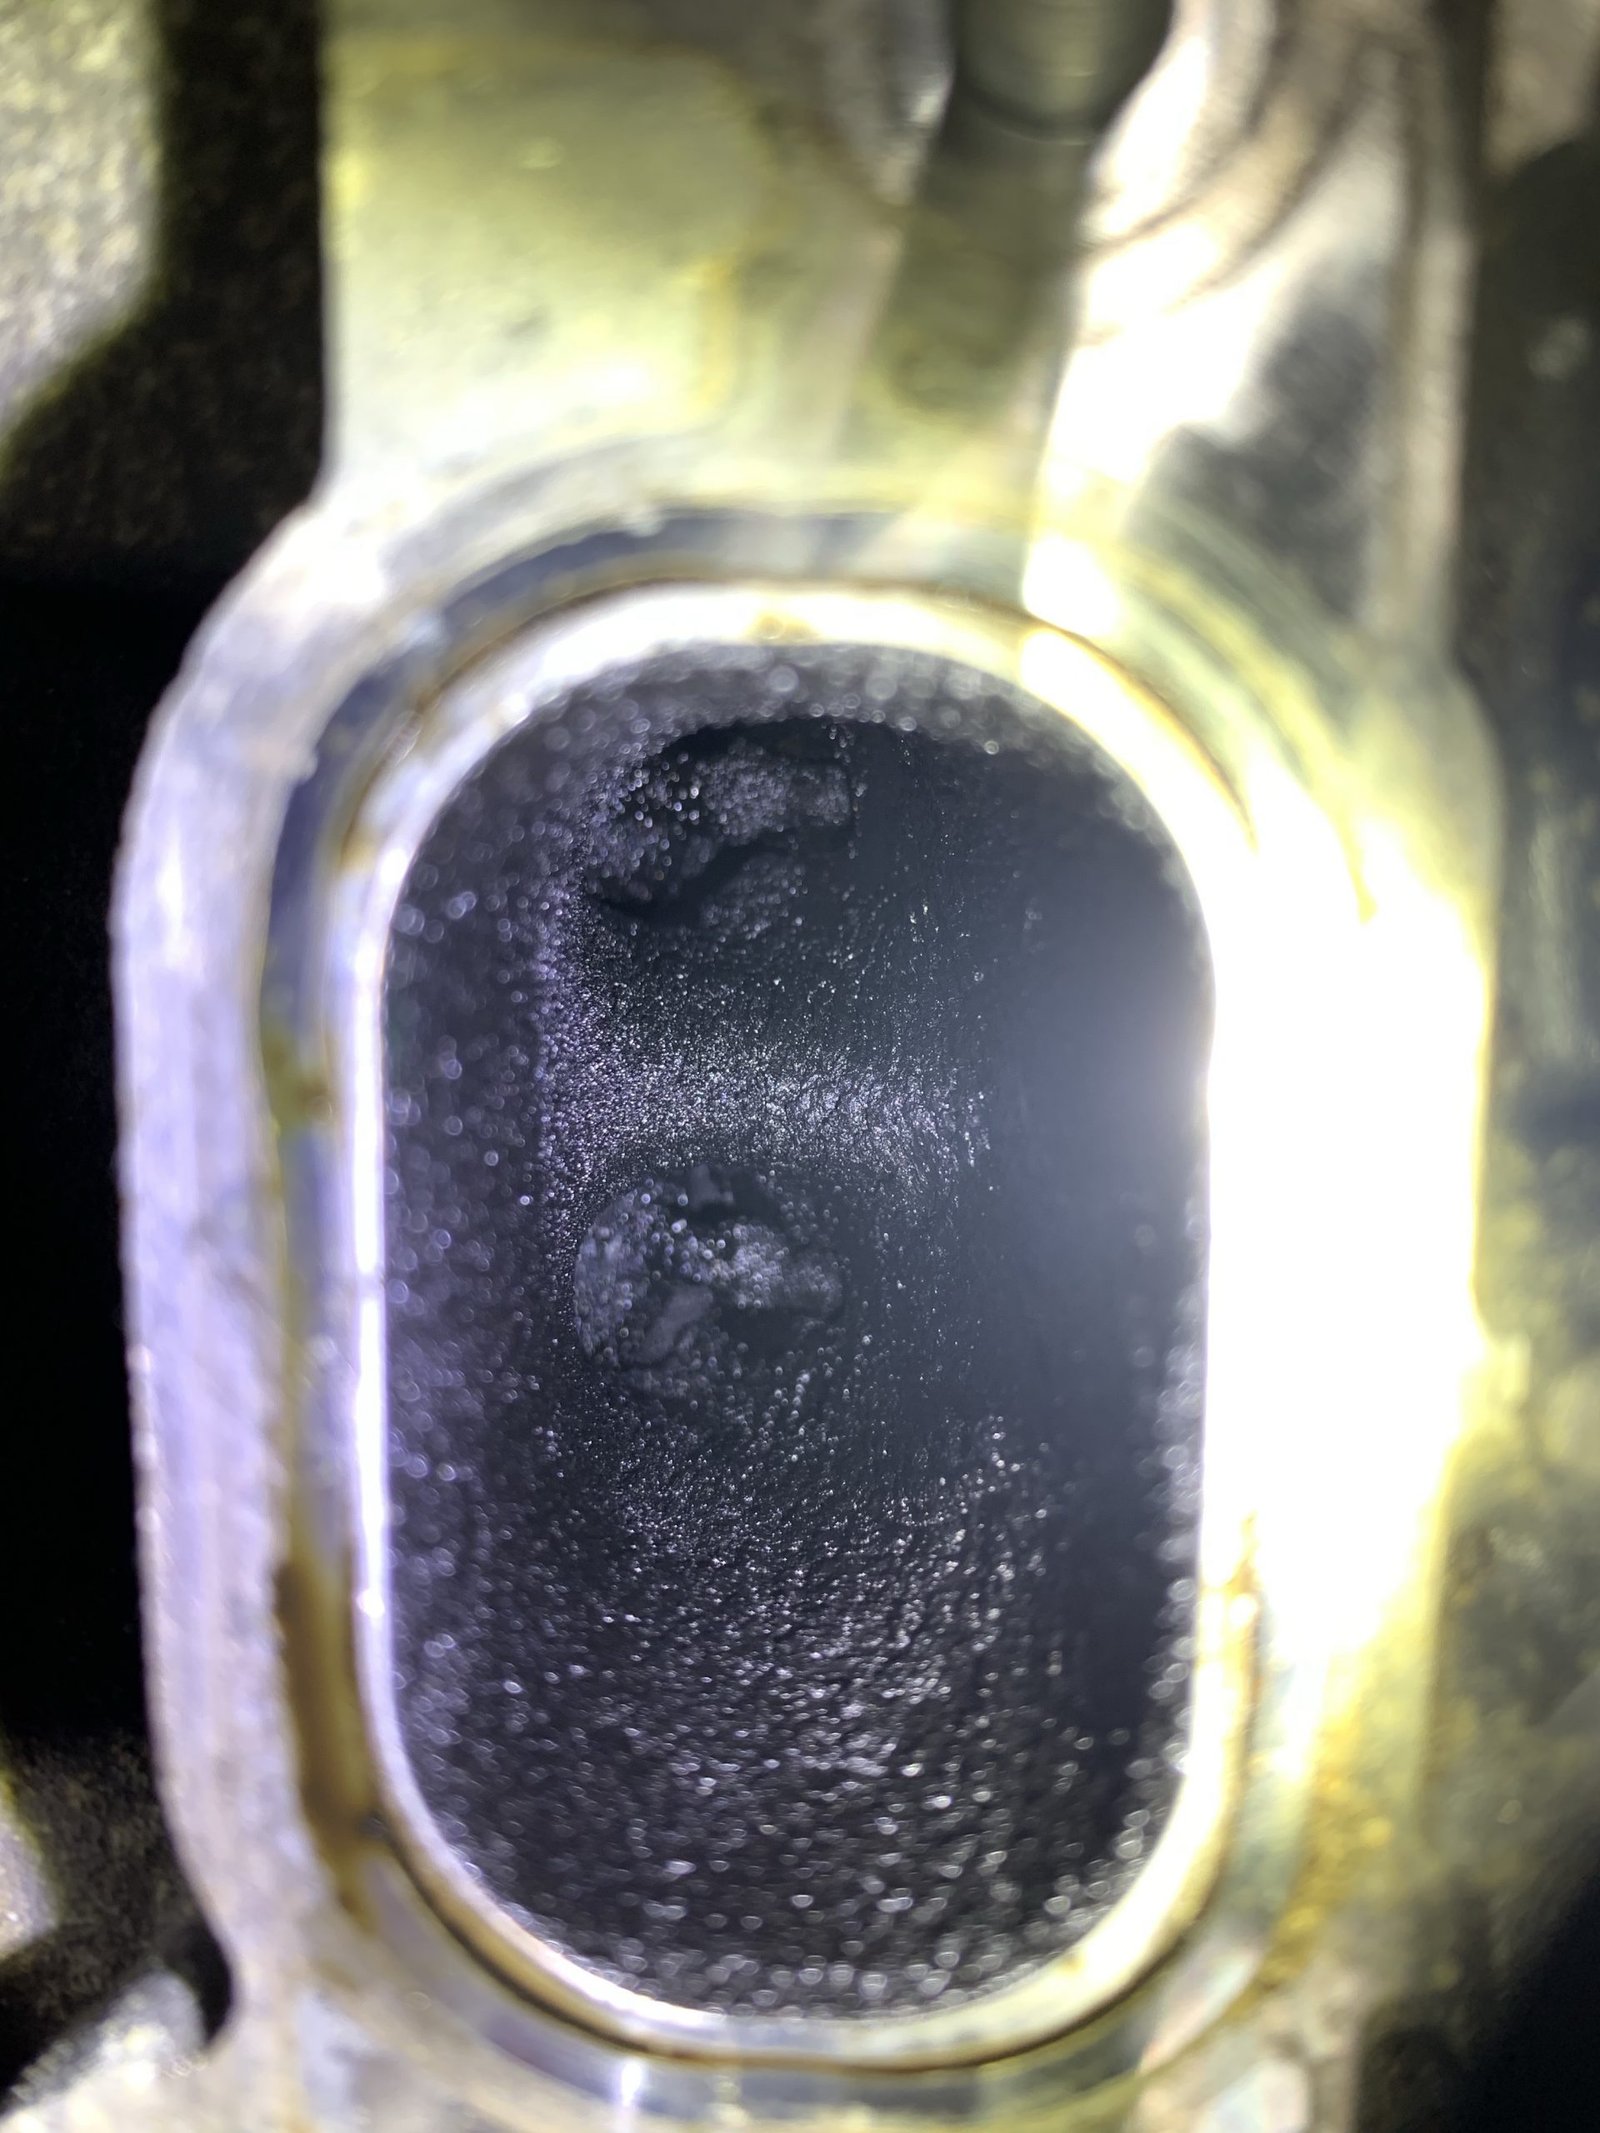
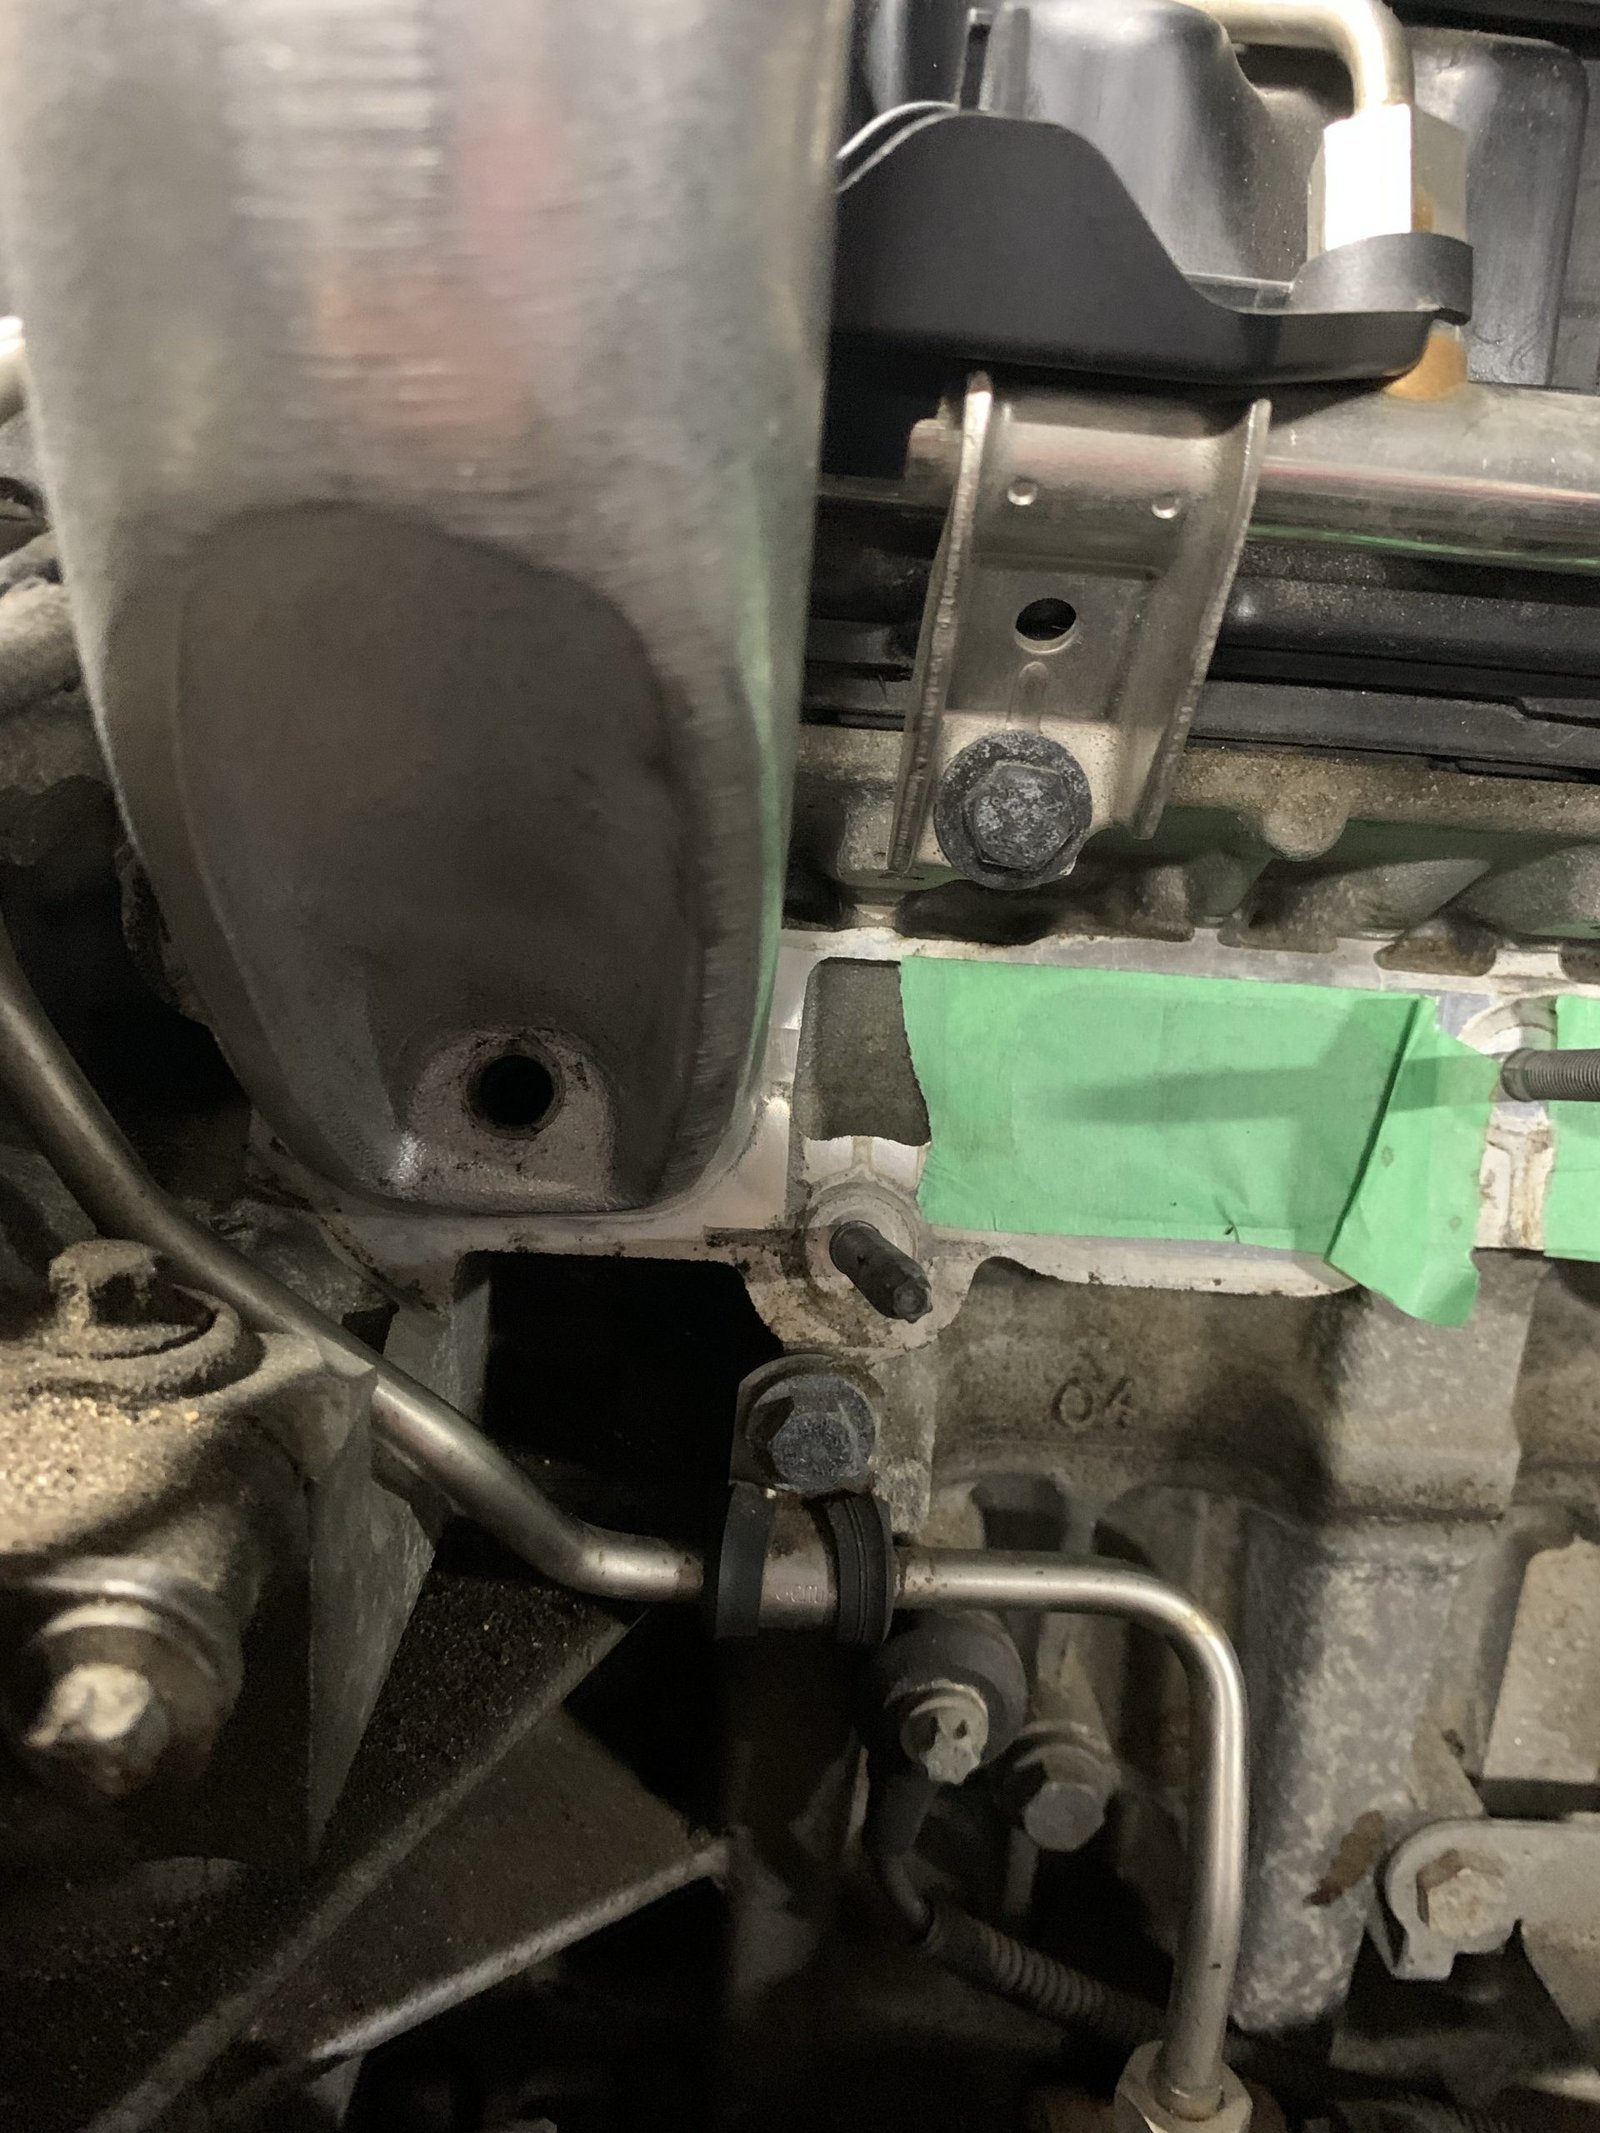
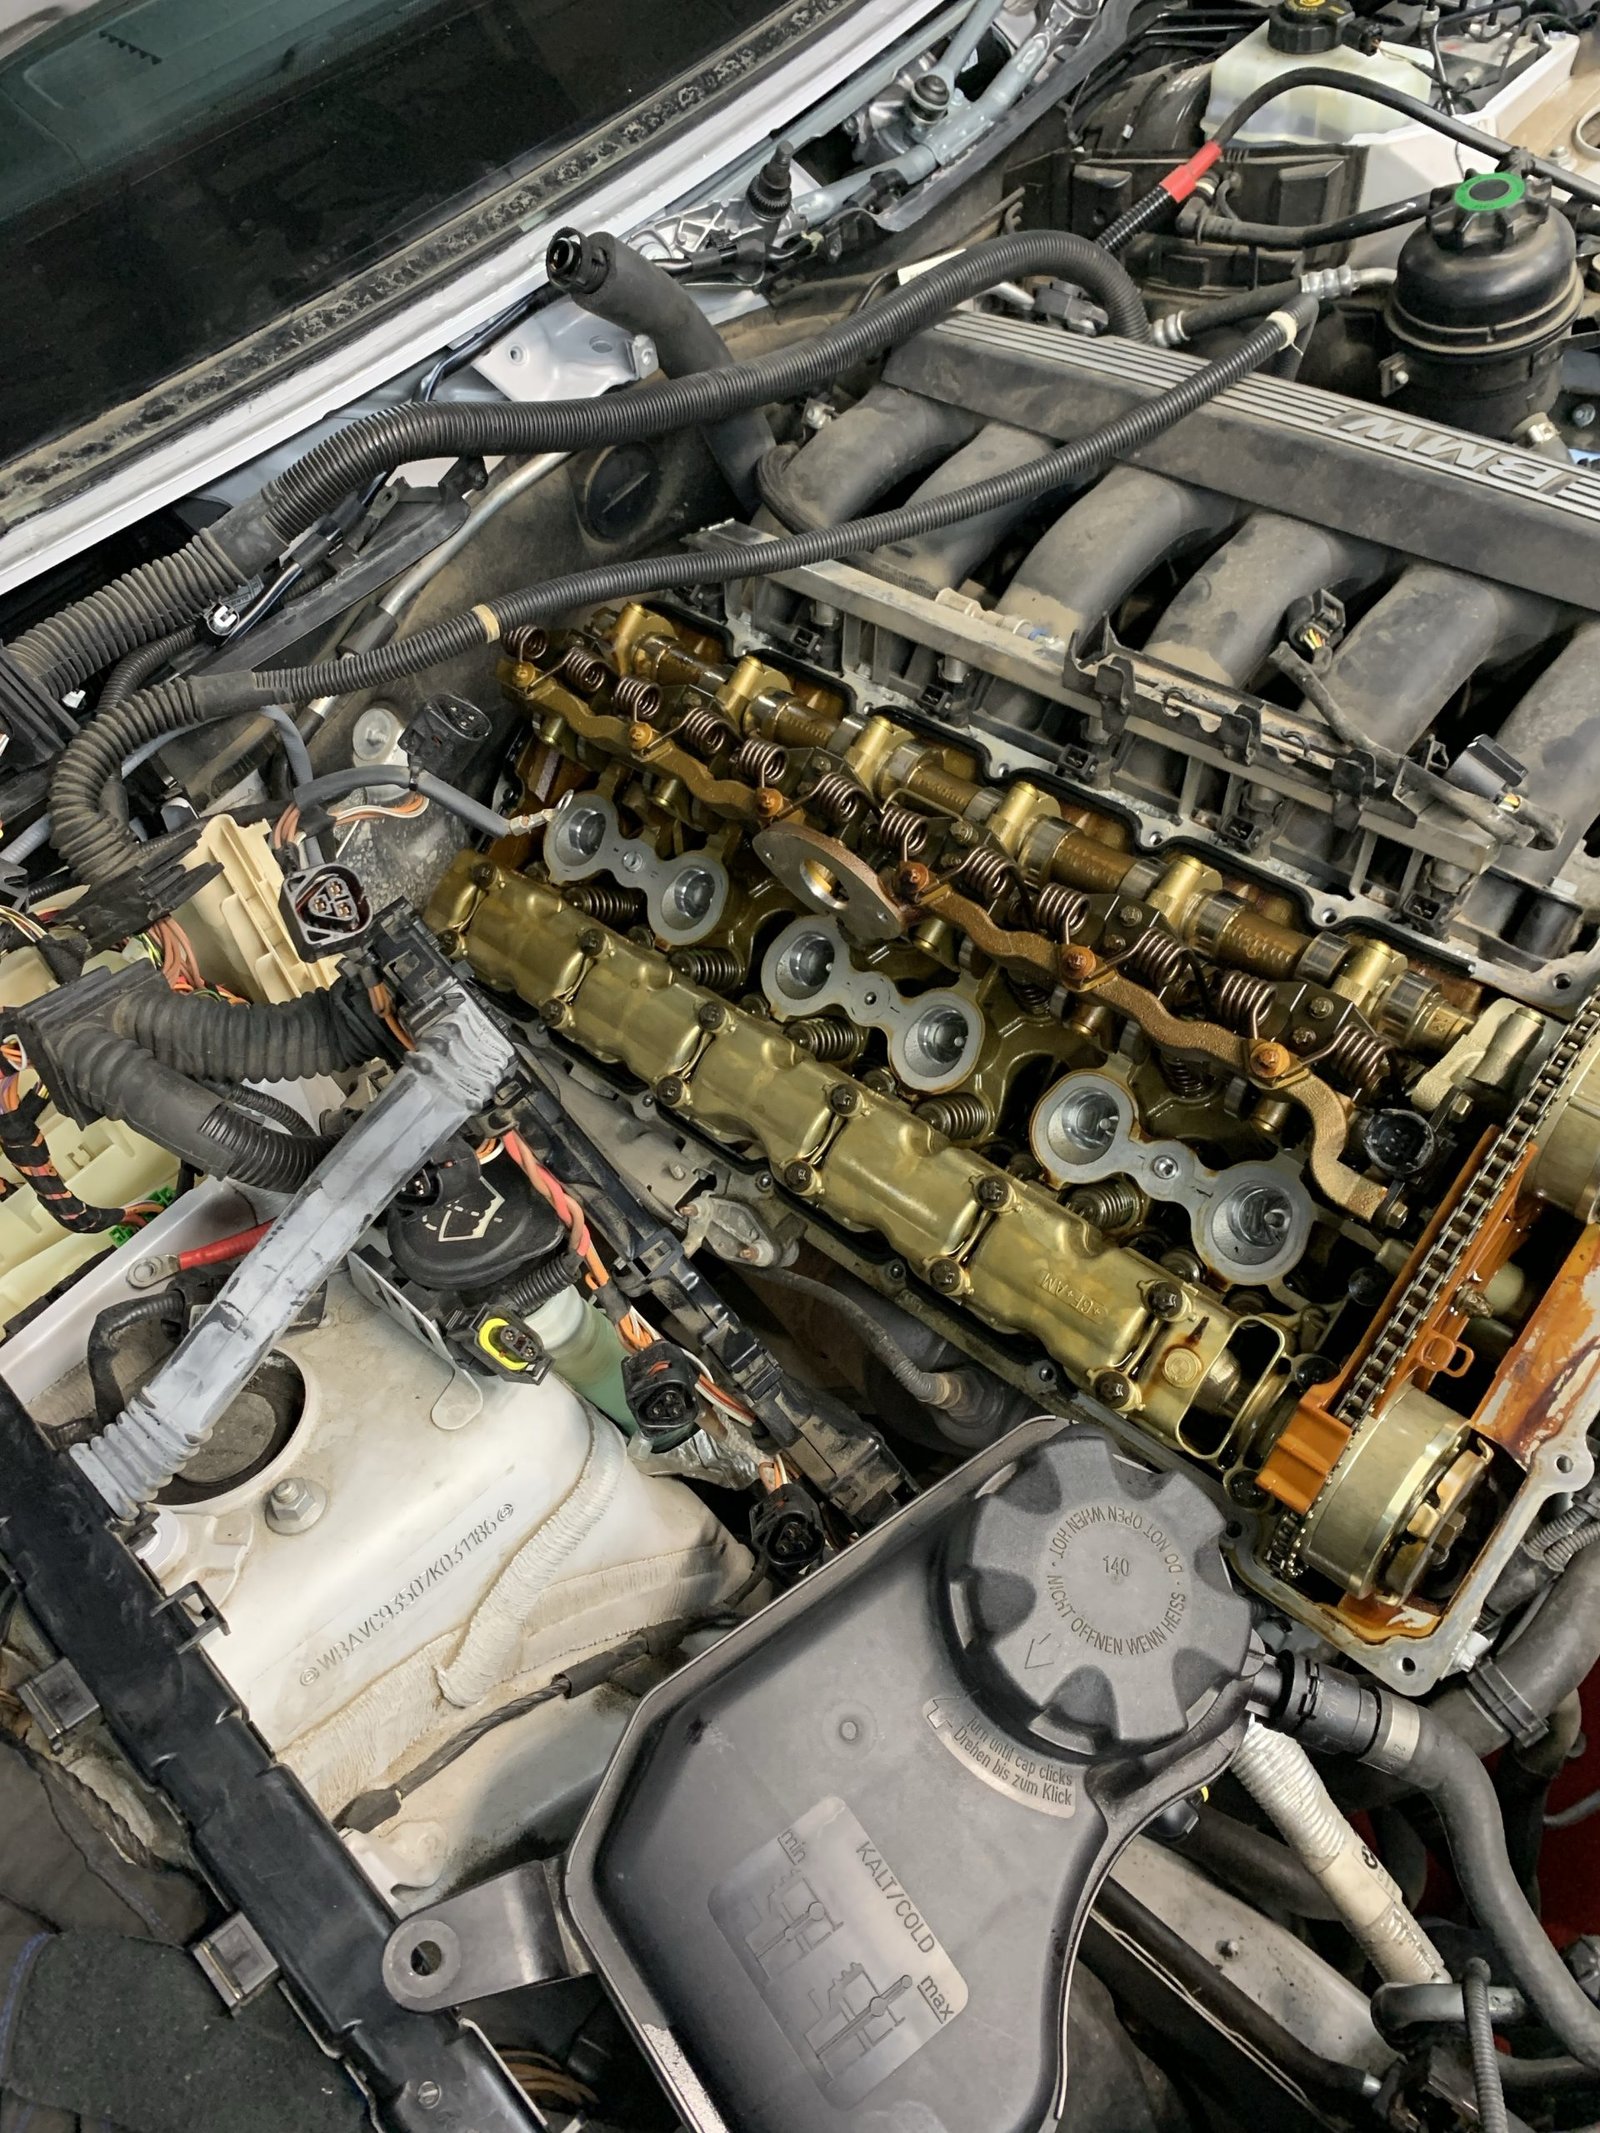
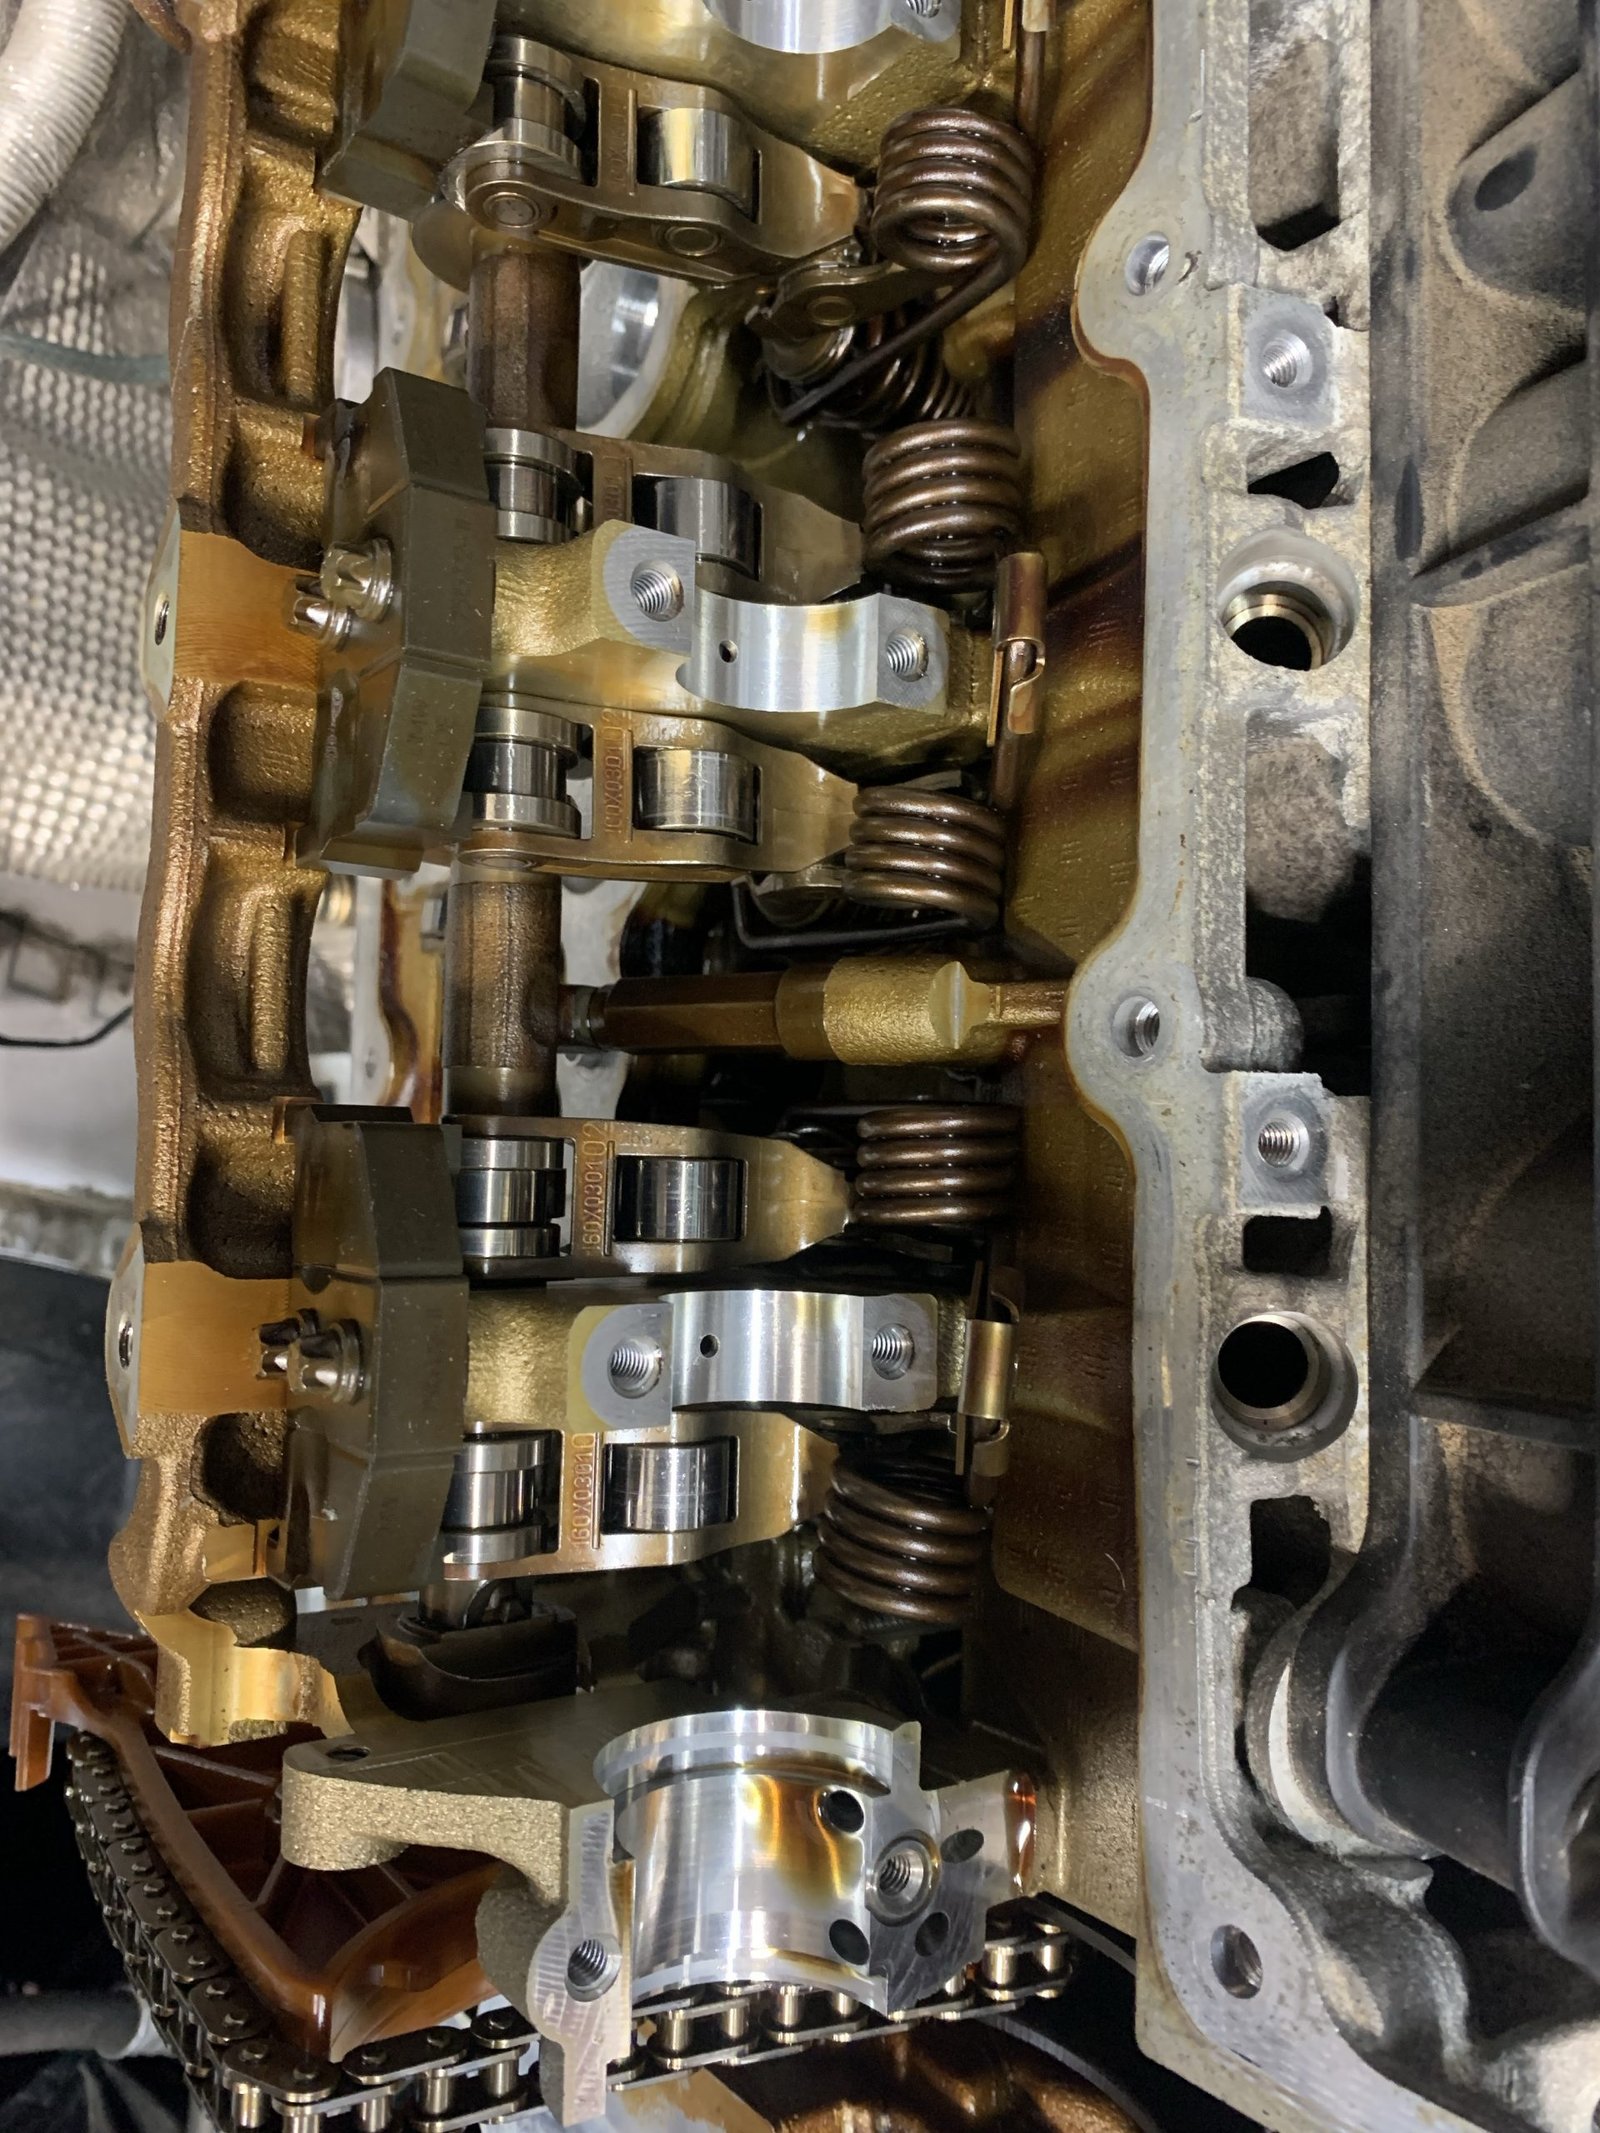
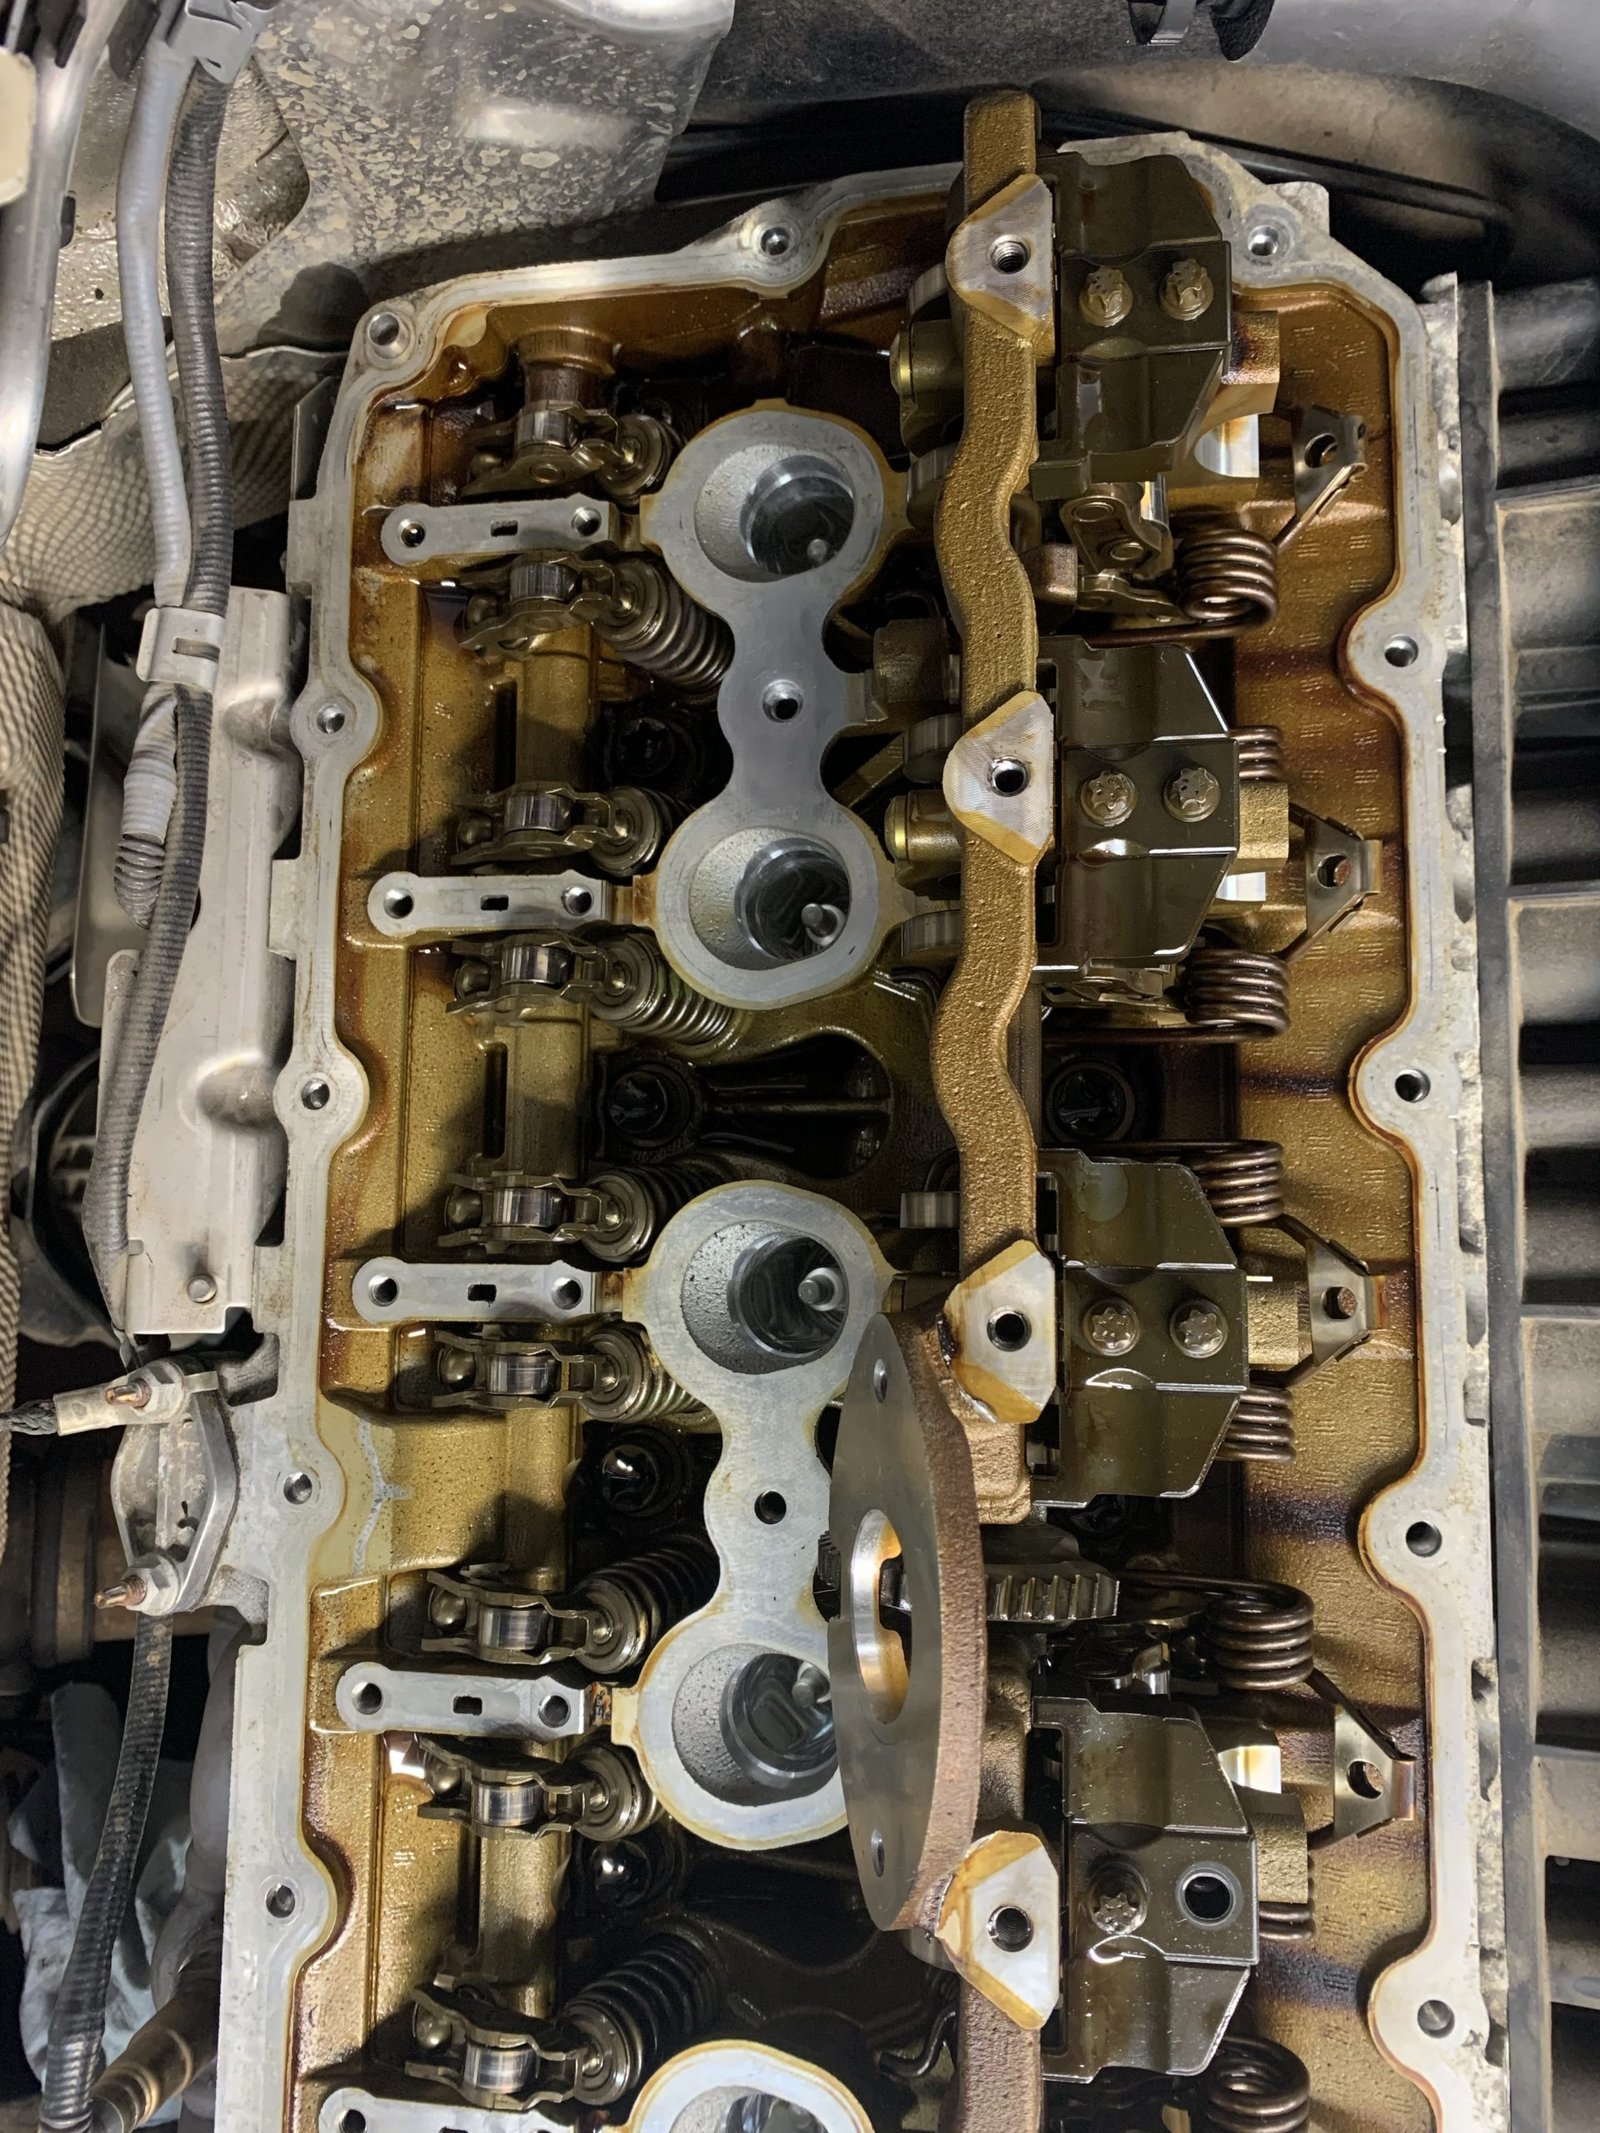
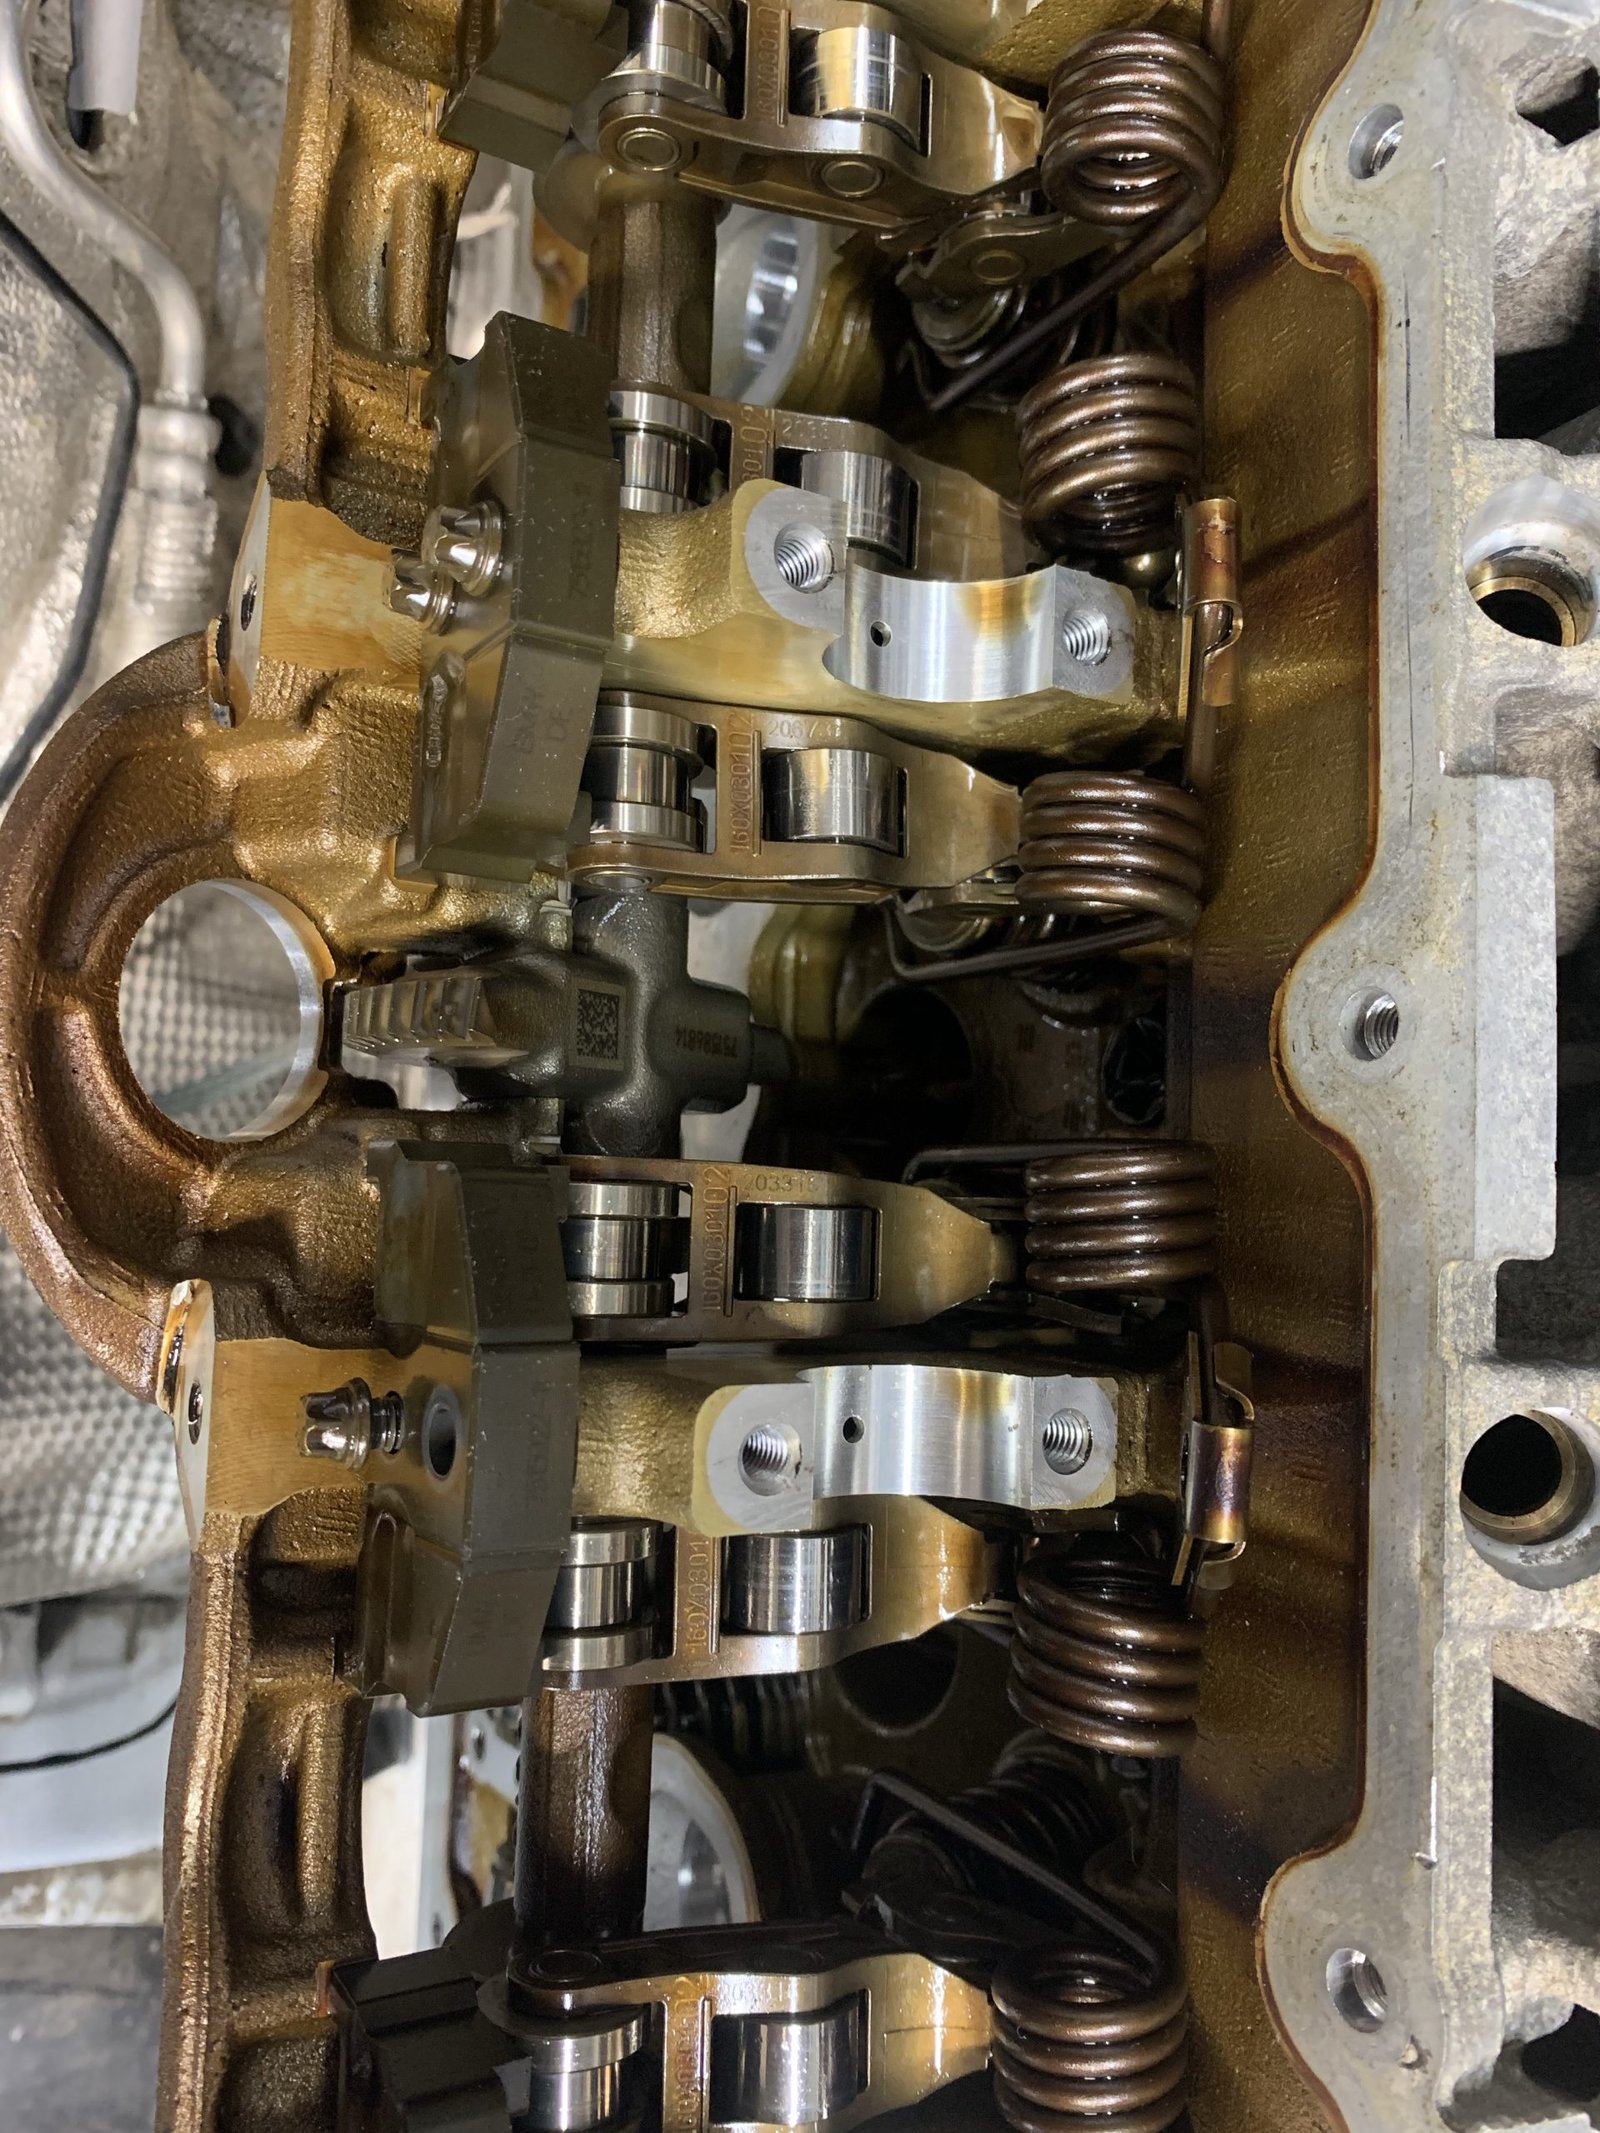
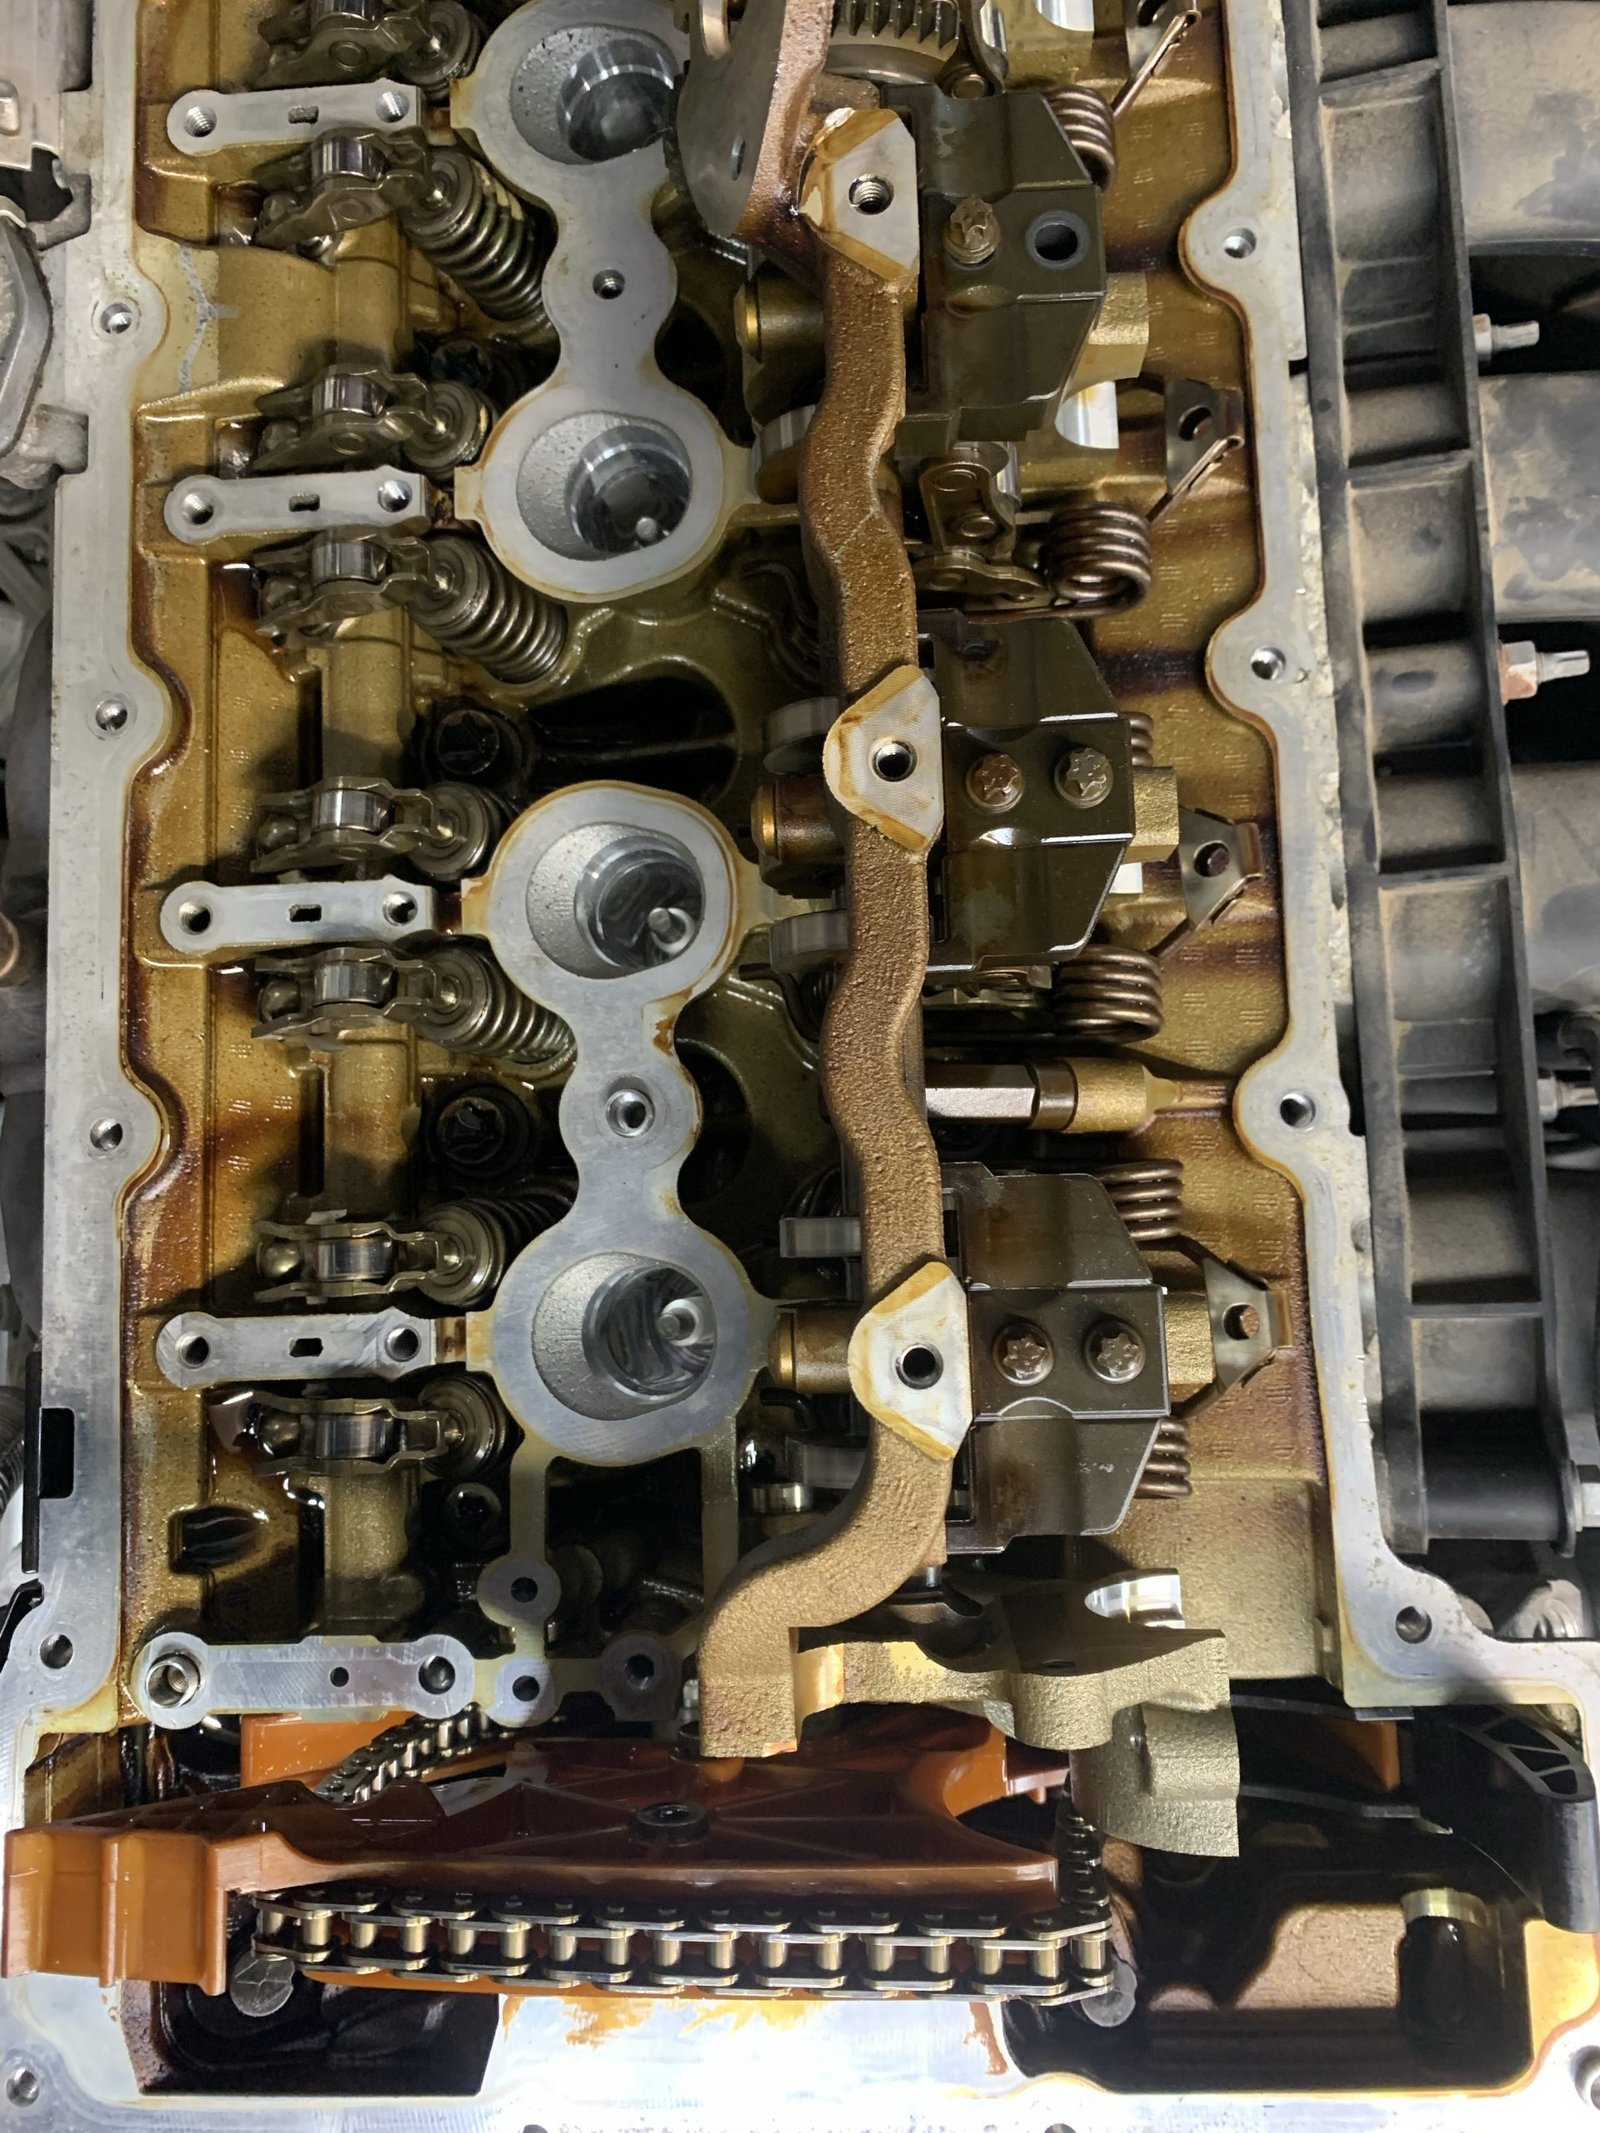
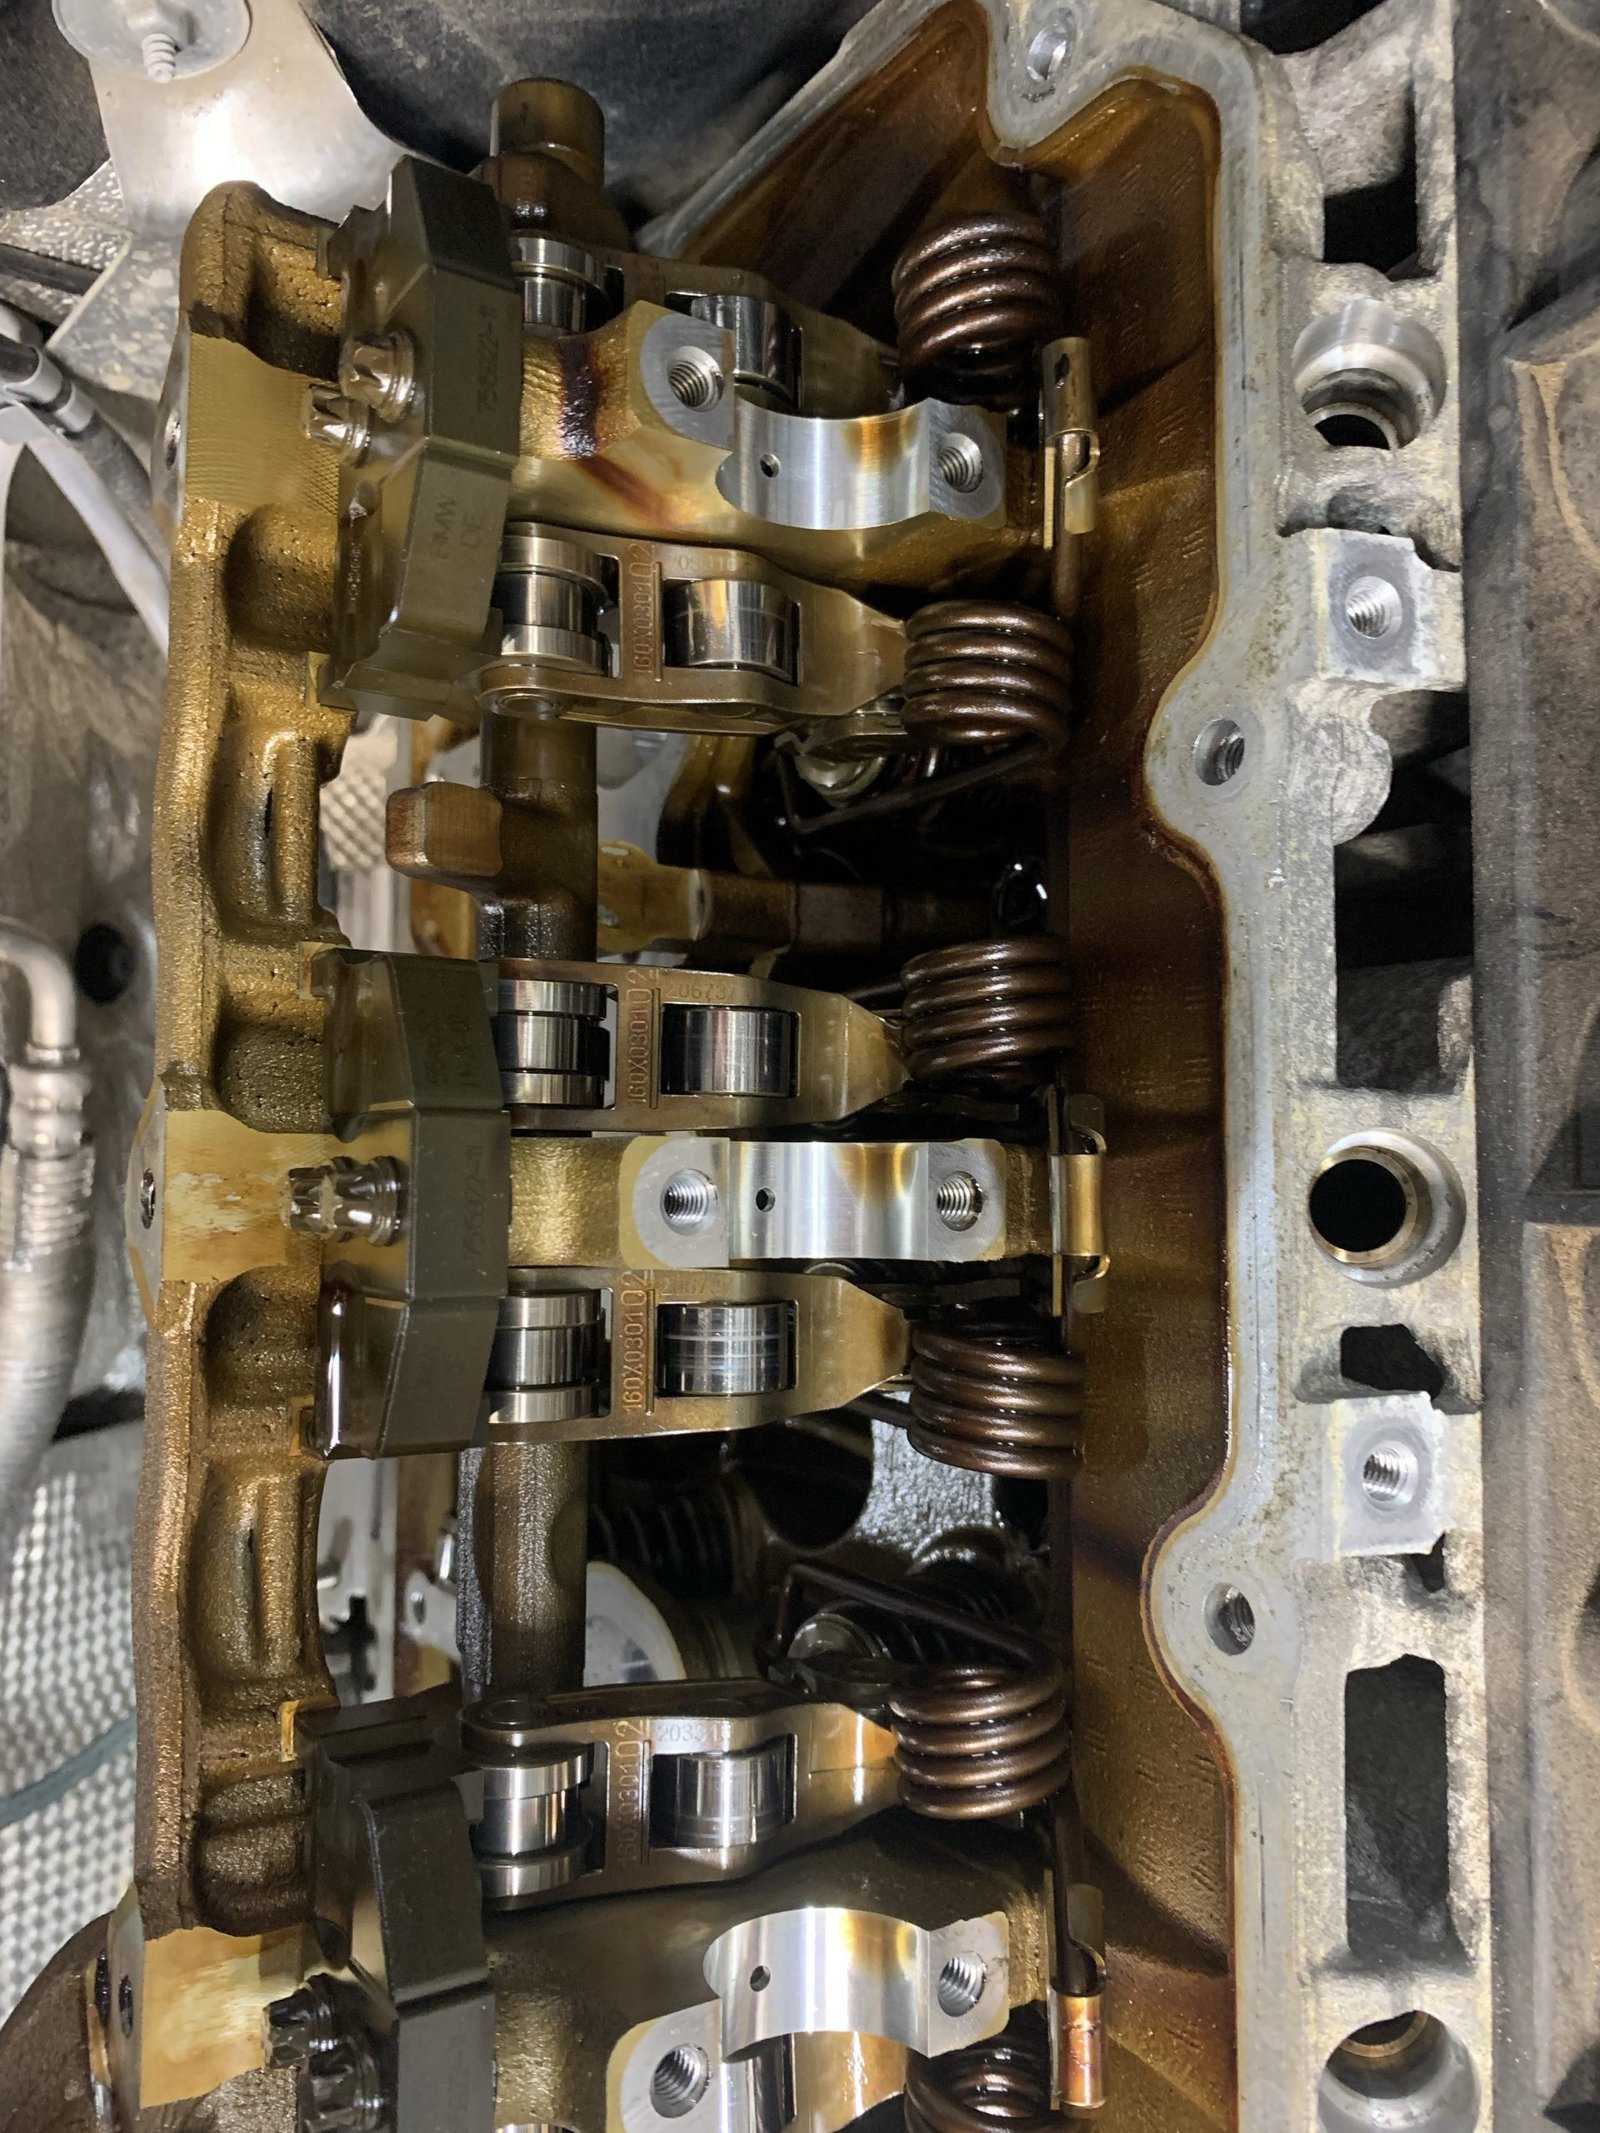
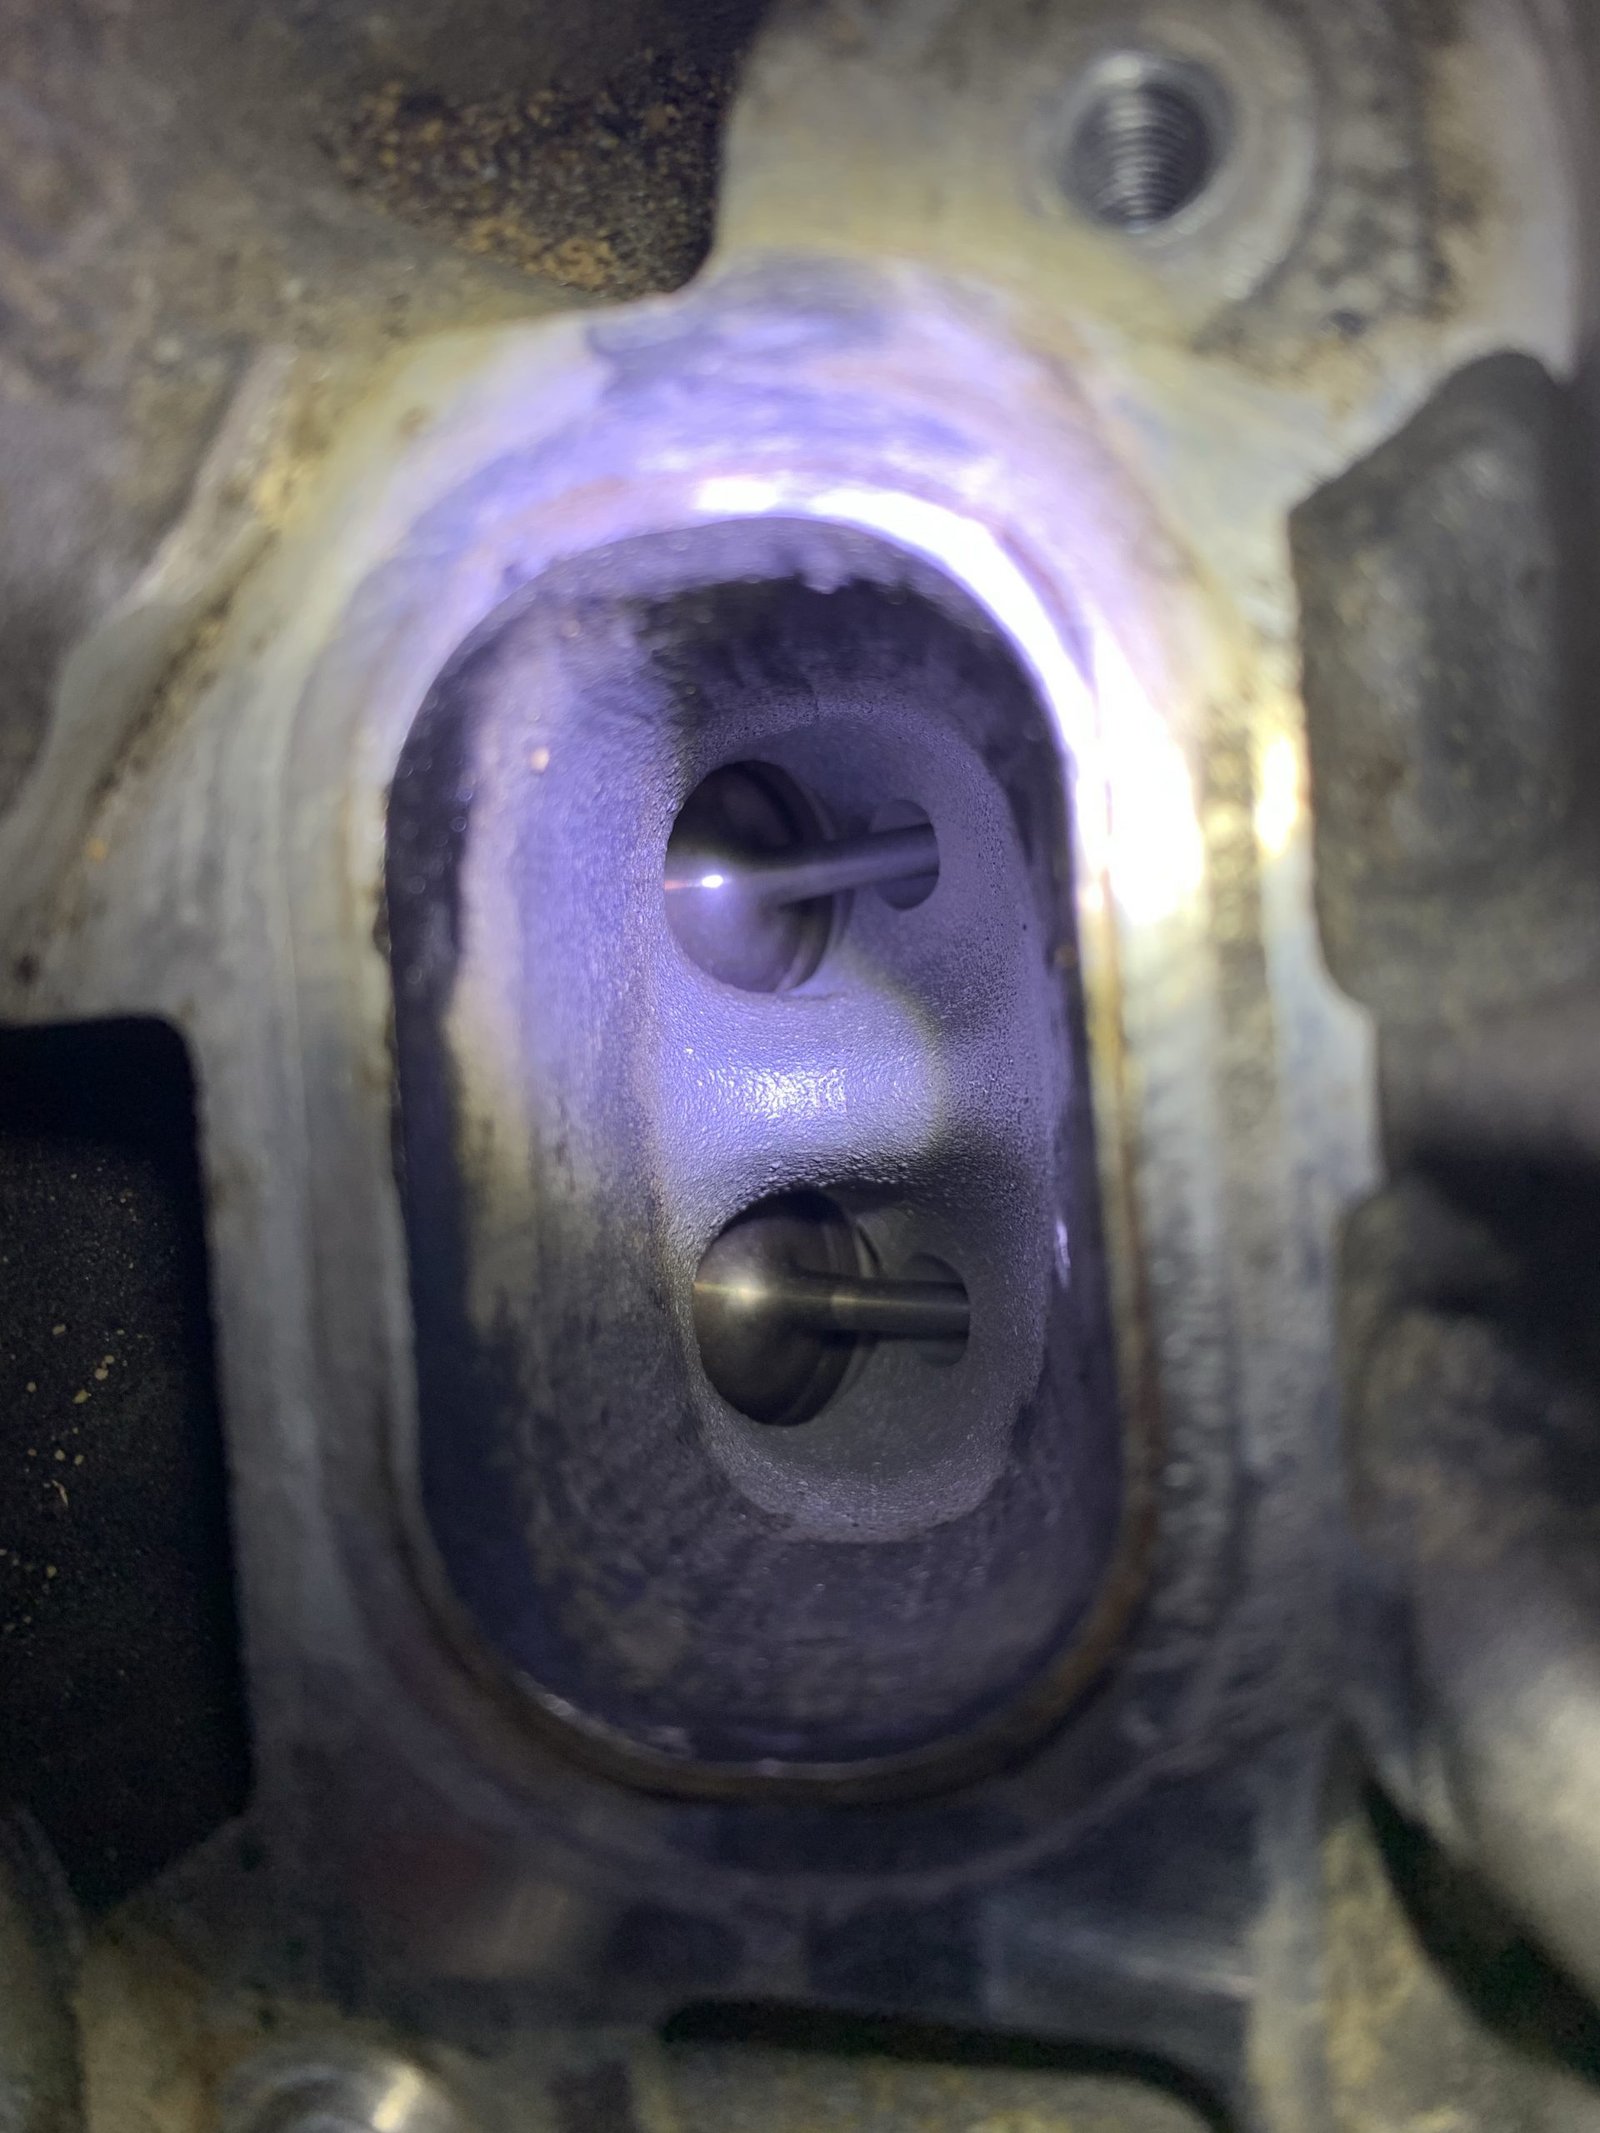
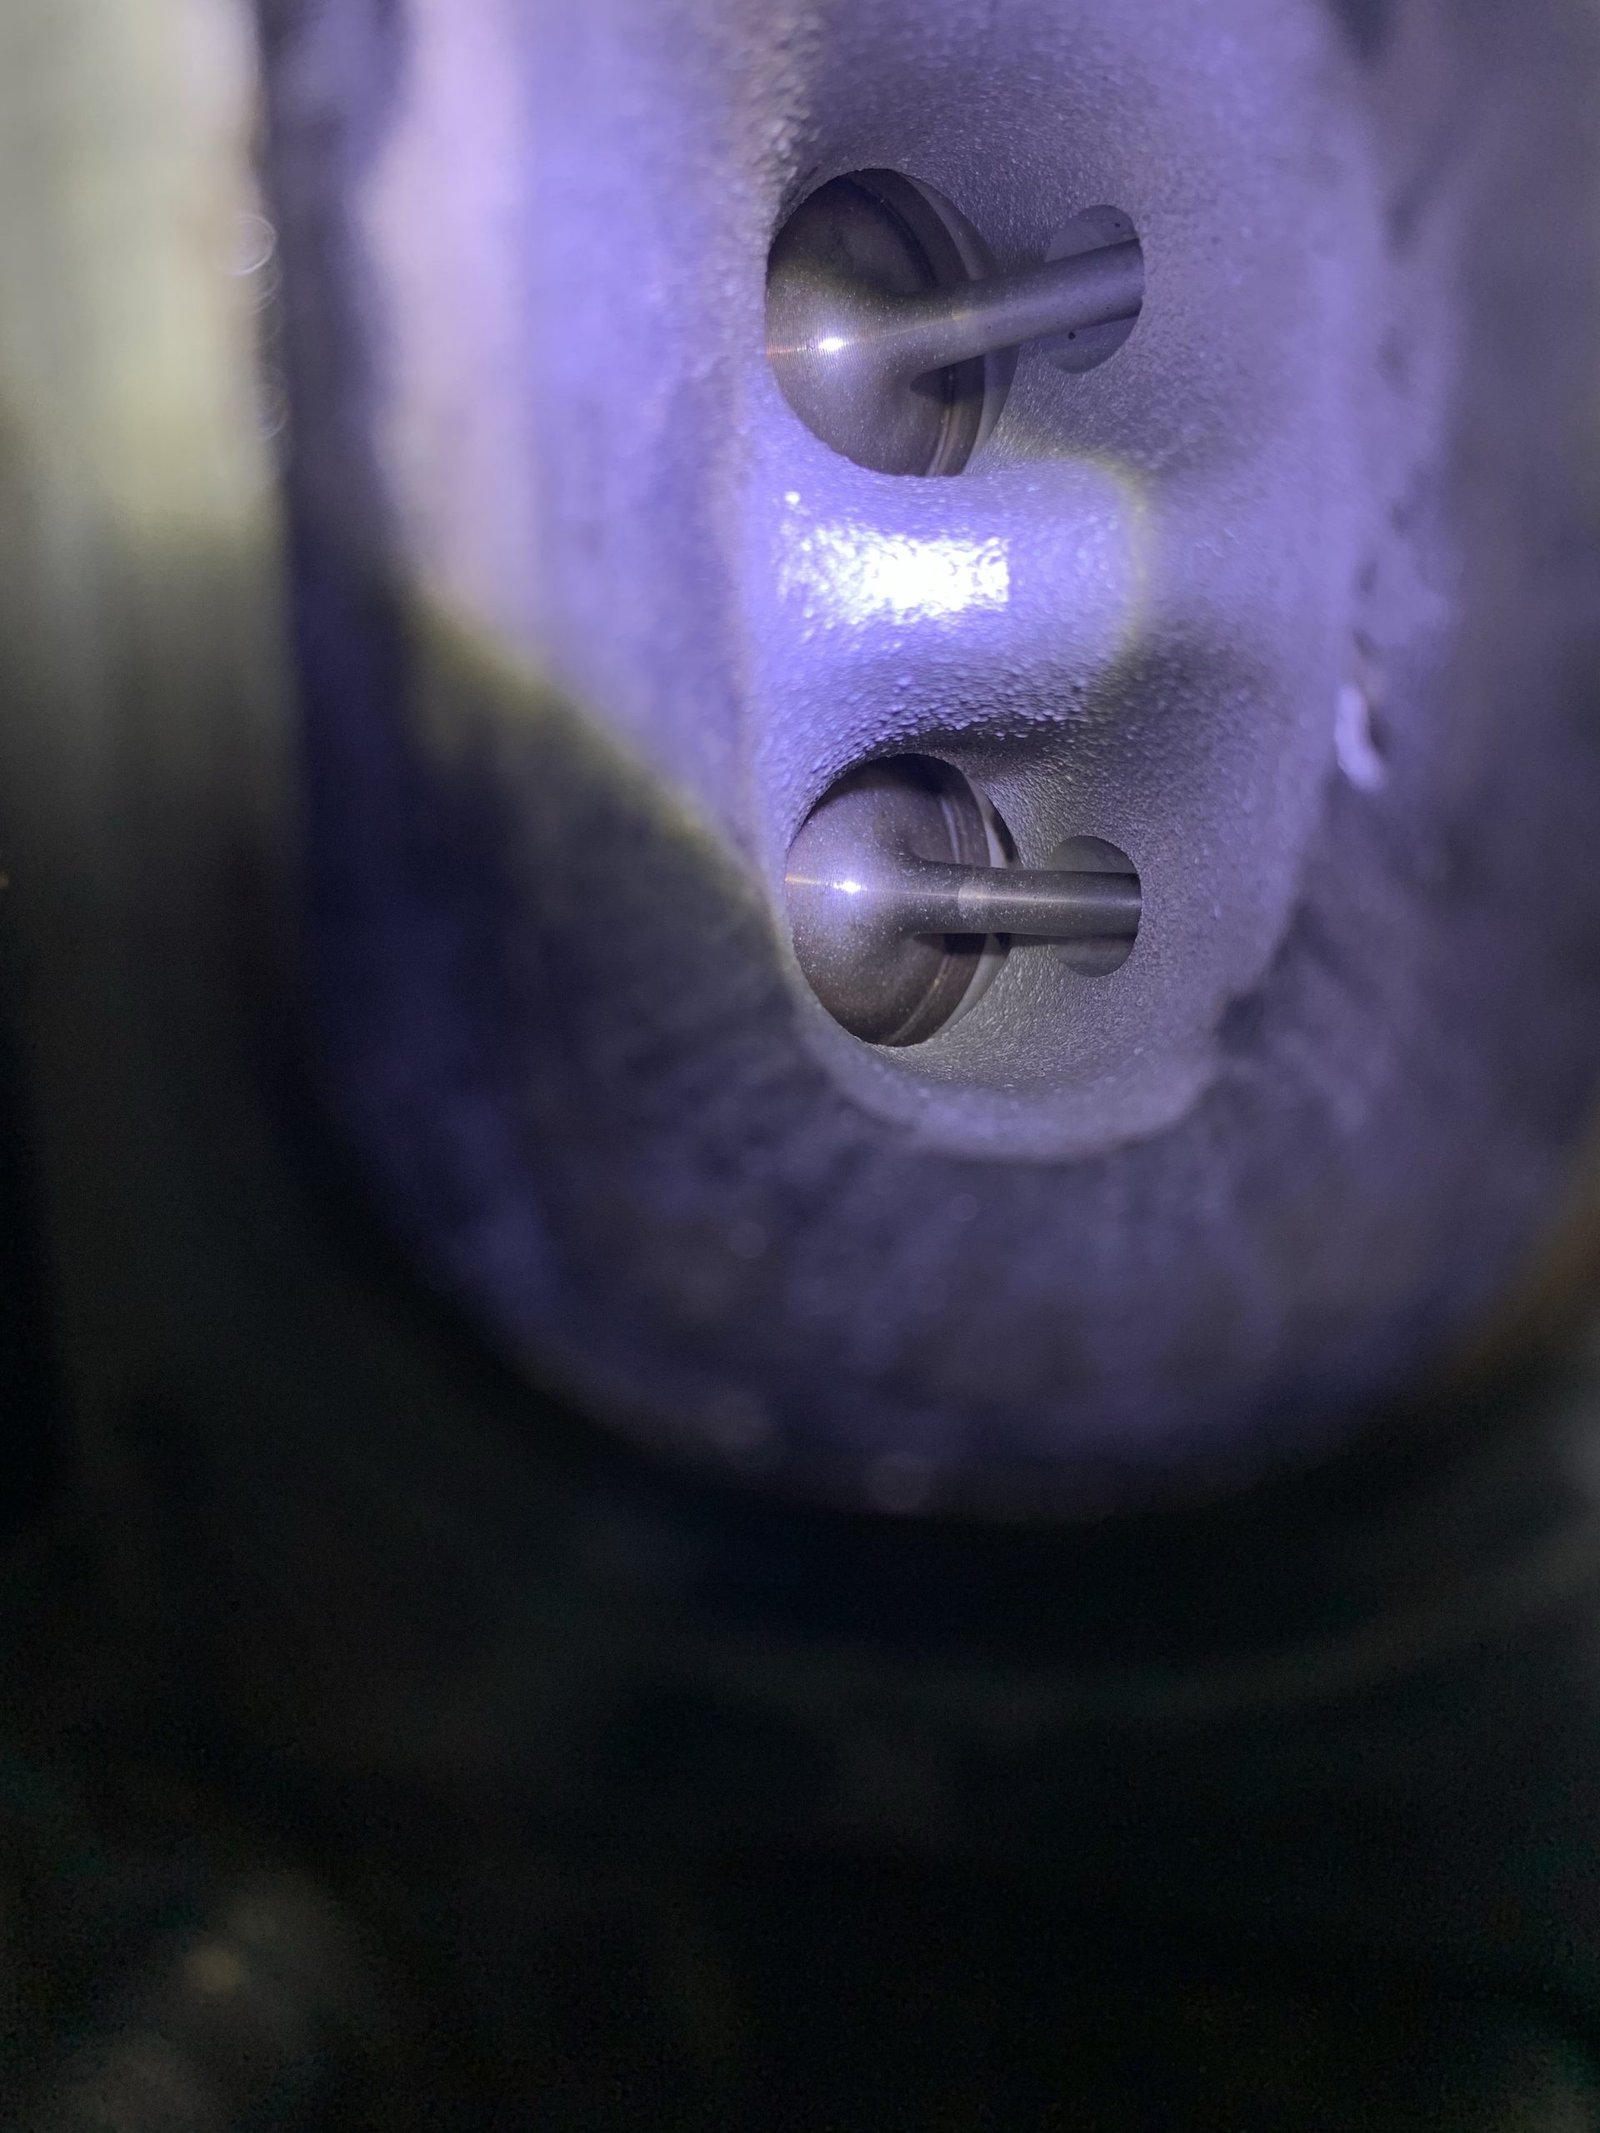
Many engines have gone away from port injection to direct injection. Injecting fuel directly into the combustion chamber, while more fuel efficient, has created an undesirable side effect. Port injection sprays fuel above the intake valves on its way into the combustion chamber. The fuel spray on the intake valves does an excellent job of cleaning the intake valves. Since this no longer happens with direct injection, intake valves are loading up with carbon deposits. Cleaning carbon from intake valves can now be seen as a new maintenance item. Typically recommended at approximately 60k-70k mile intervals. This engine had around 170,000 miles and had not received an intake valve cleaning in the past. There is a lot of buildup on the stems of the valves and all over the intake ports and valves in general. Although hard to notice in the images, one of the port walls had such thick carbon buildup that it was nearing the valve itself.
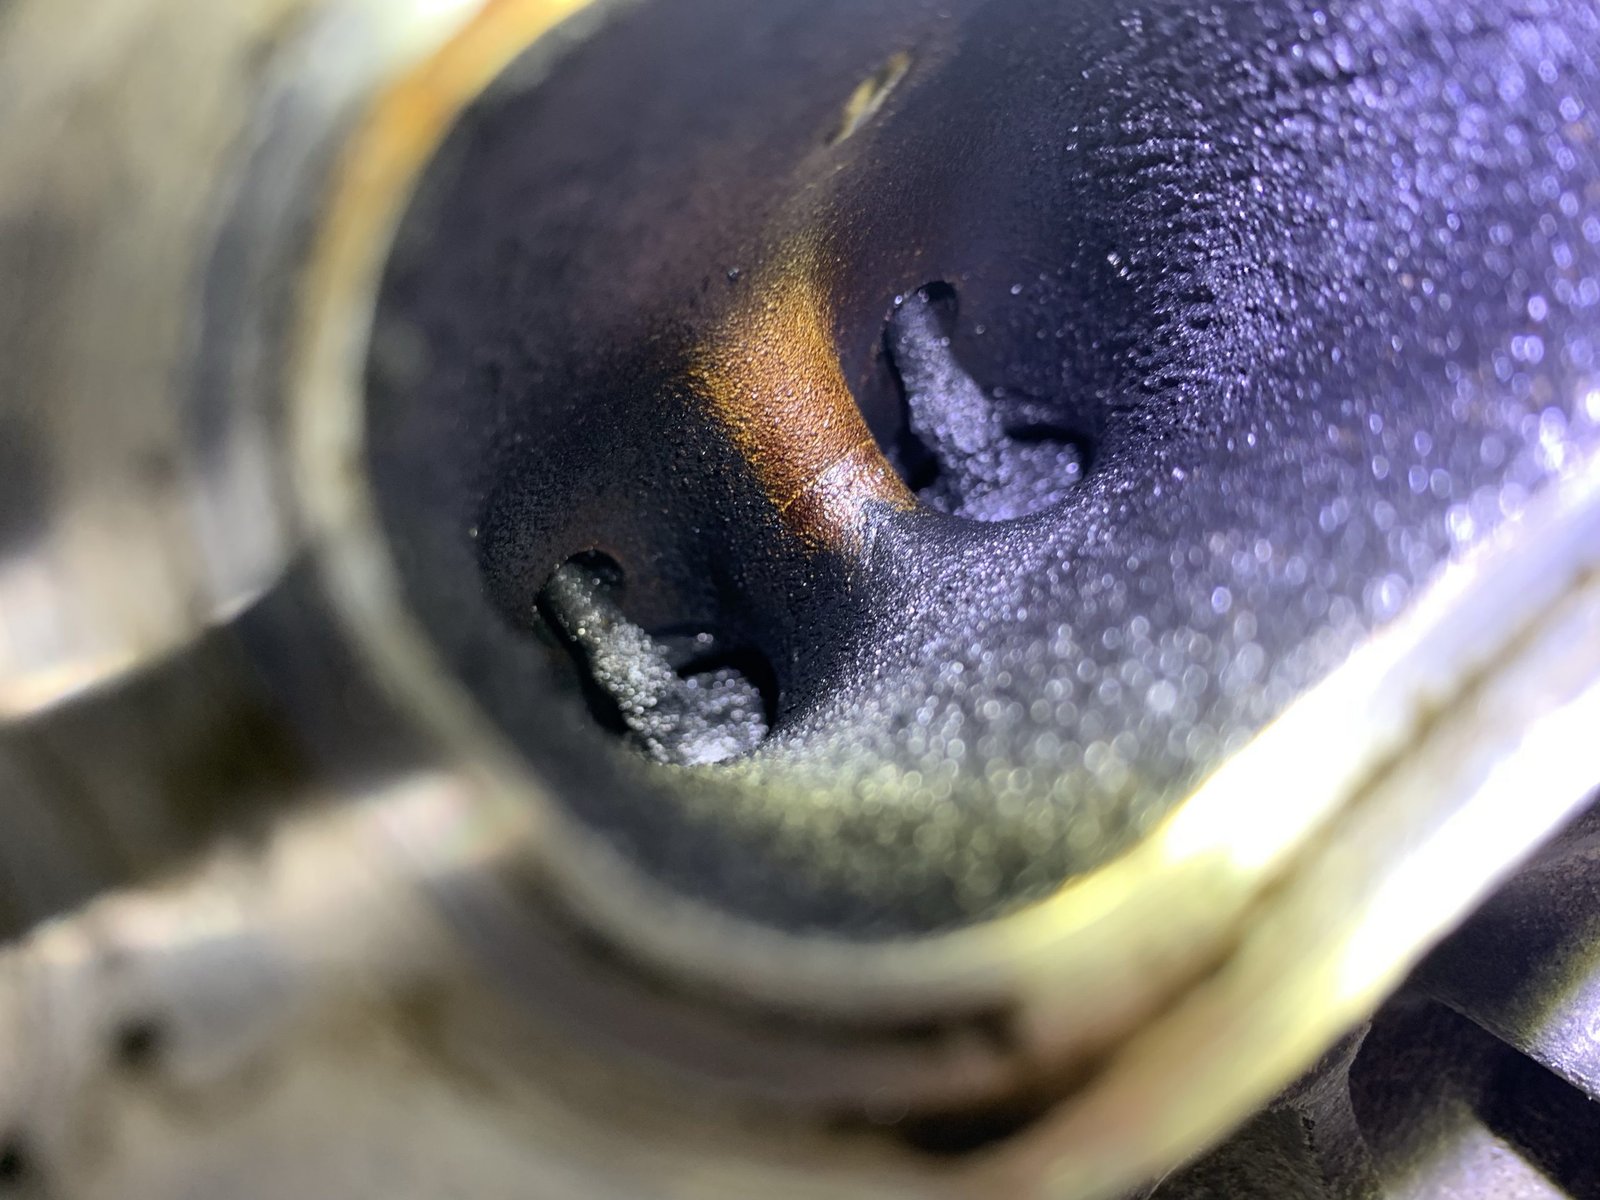
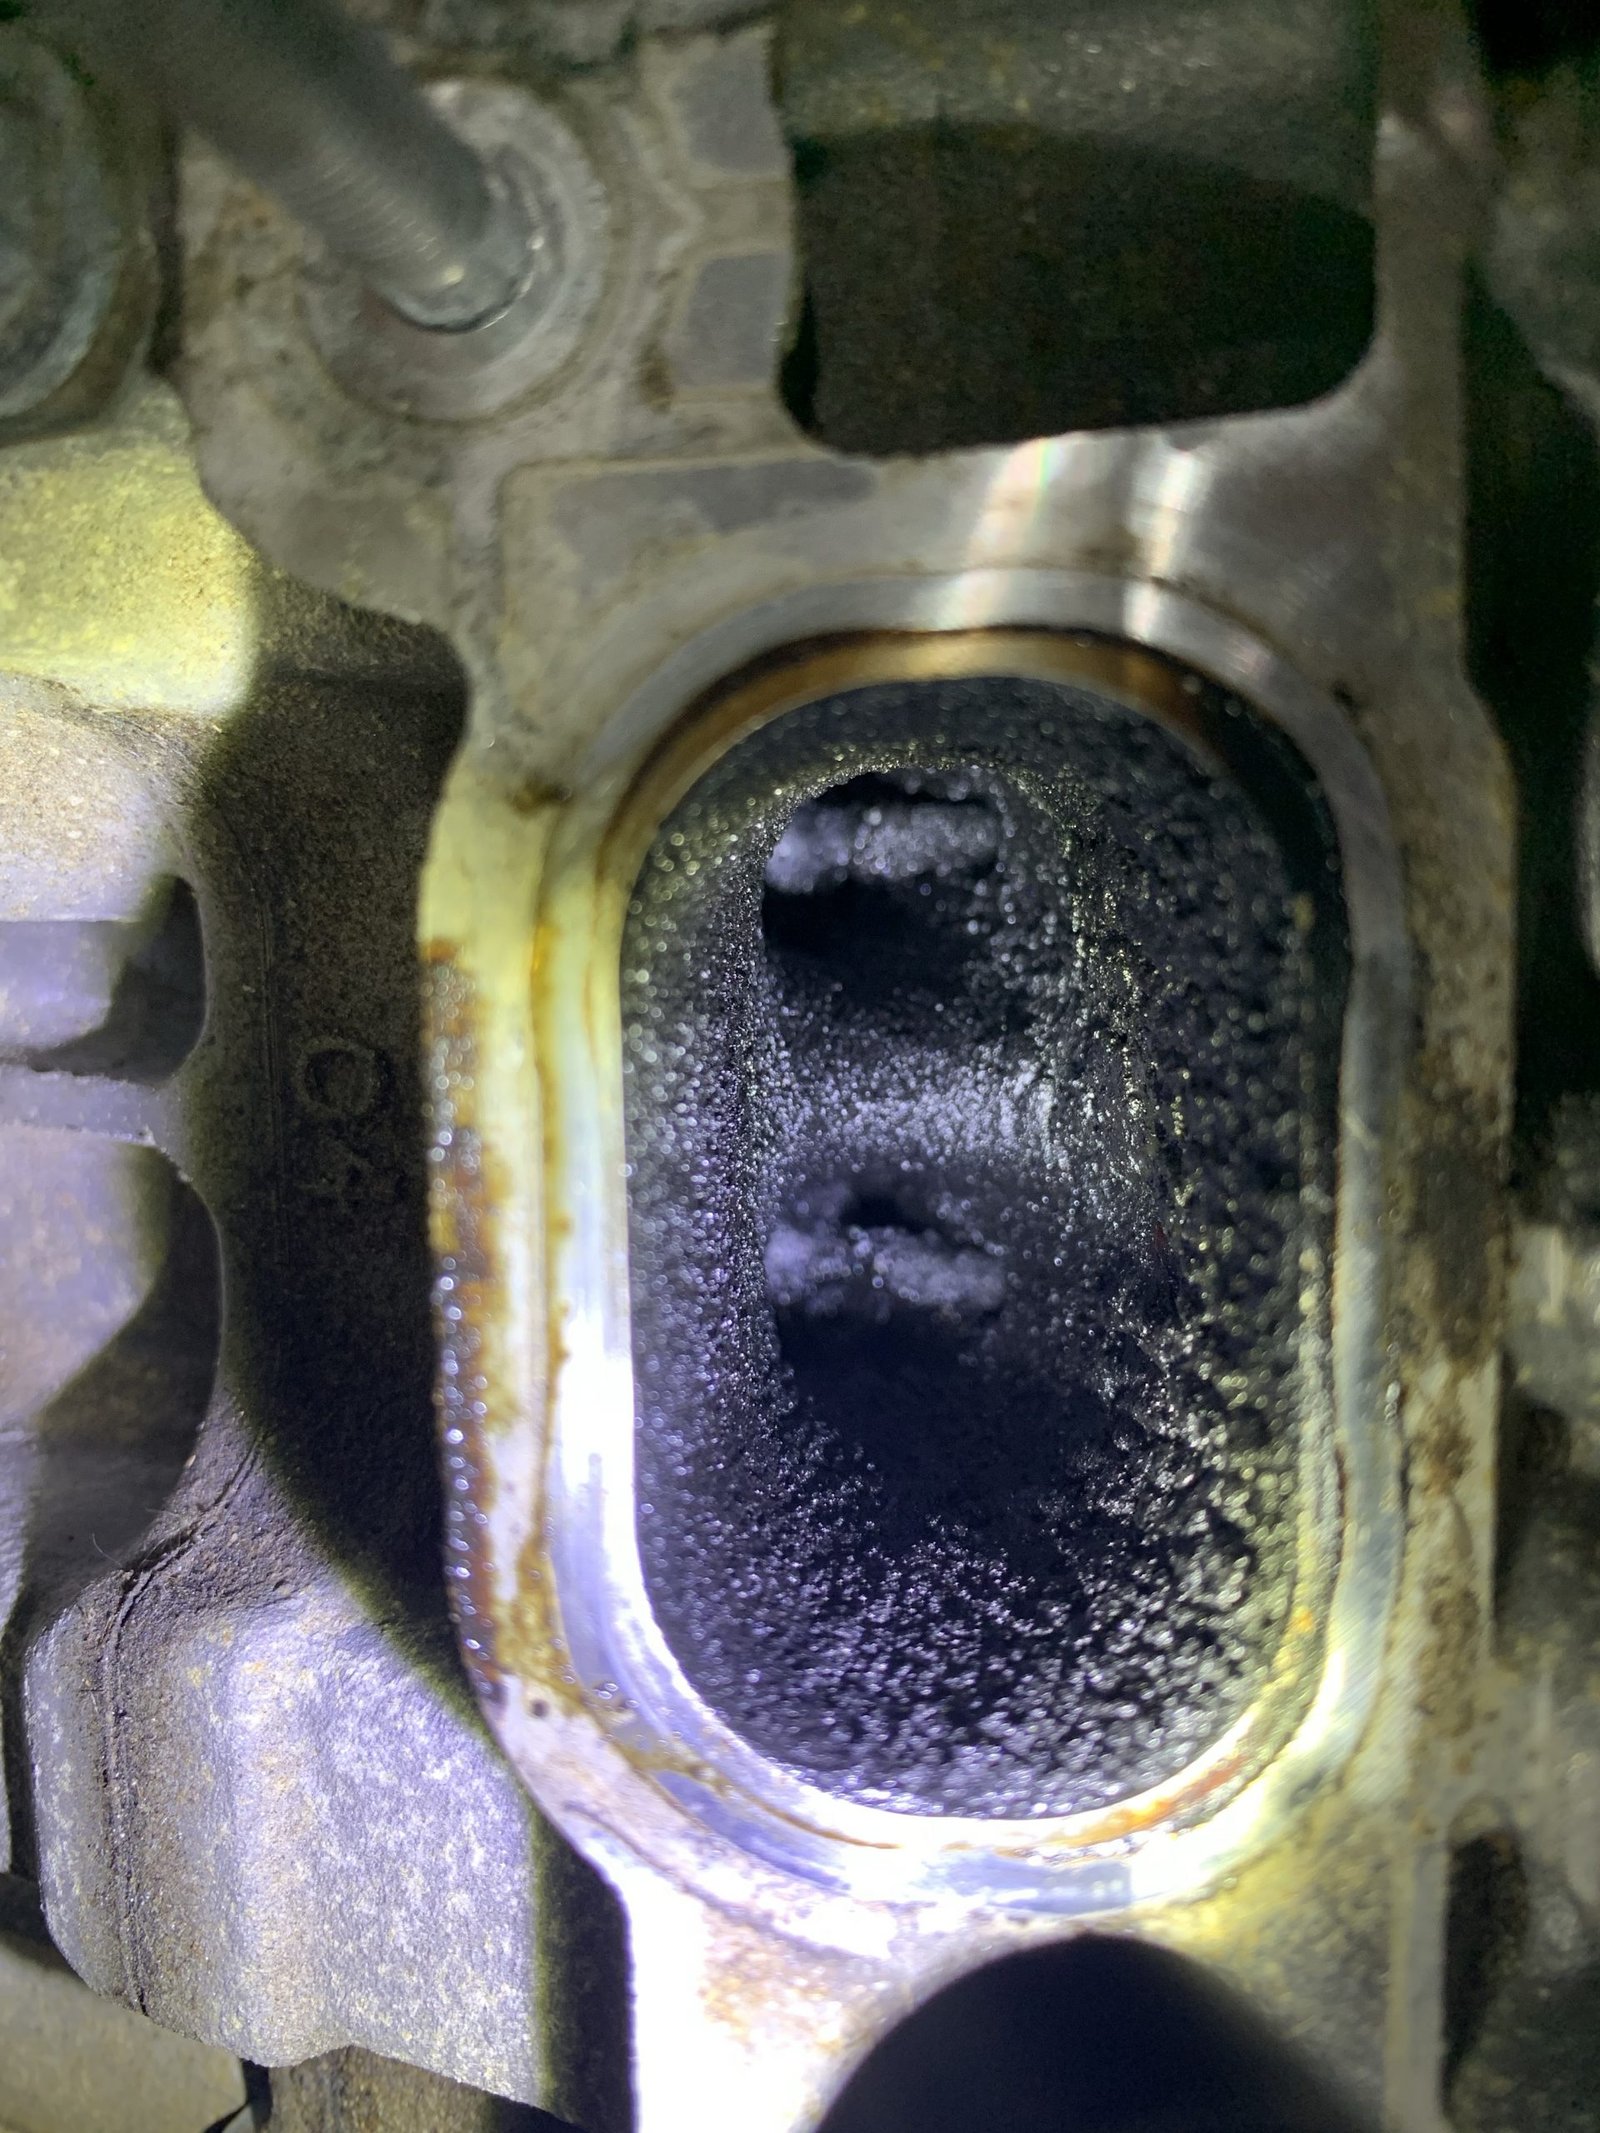
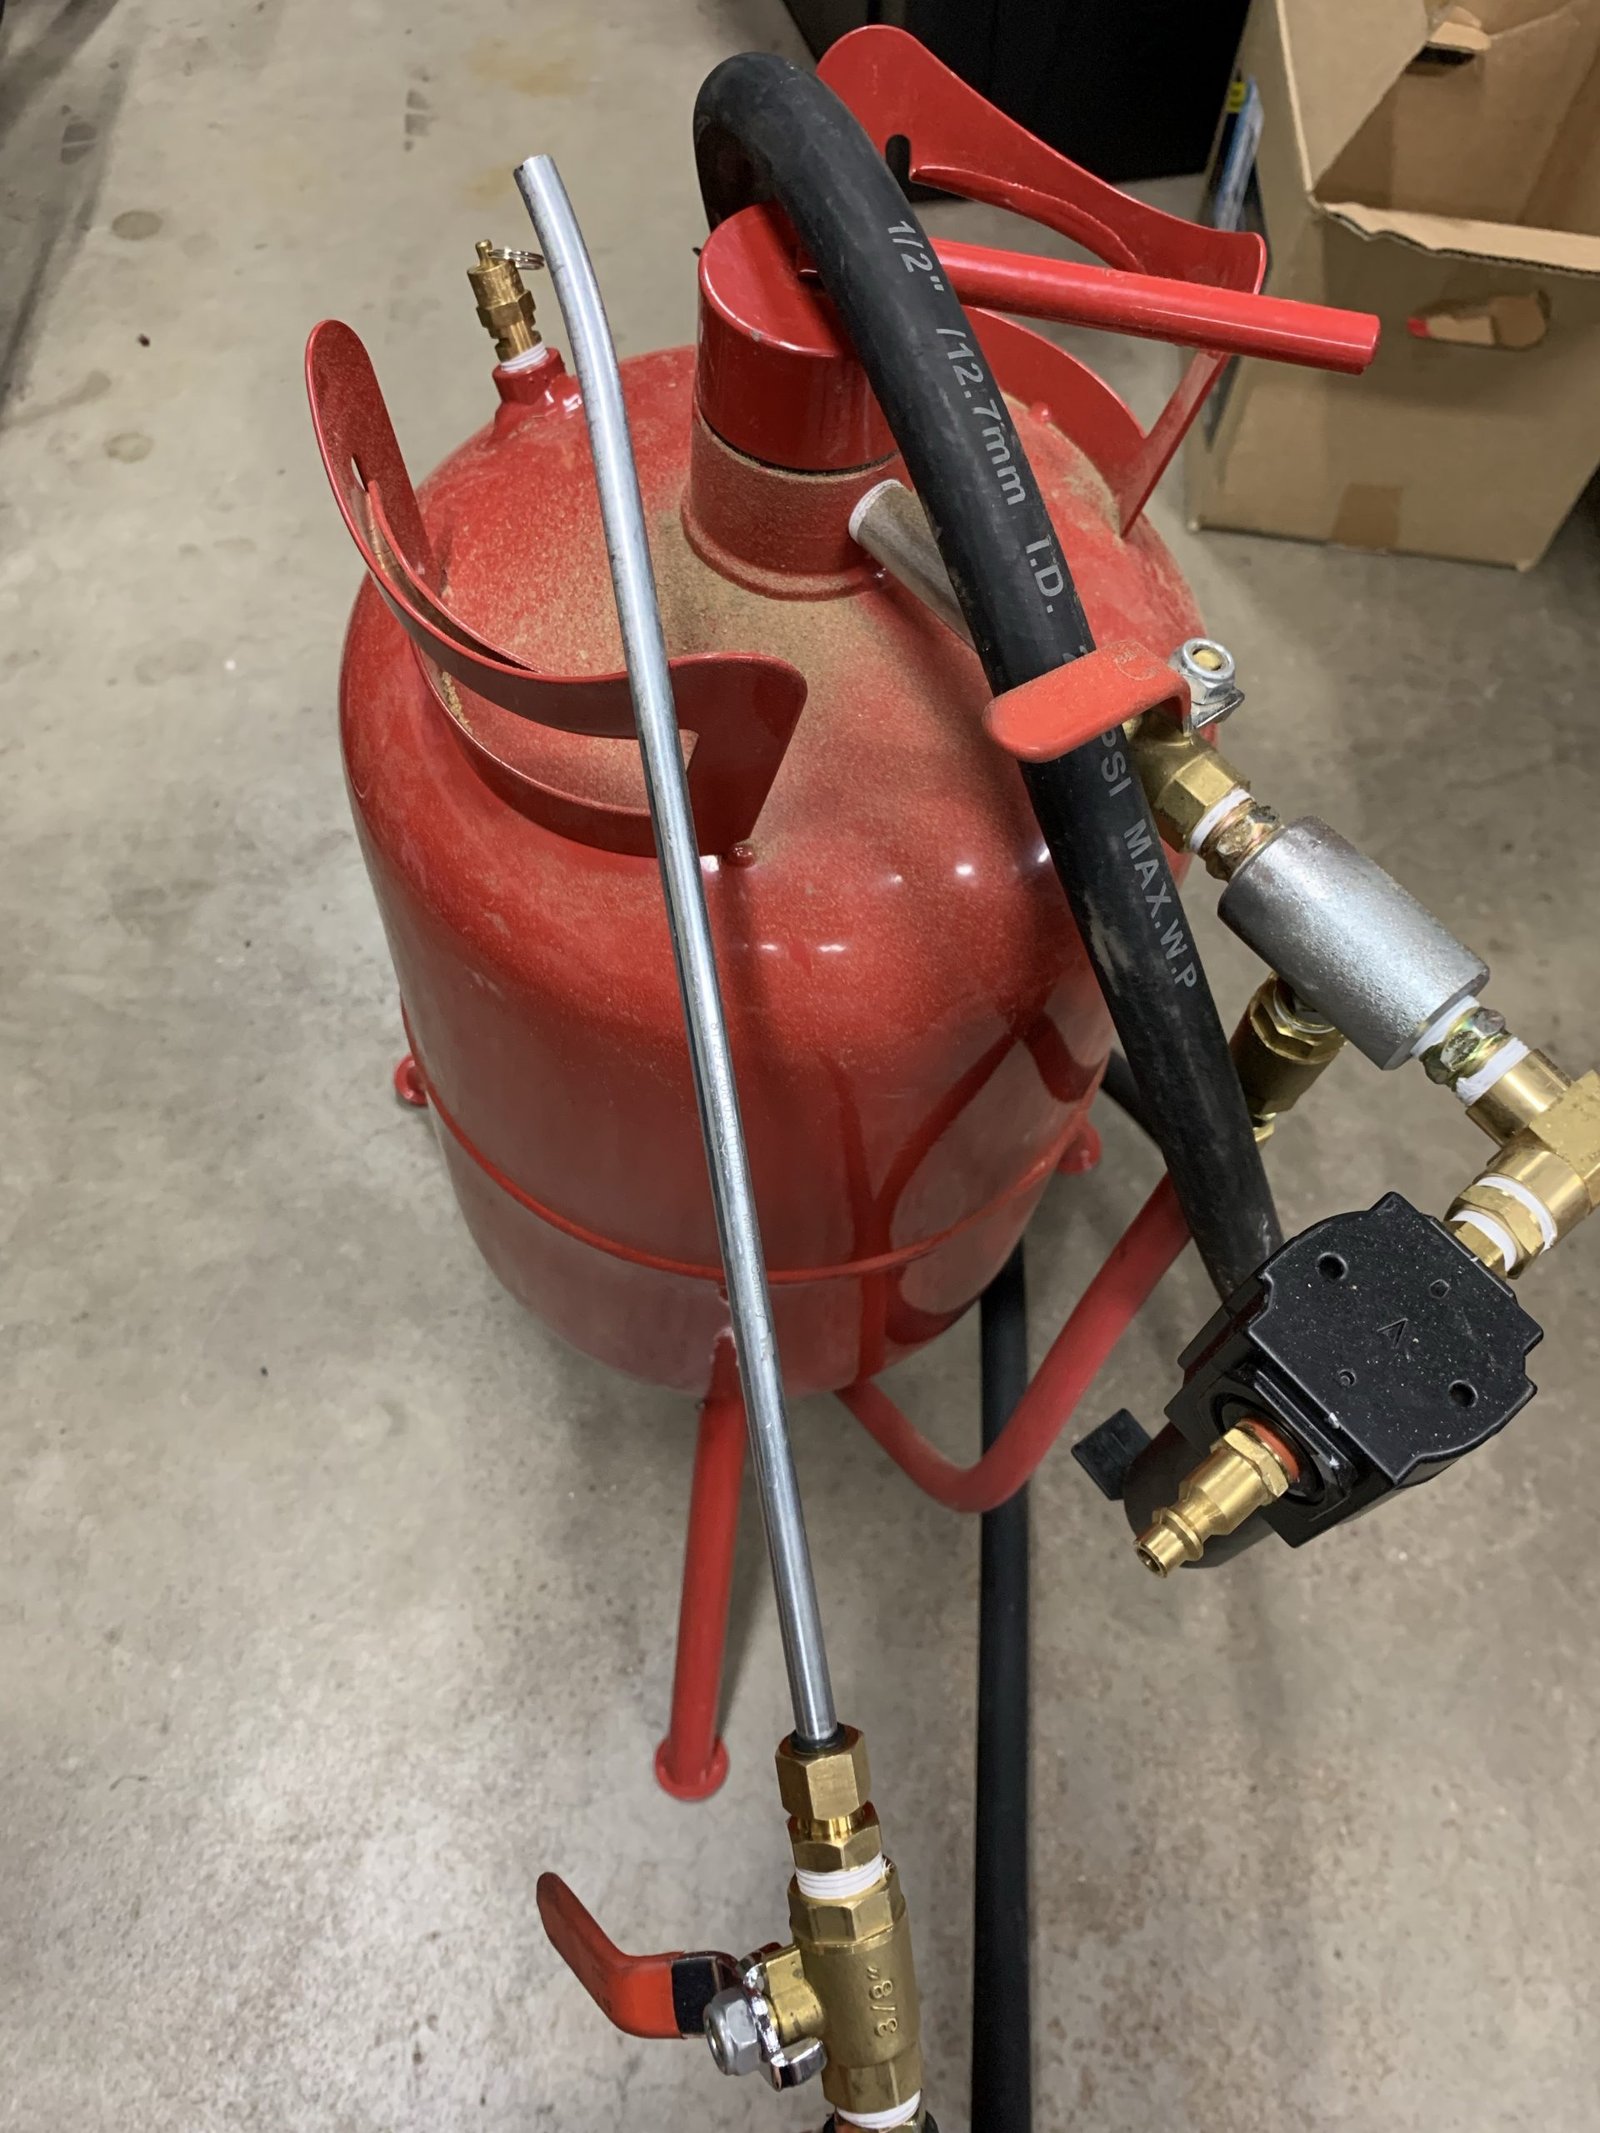
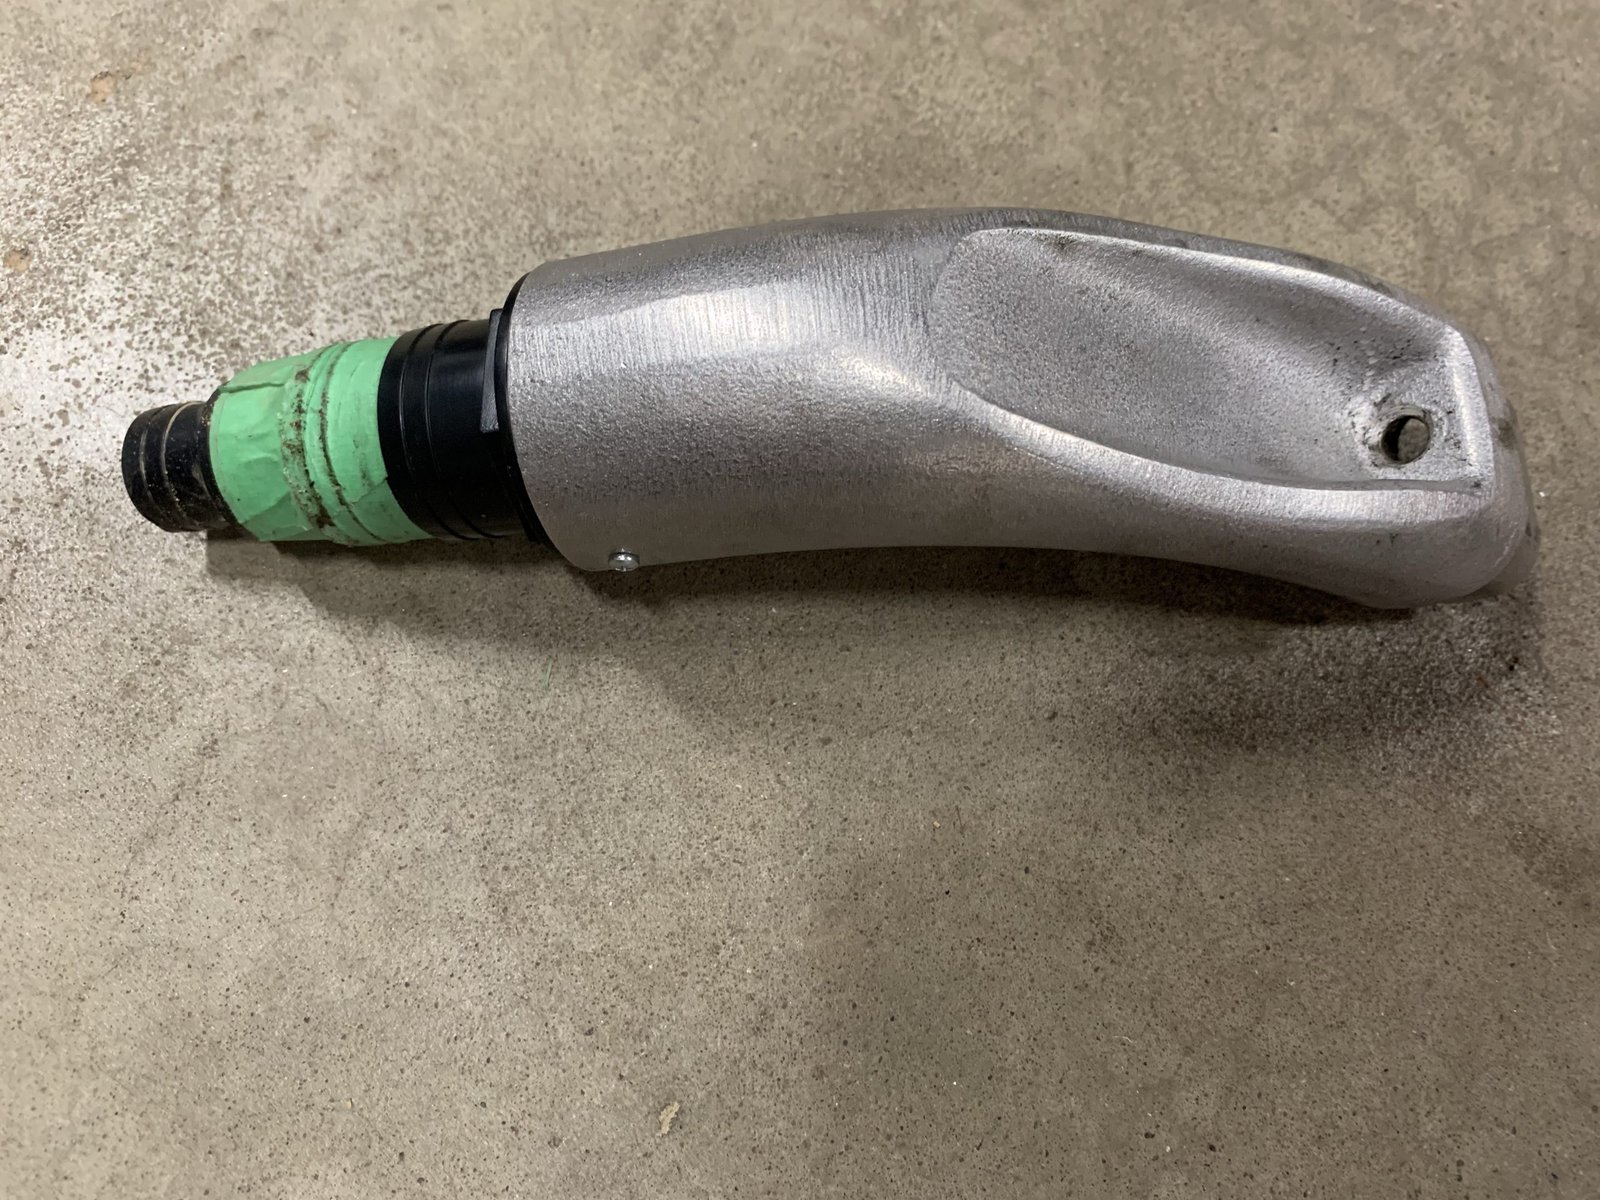
Cleaning of the intake valves can be done without major disassembly. Typically walnut shell media blasting of the valves and intake ports in the cylinder head work very well. The walnut shell media is soft enough that it won’t harm the cylinder head or valves, but does an excellent job of removing carbon. If some particles are left behind and get sucked into the engine, they will burn during combustion or get blown out the exhaust. An adapter is placed into the intake port which will be cleaned. A vacuum attaches to the adapter to suck out walnut shell media while blasting the valves. A media blaster with a wand attachment is inserted into the intake port/vacuum adapter and blasting of the carbon can be done.
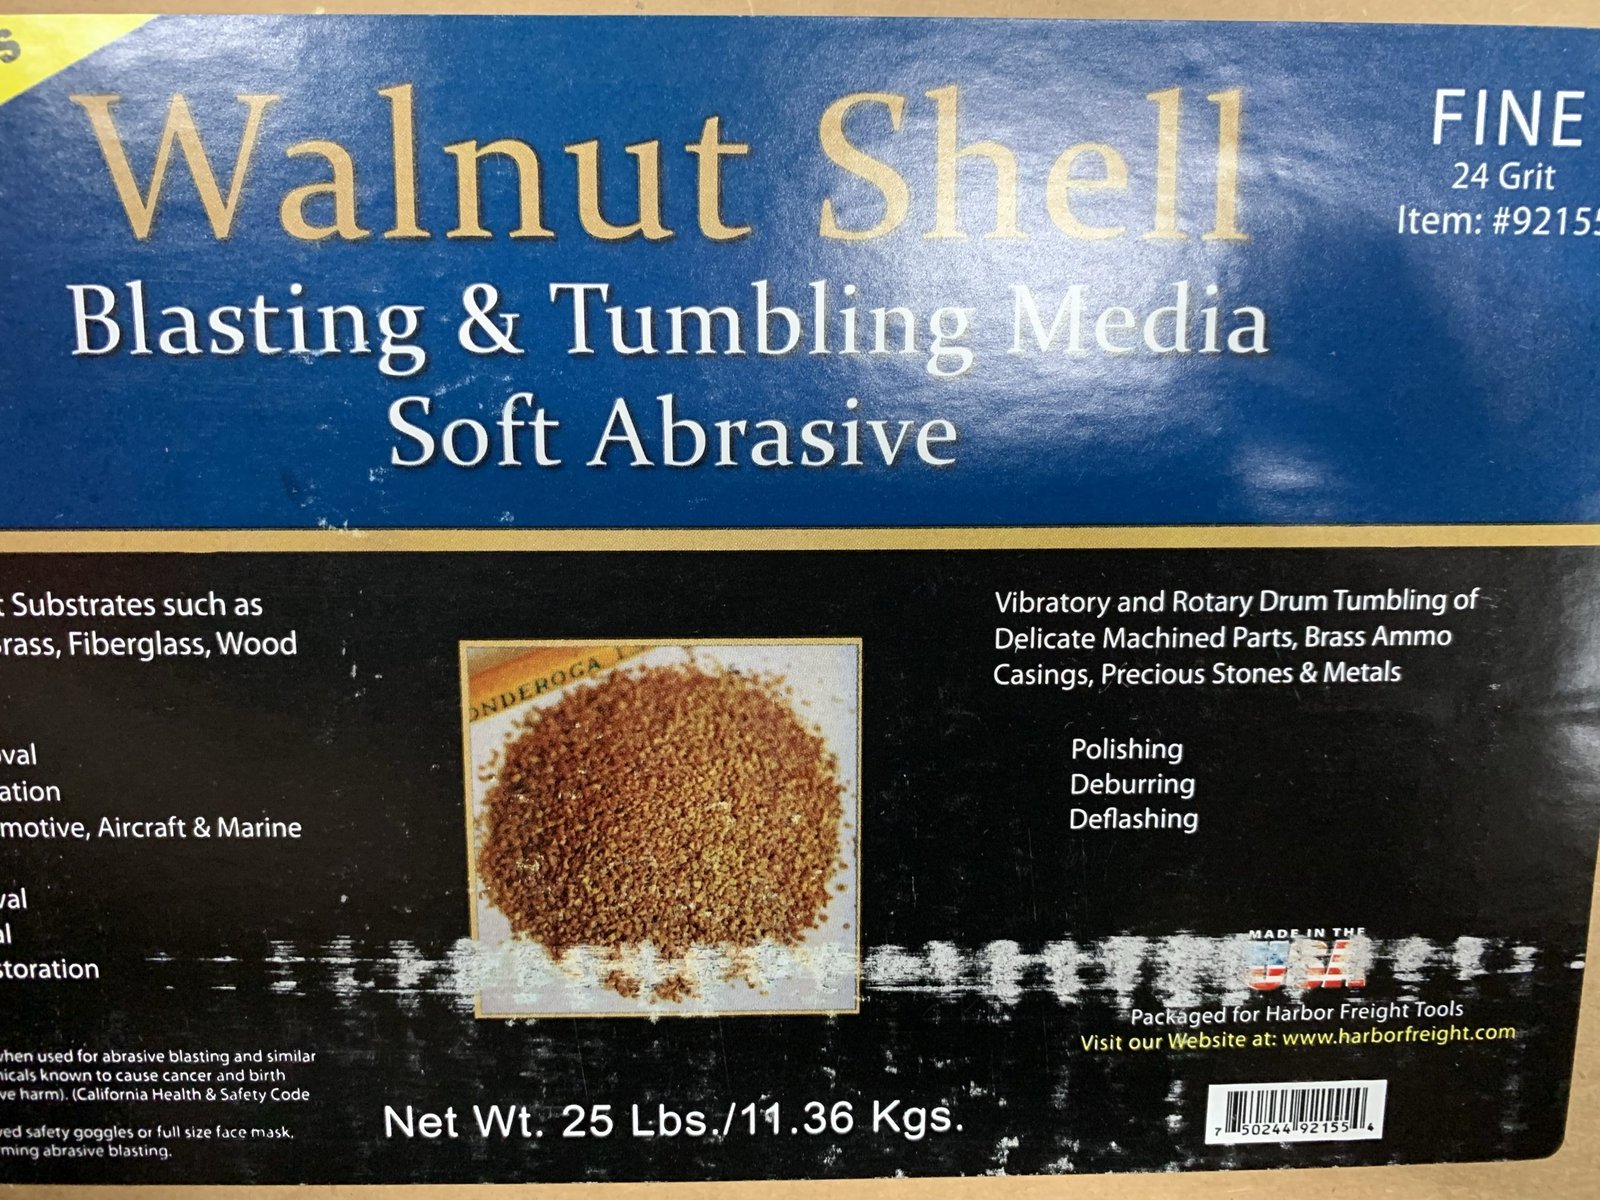
I blasted the valves and as much of the ports as possible with the walnut shells. Some areas don’t clean right away and scraping of large, deep areas of carbon will speed the process. Carburetor cleaner can also be used to soak the valves and soften the carbon. I have used a brake fluid suction device to remove the liquid and then further clean with the walnut shell blasting. It can be somewhat tedious, but the results create new looking valves and intake ports.
Control Arm Bushings

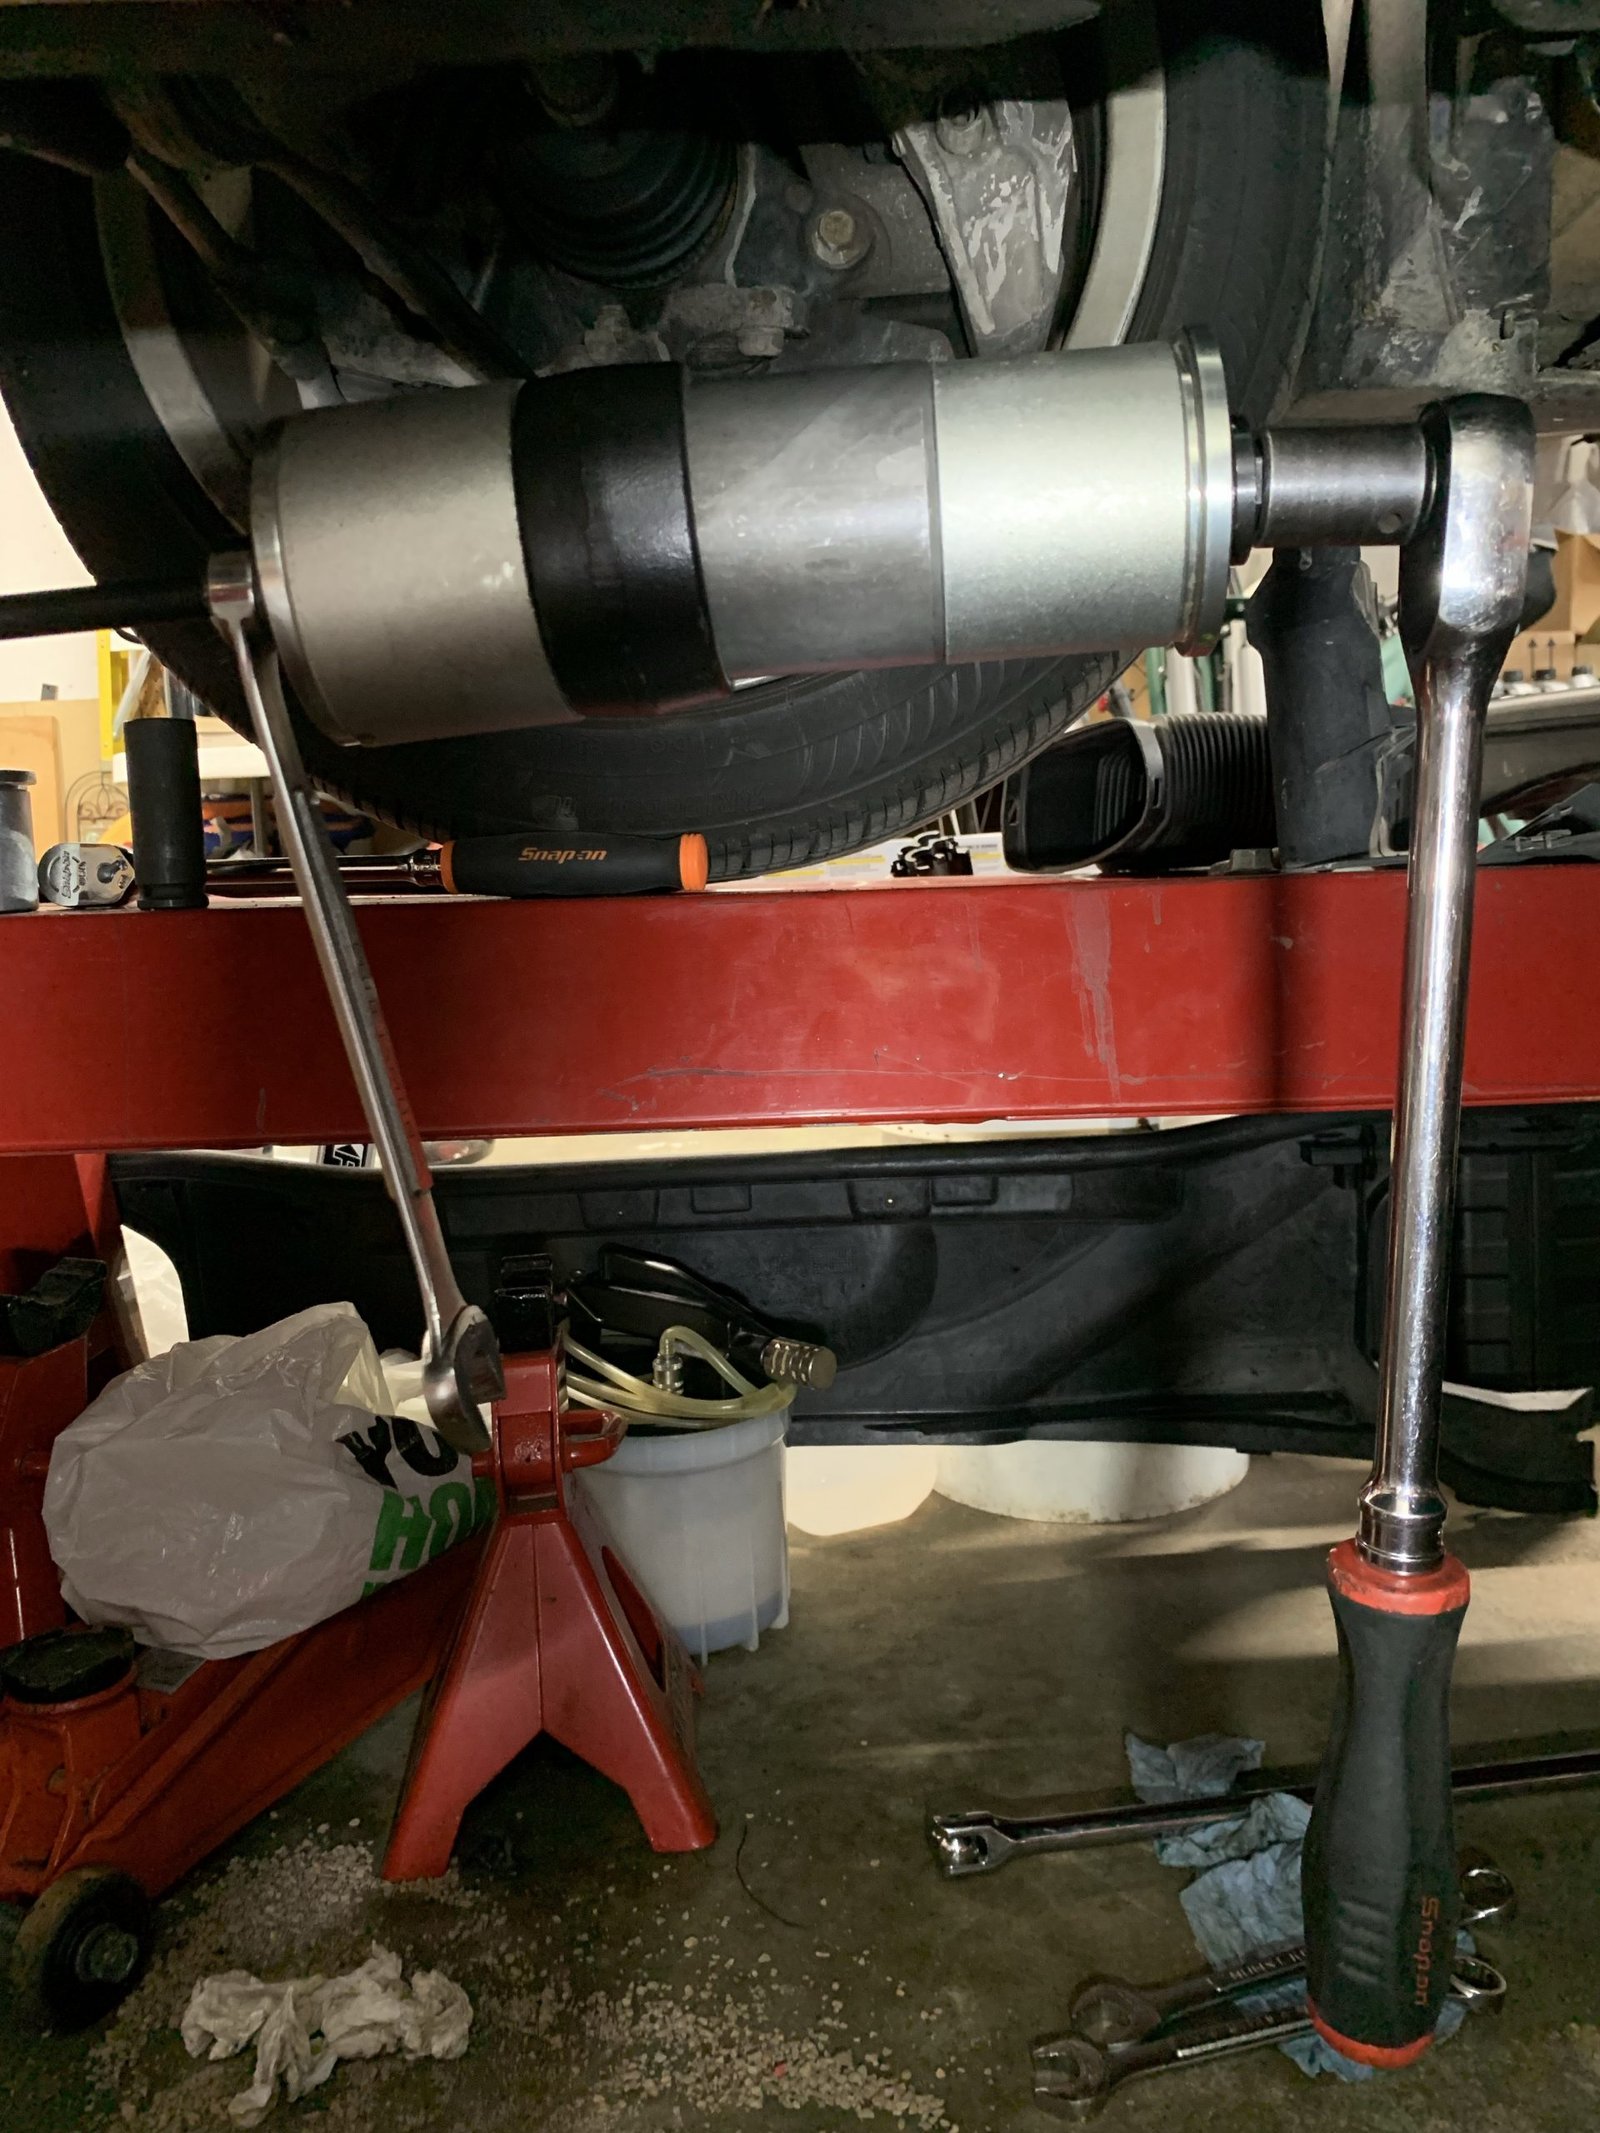
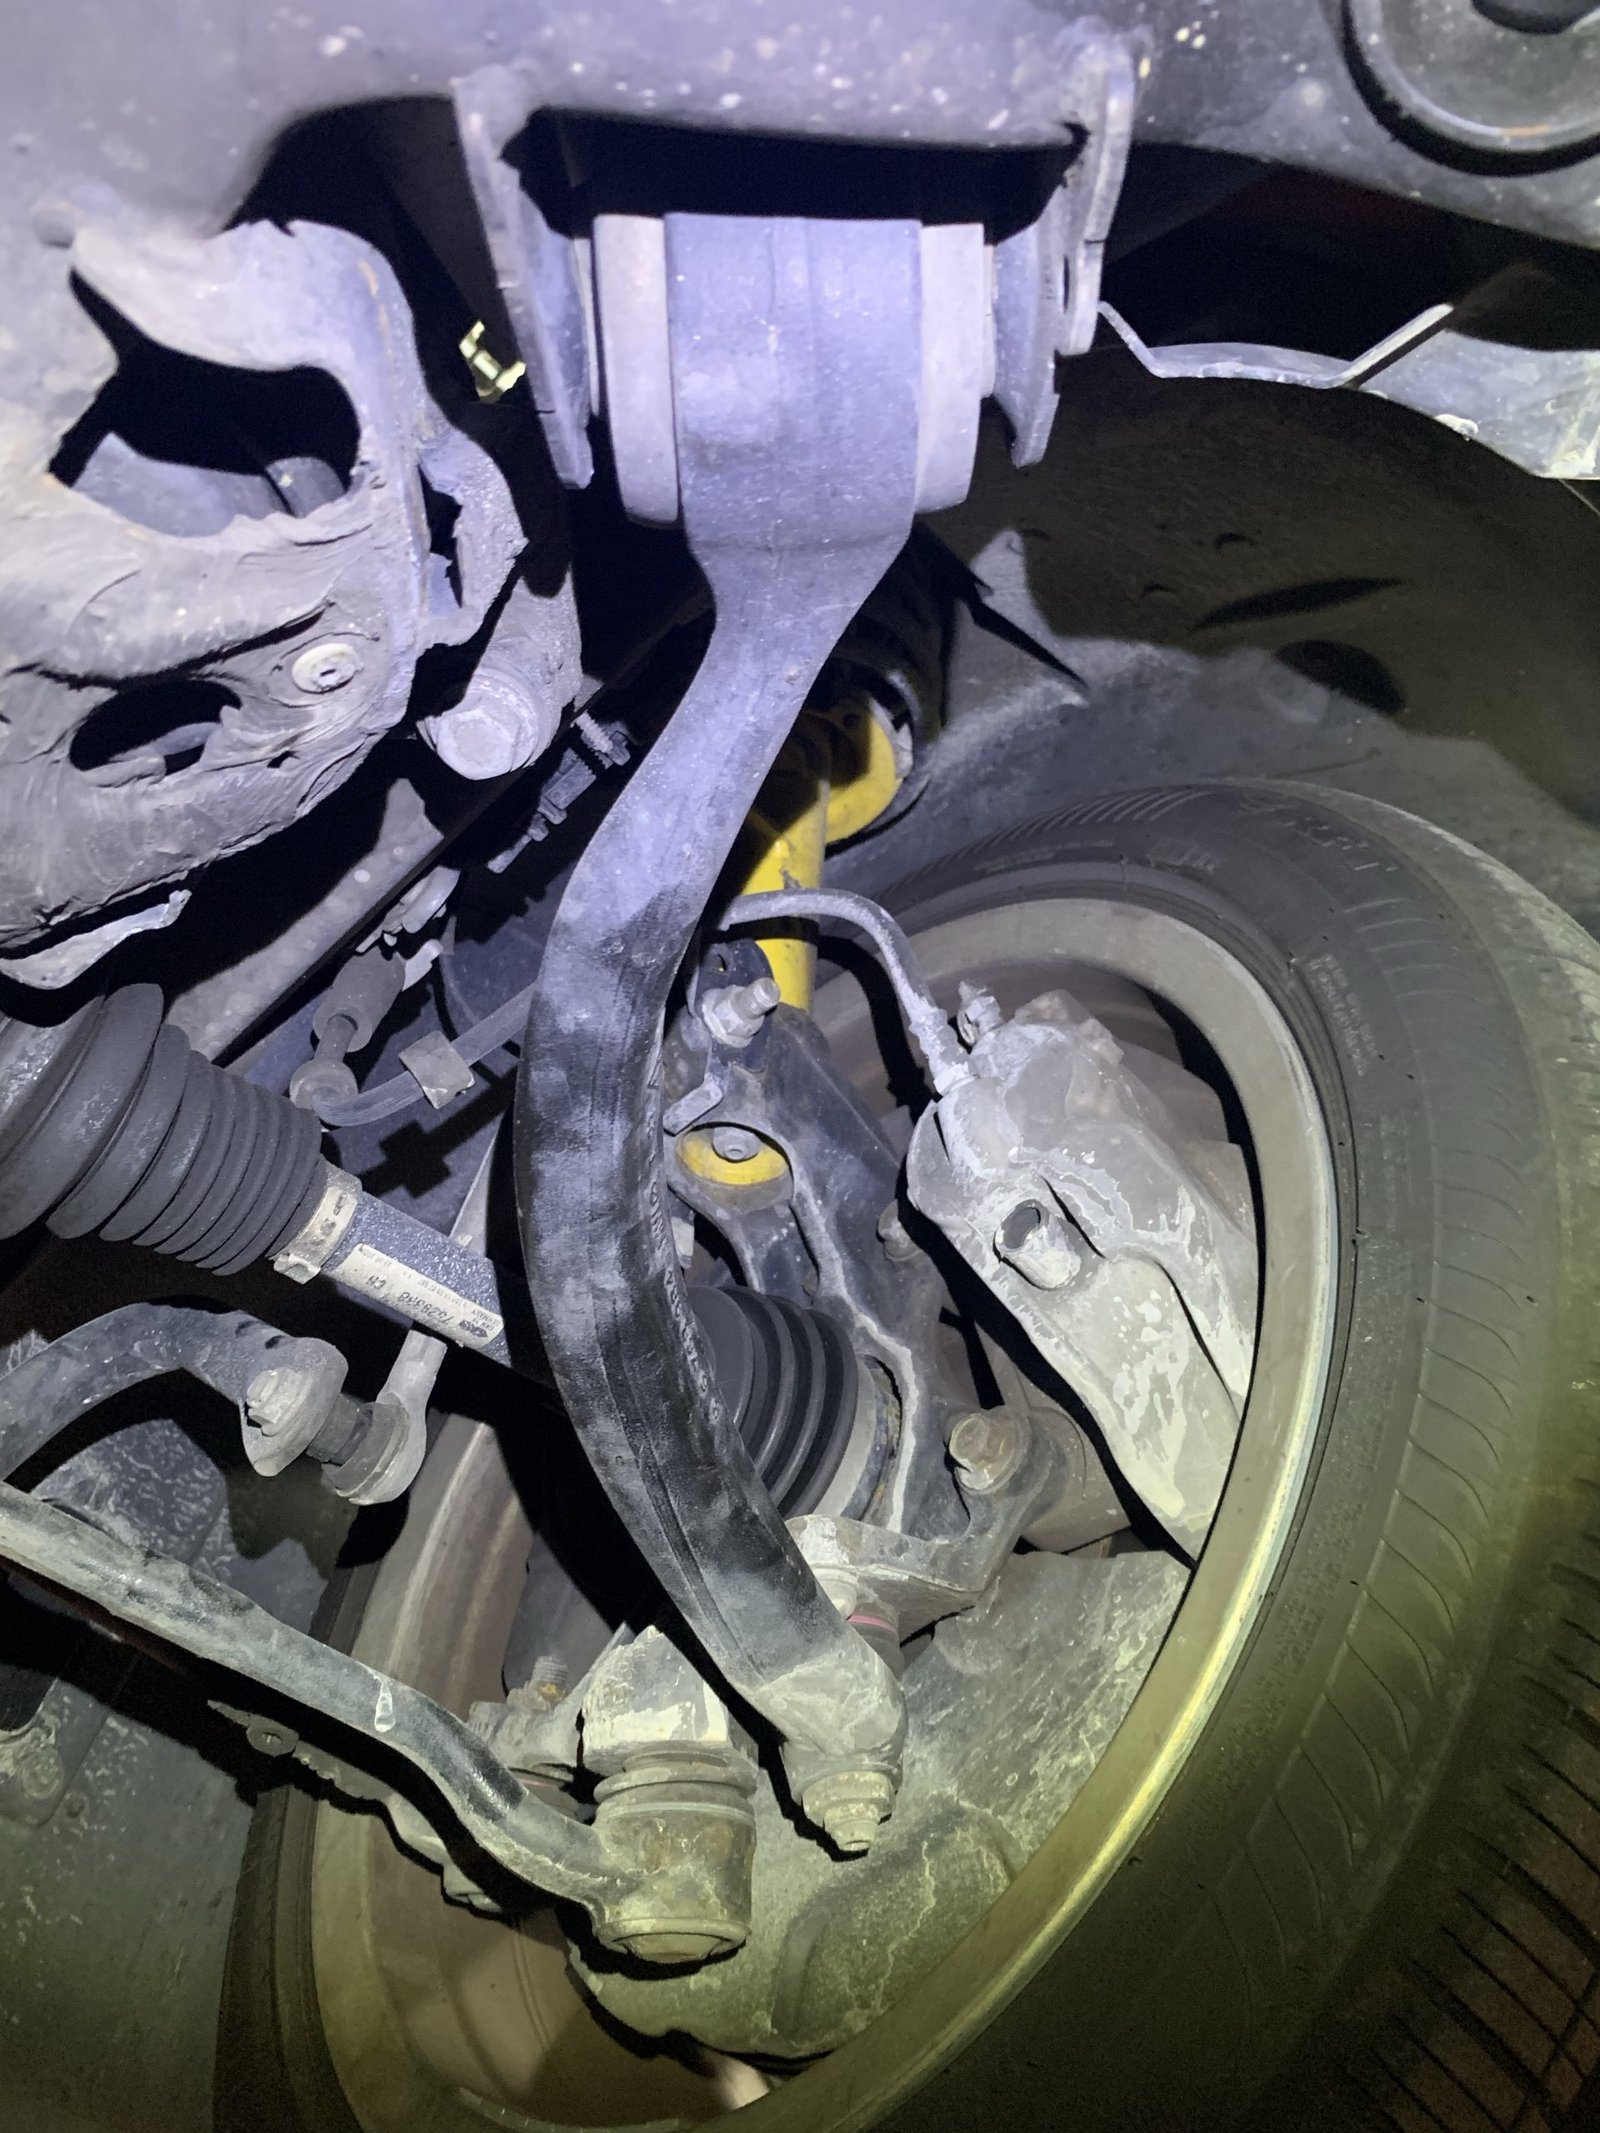
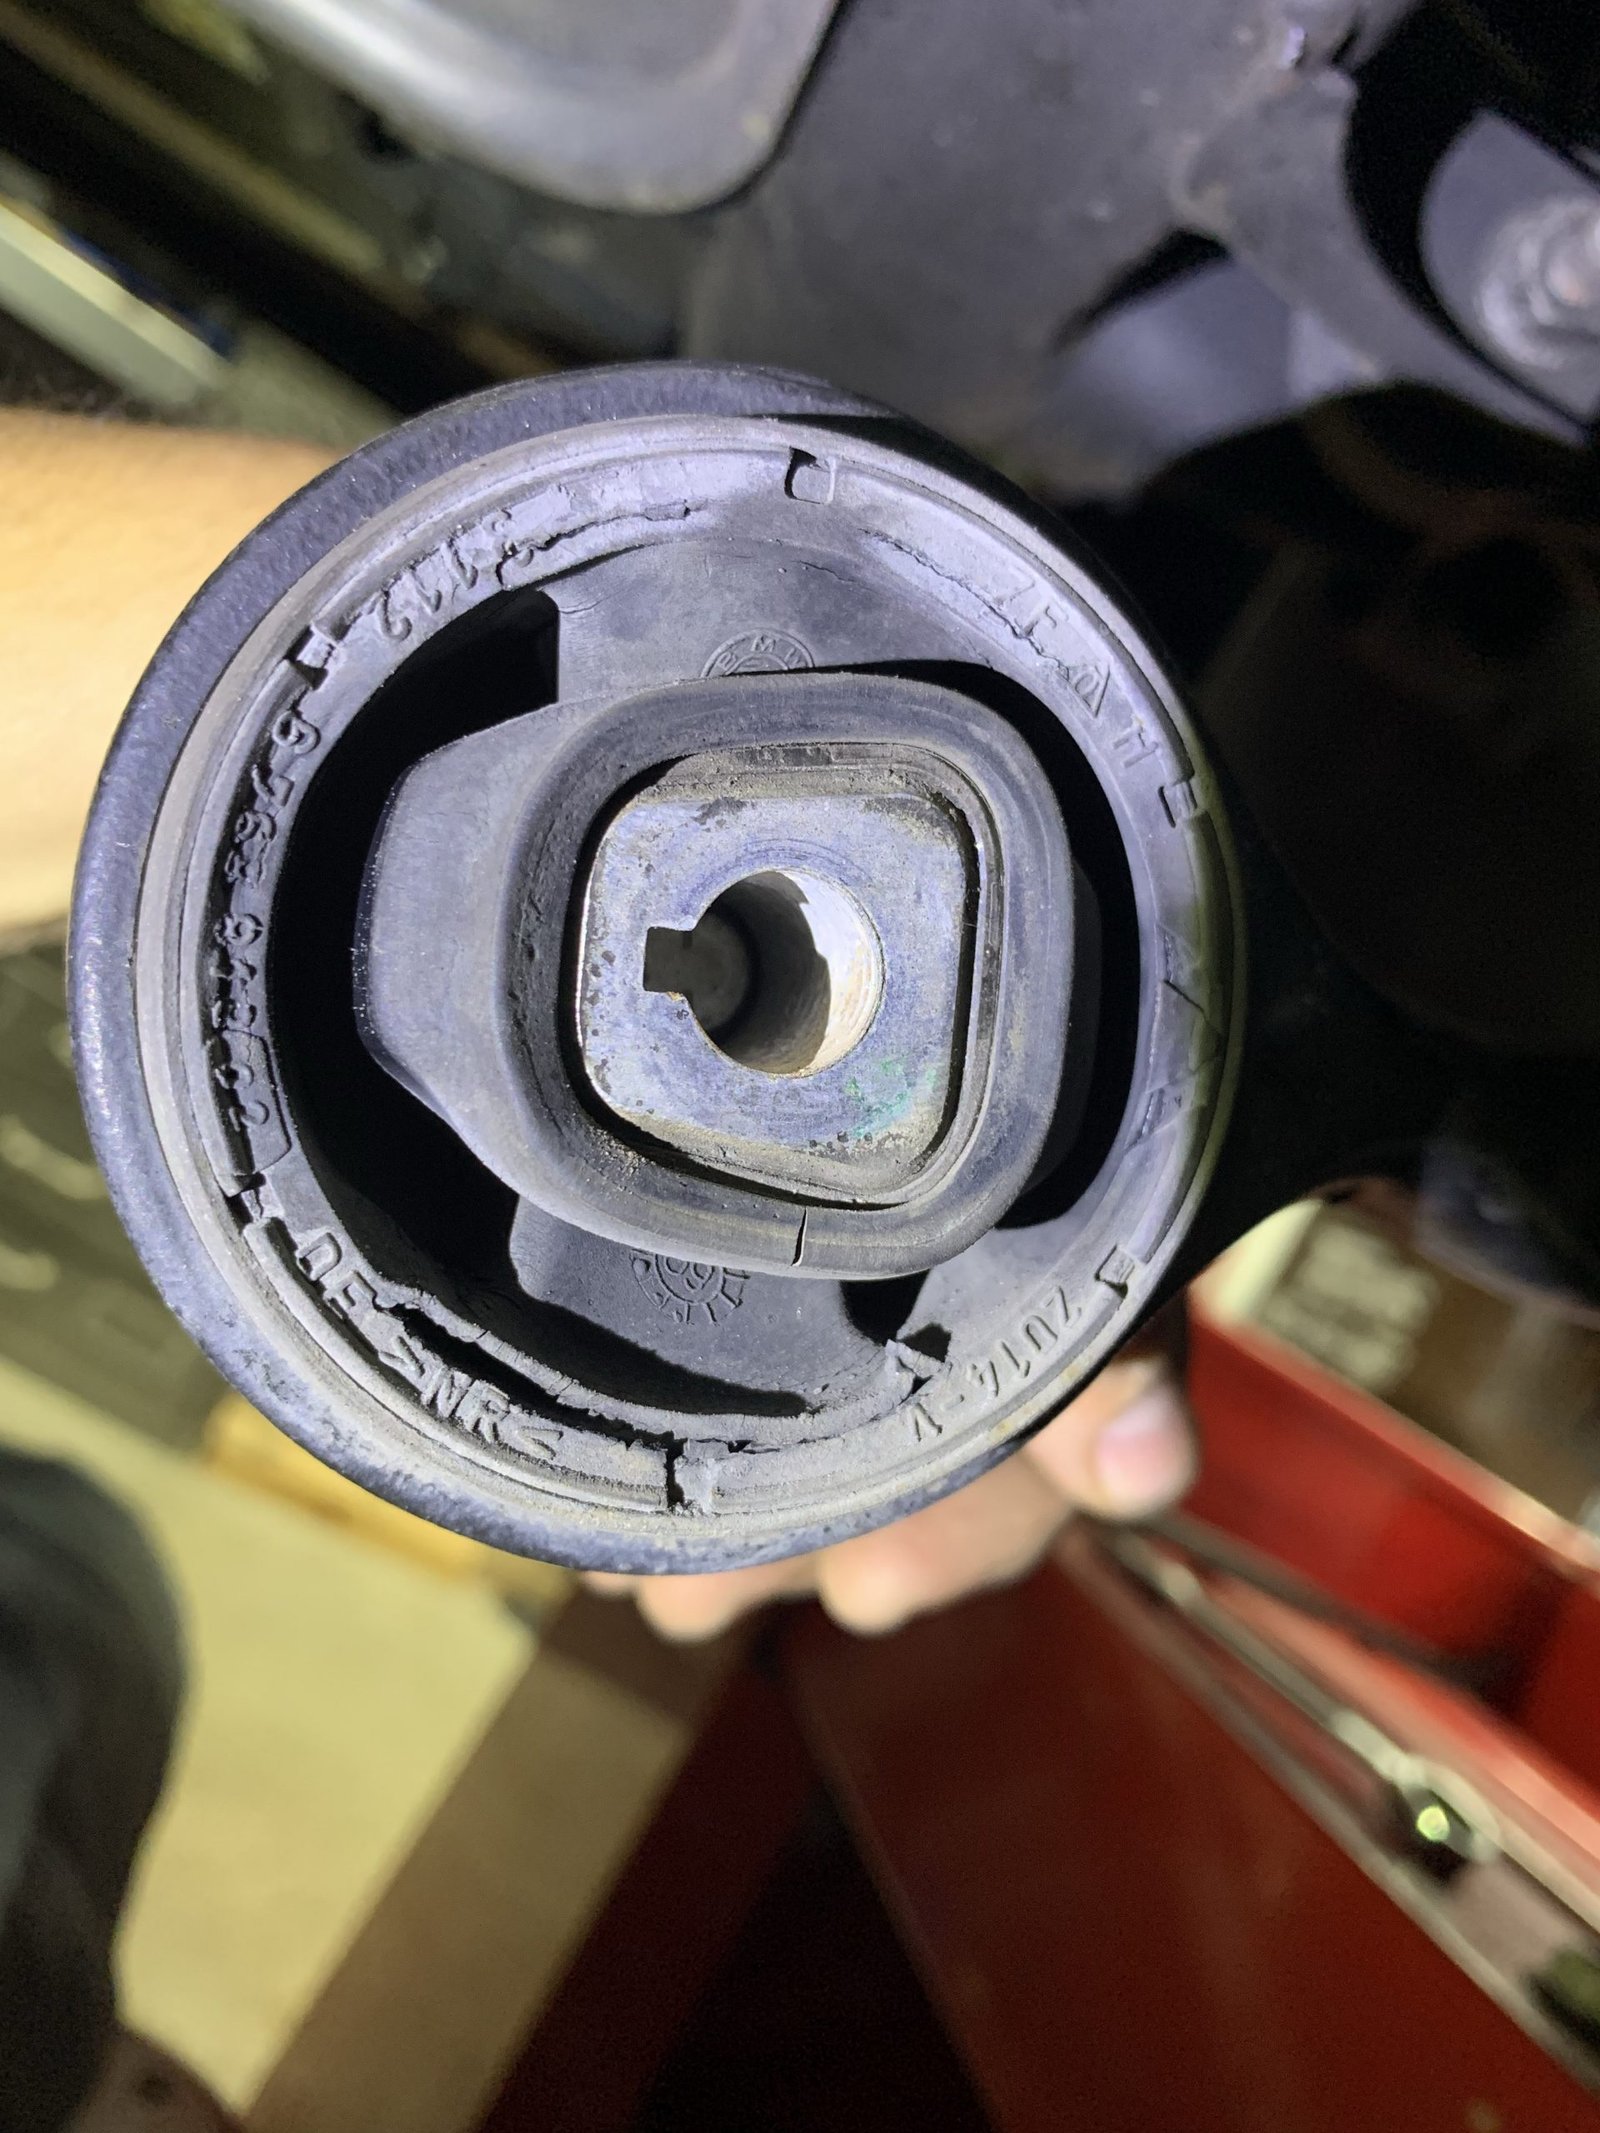
Control arm, sometimes called tension strut, bushings on many BMW’s wear out and will cause a pretty violent steering wheel shake while braking at highway speeds. When starting to wear out, it can feel similar to warped brake rotors upon braking. As the bushings continue to tear and deteriorate, the steering shake while braking at highway speed becomes a good indicator of bushing failure. The bushings can be replaced separately from the control arms. Usually if there is a ball joint on the other end of the control arm, it’s wise to replace the whole control arm instead of just replacing the worn out bushings. This particular control arm has a hole for the ball joint to attach to the control arm at the other end, so nothing is gained by replacing the control arm over just the bushing.

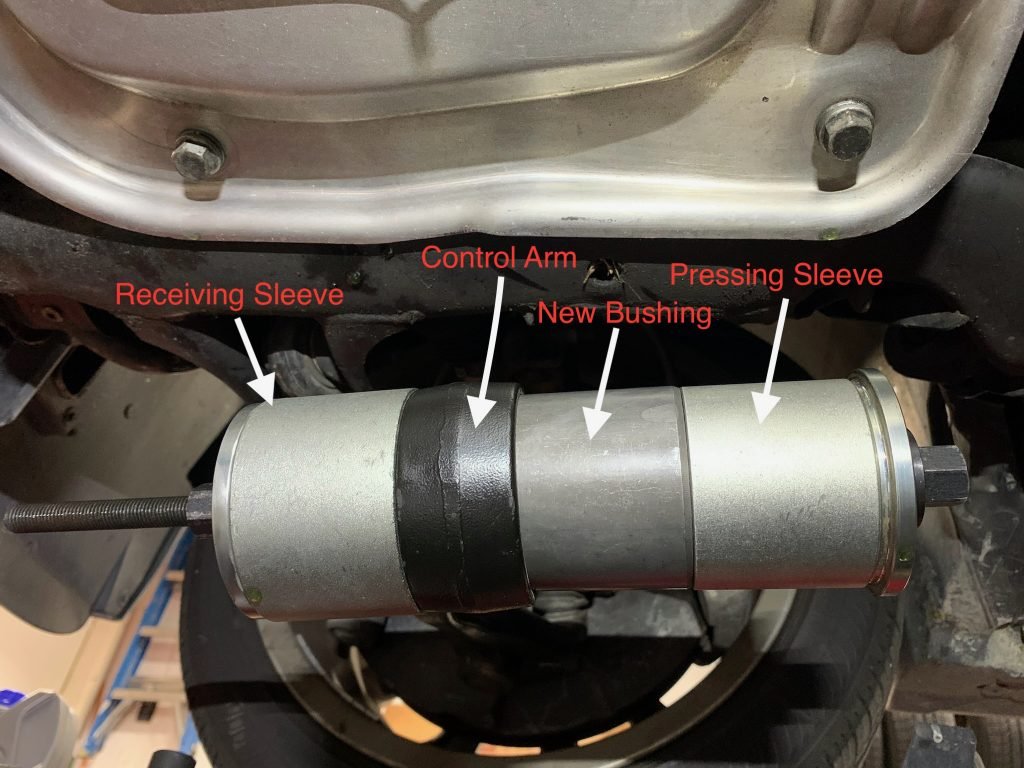
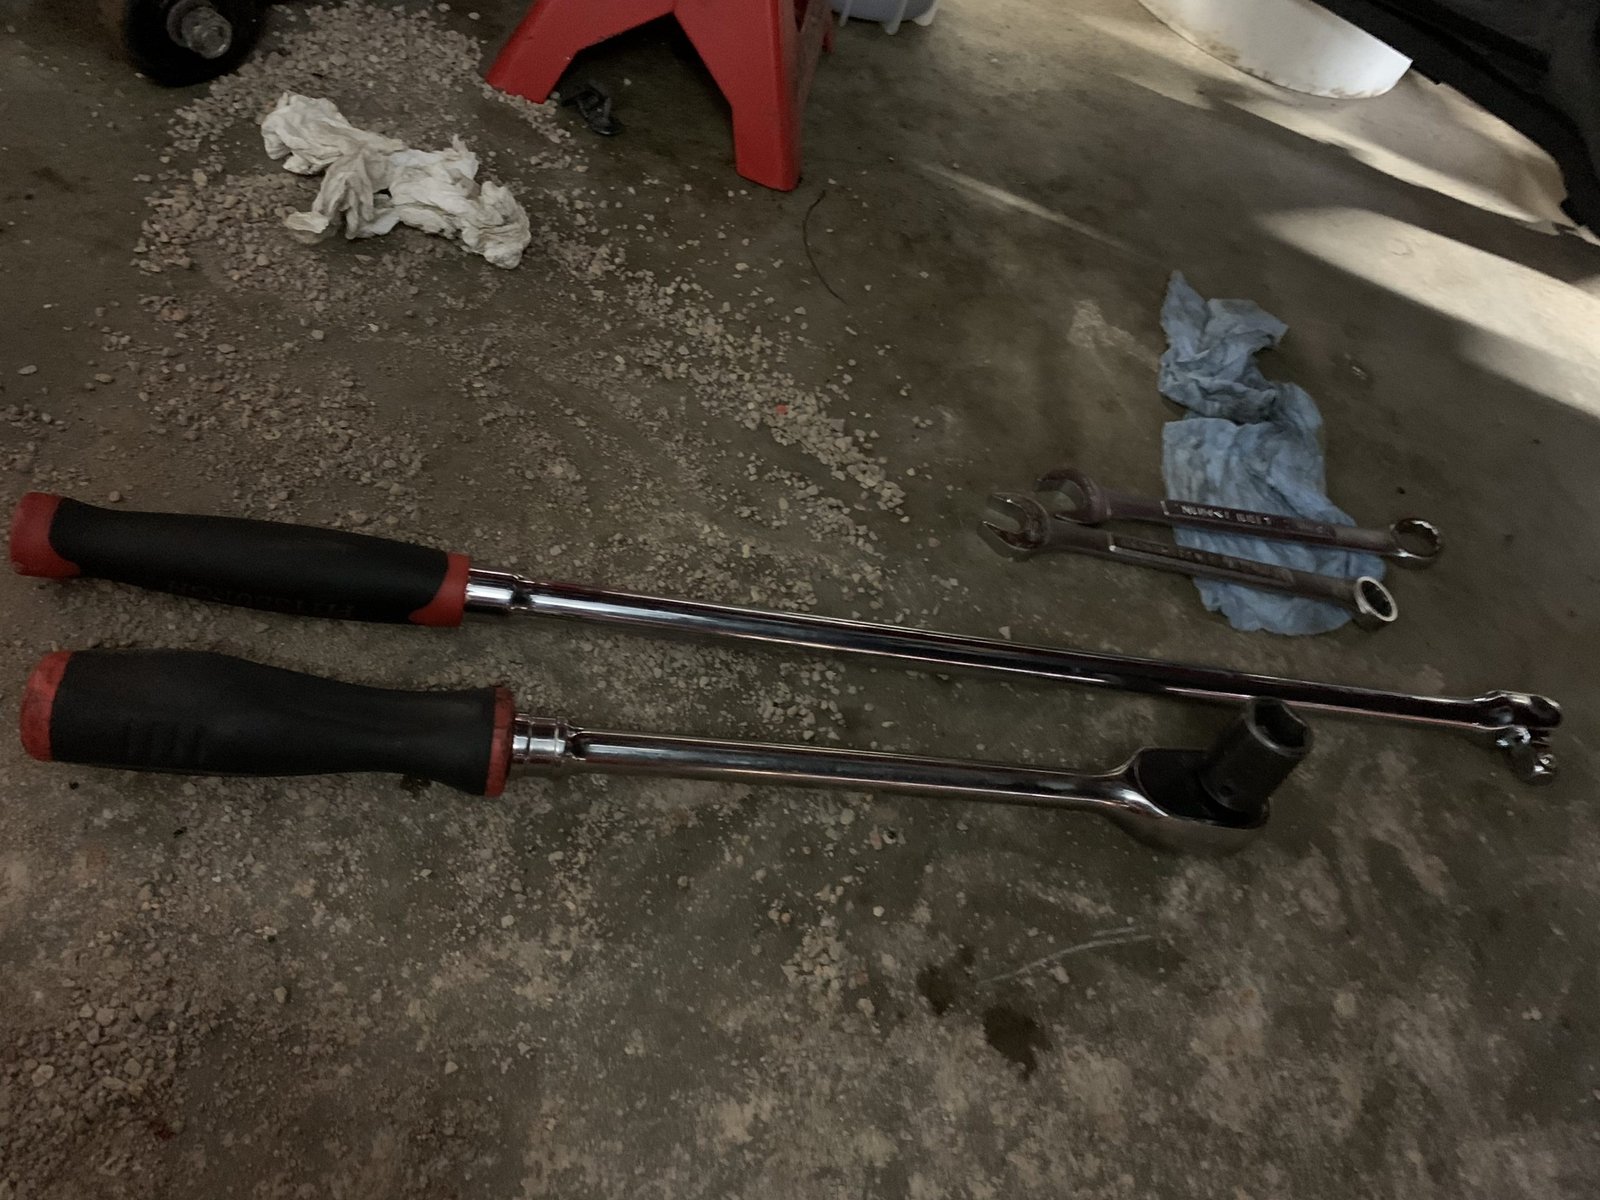
To replace the bushings, the control arm can be removed and a standard hydraulic press with proper adapters can be used to replace the bushing. Another way to replace the bushing is with a long threaded rod and proper size cups/sleeves. This method allows the control arm to remain on the vehicle. You’ll notice the wheel is not even removed, only jacked up off the ground. One sleeve needs to match the outside diameter of the bushing and the other sleeve will receive the bushing as it’s pressed out. The same process is done in reverse to install the new bushing. It is best to have very long handled ratchets when trying to press out and install the bushings through this method. There is a lot of force required and the more leverage the better. Applying a little heat to the end of the control arm where the bushing is to be removed/installed is also helpful.

Worn Spark Plugs

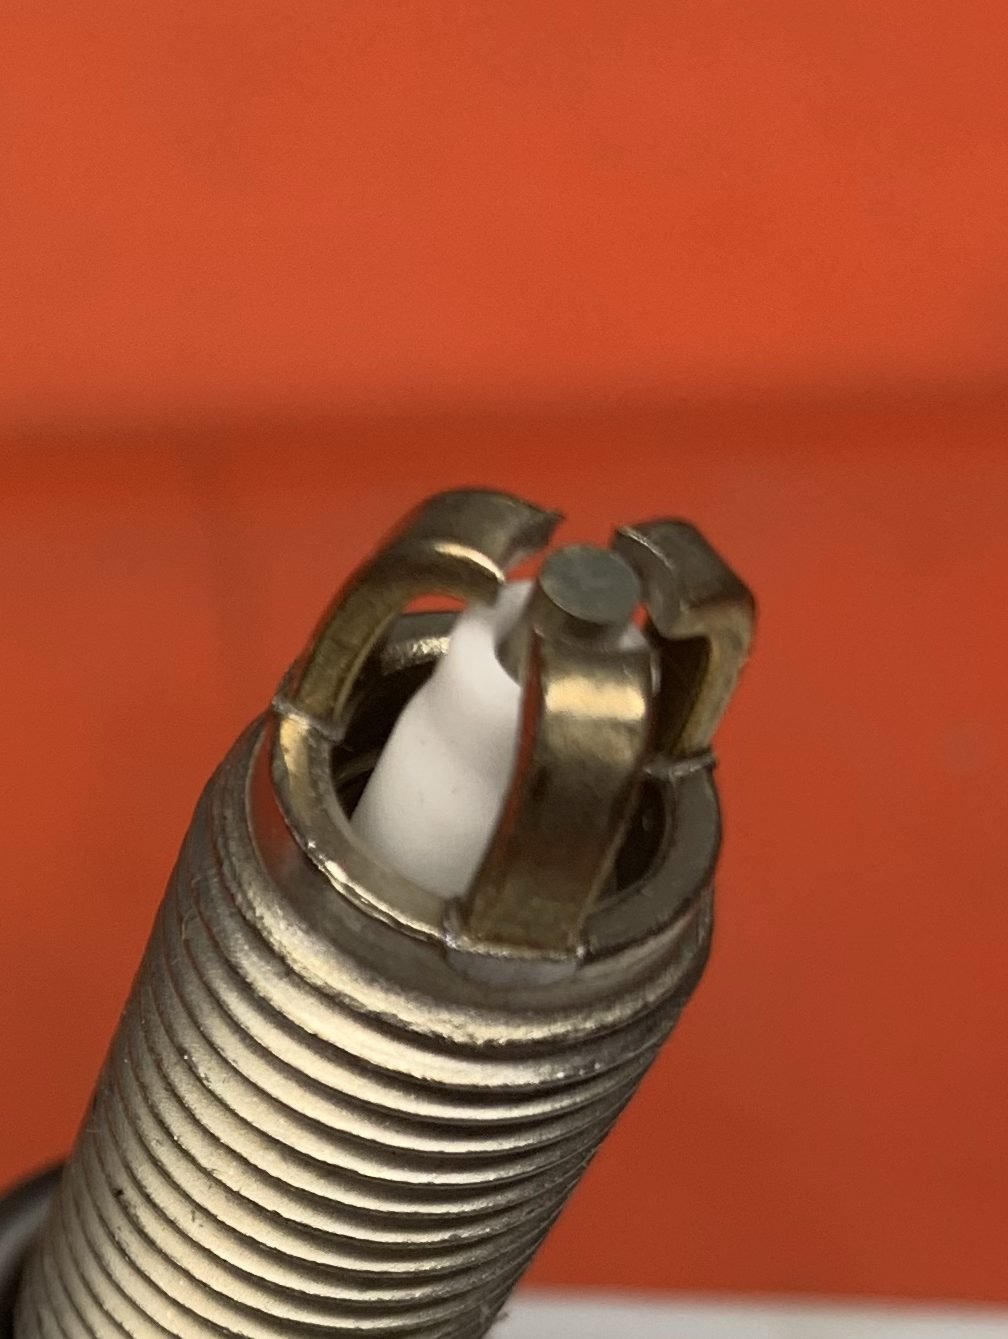
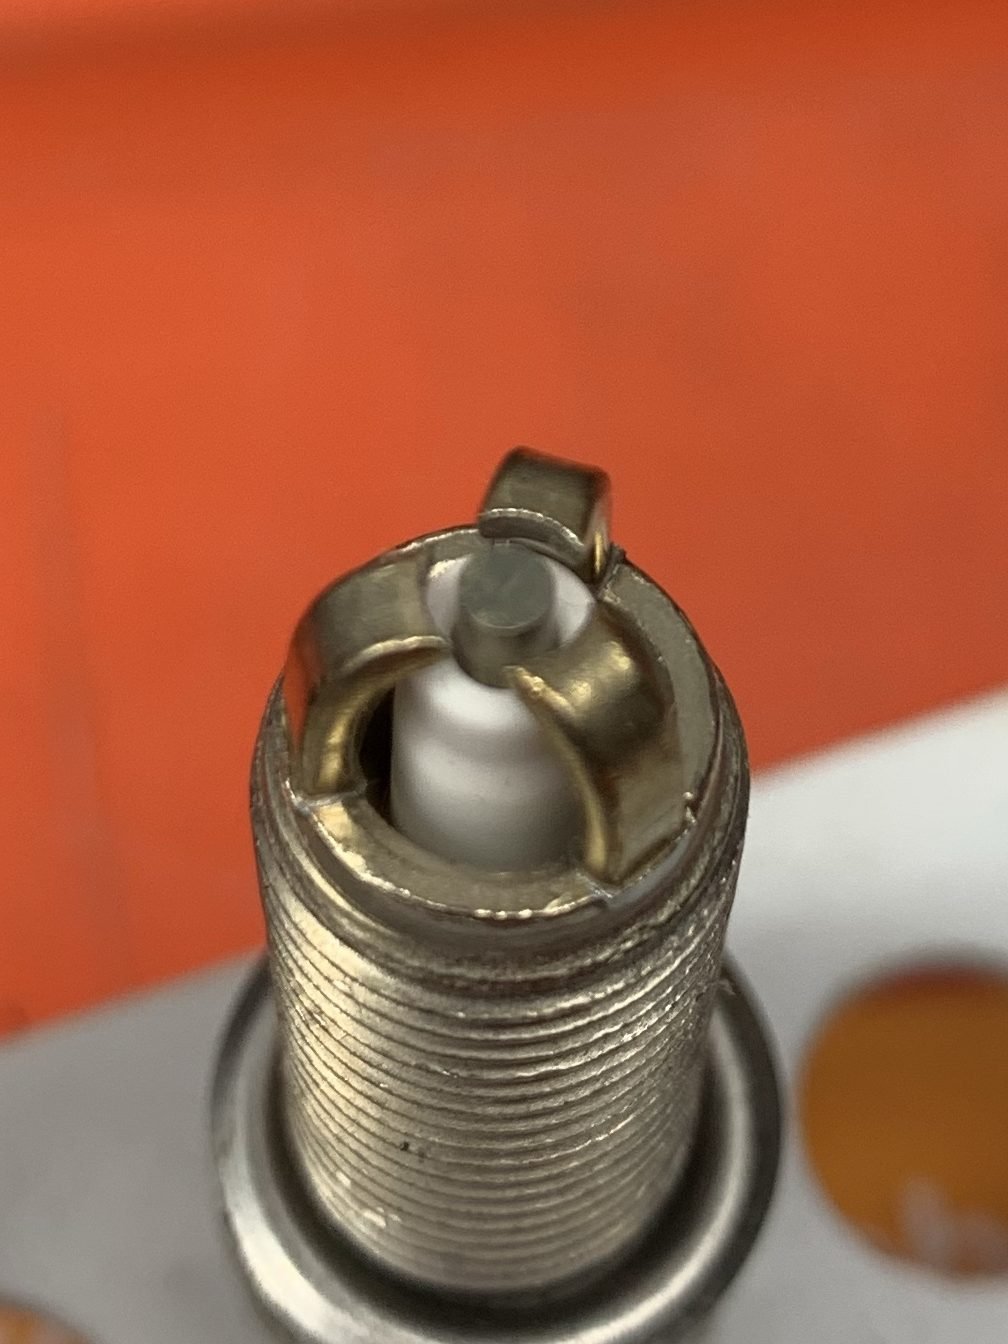
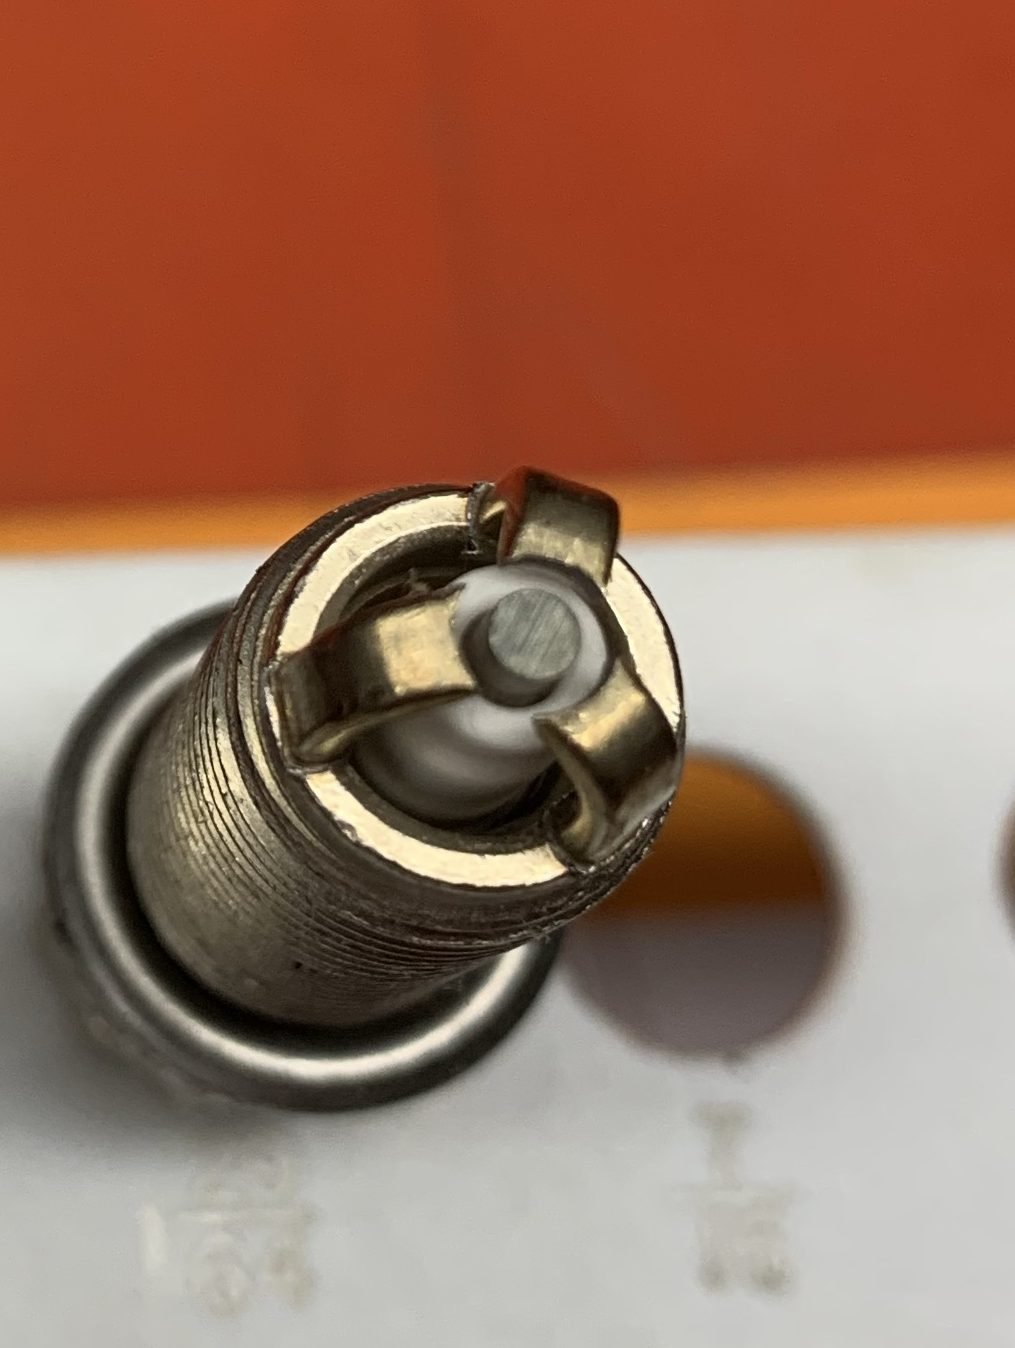
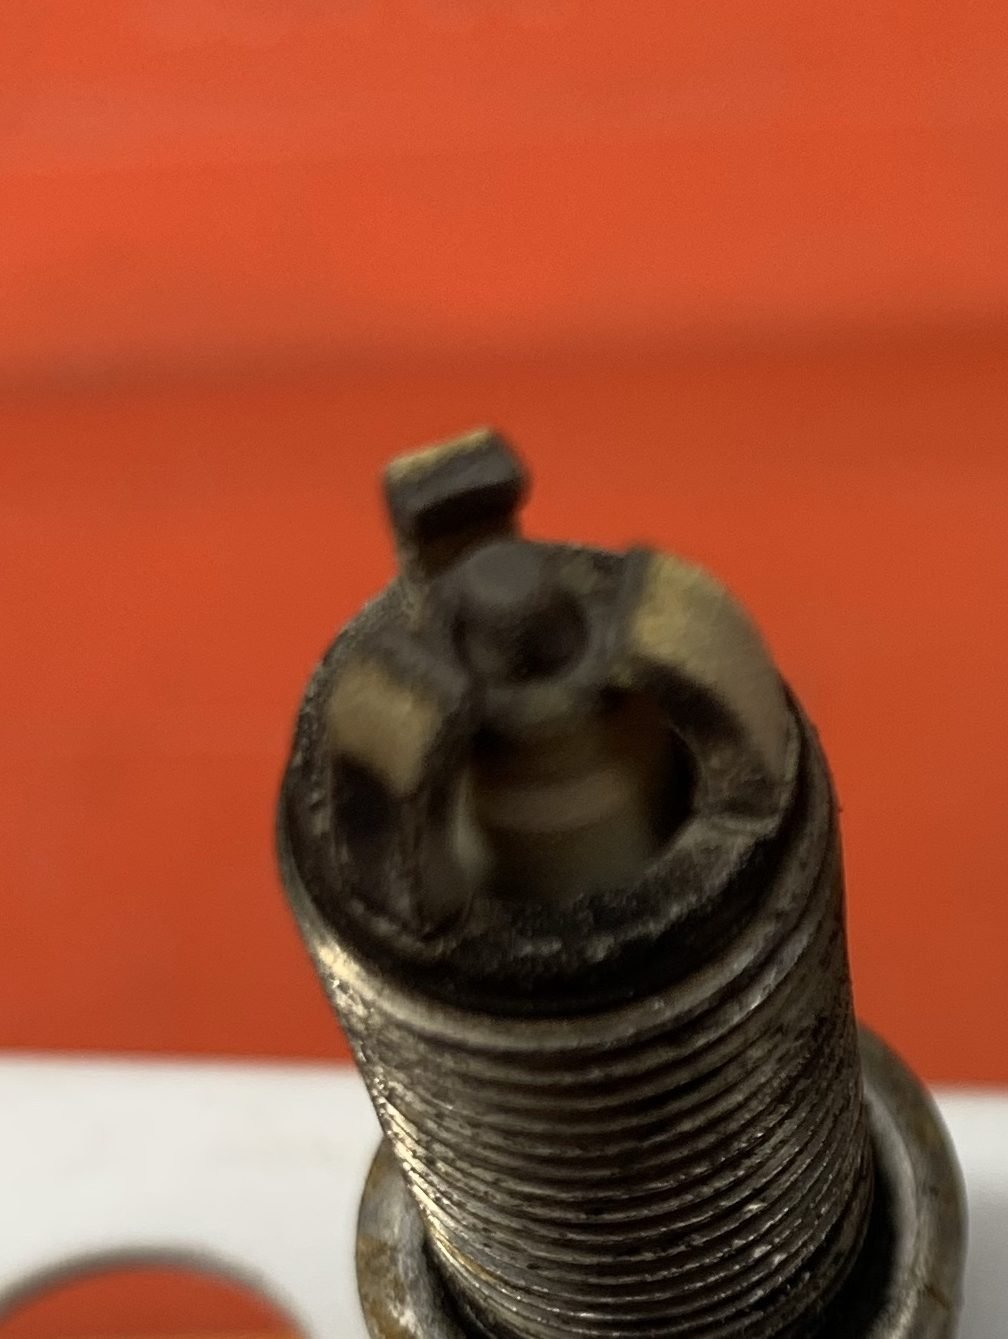
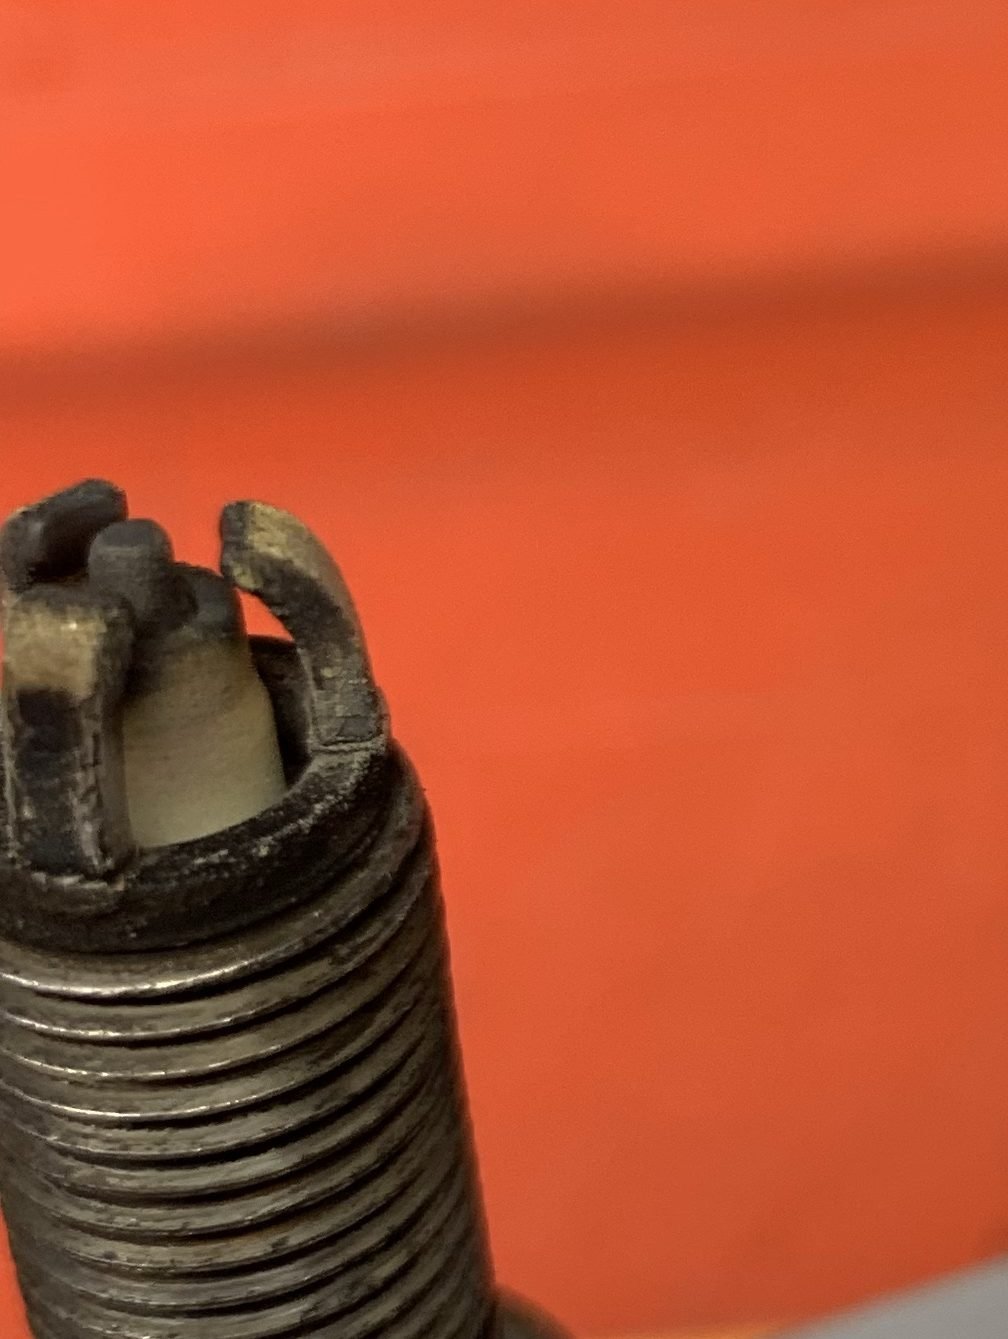
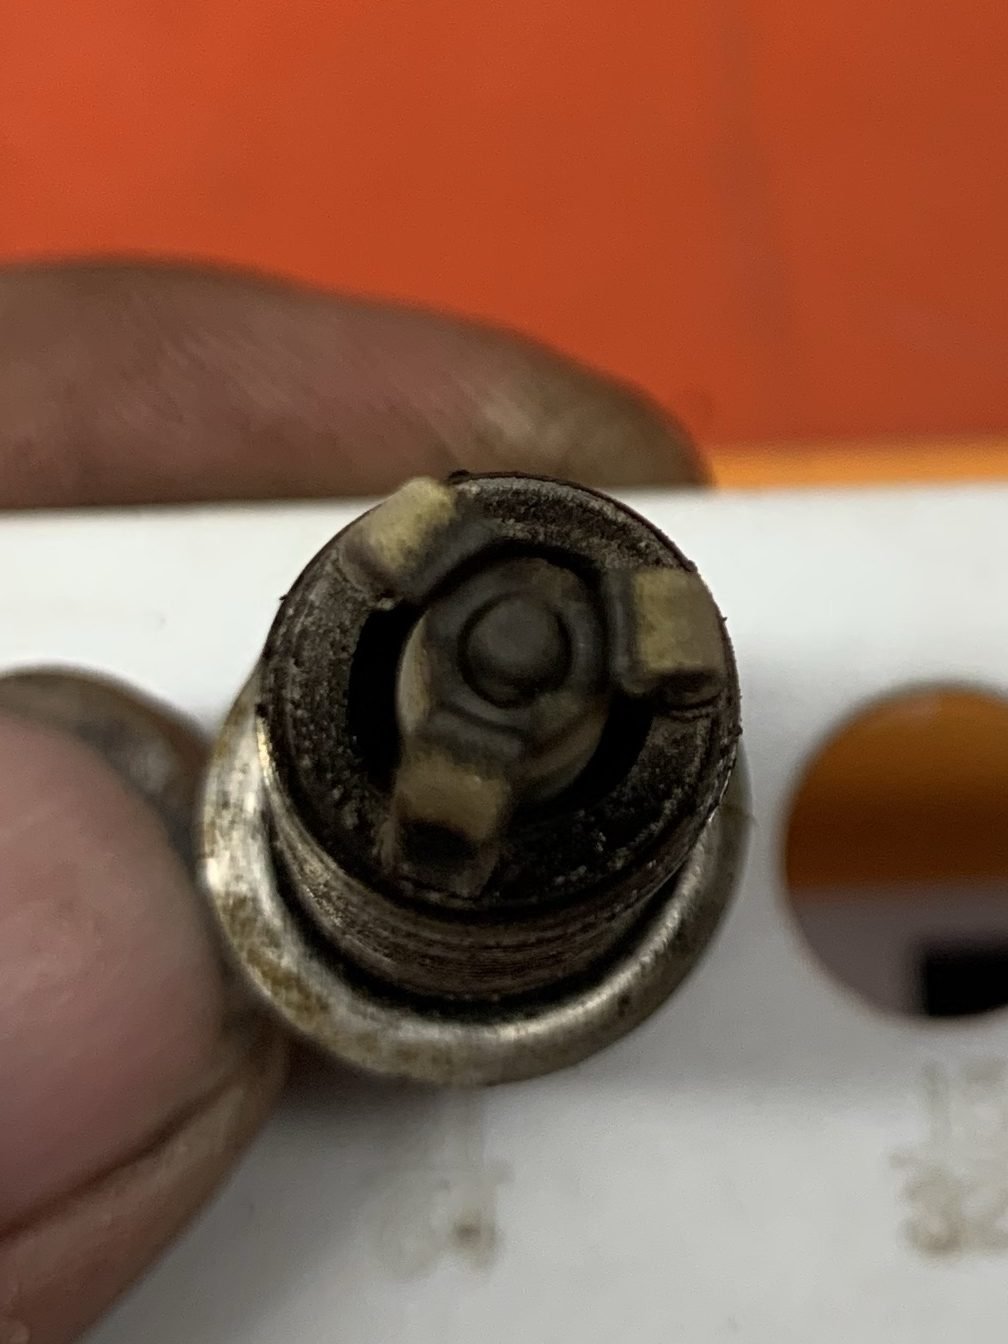
The following show worn out spark plugs from a BMW N54 engine. Not sure exactly how many miles on the plugs, but it was more than 50,000 miles. The new plug has a nice, sharp round center electrode at the tip of the spark plug. Also the outer 3 ground electrodes are curved around the center electrode. The worn out plug has a much smaller worn down center electrode and the ground electrodes are worn straight across.

BMW Seat Bolster Repair

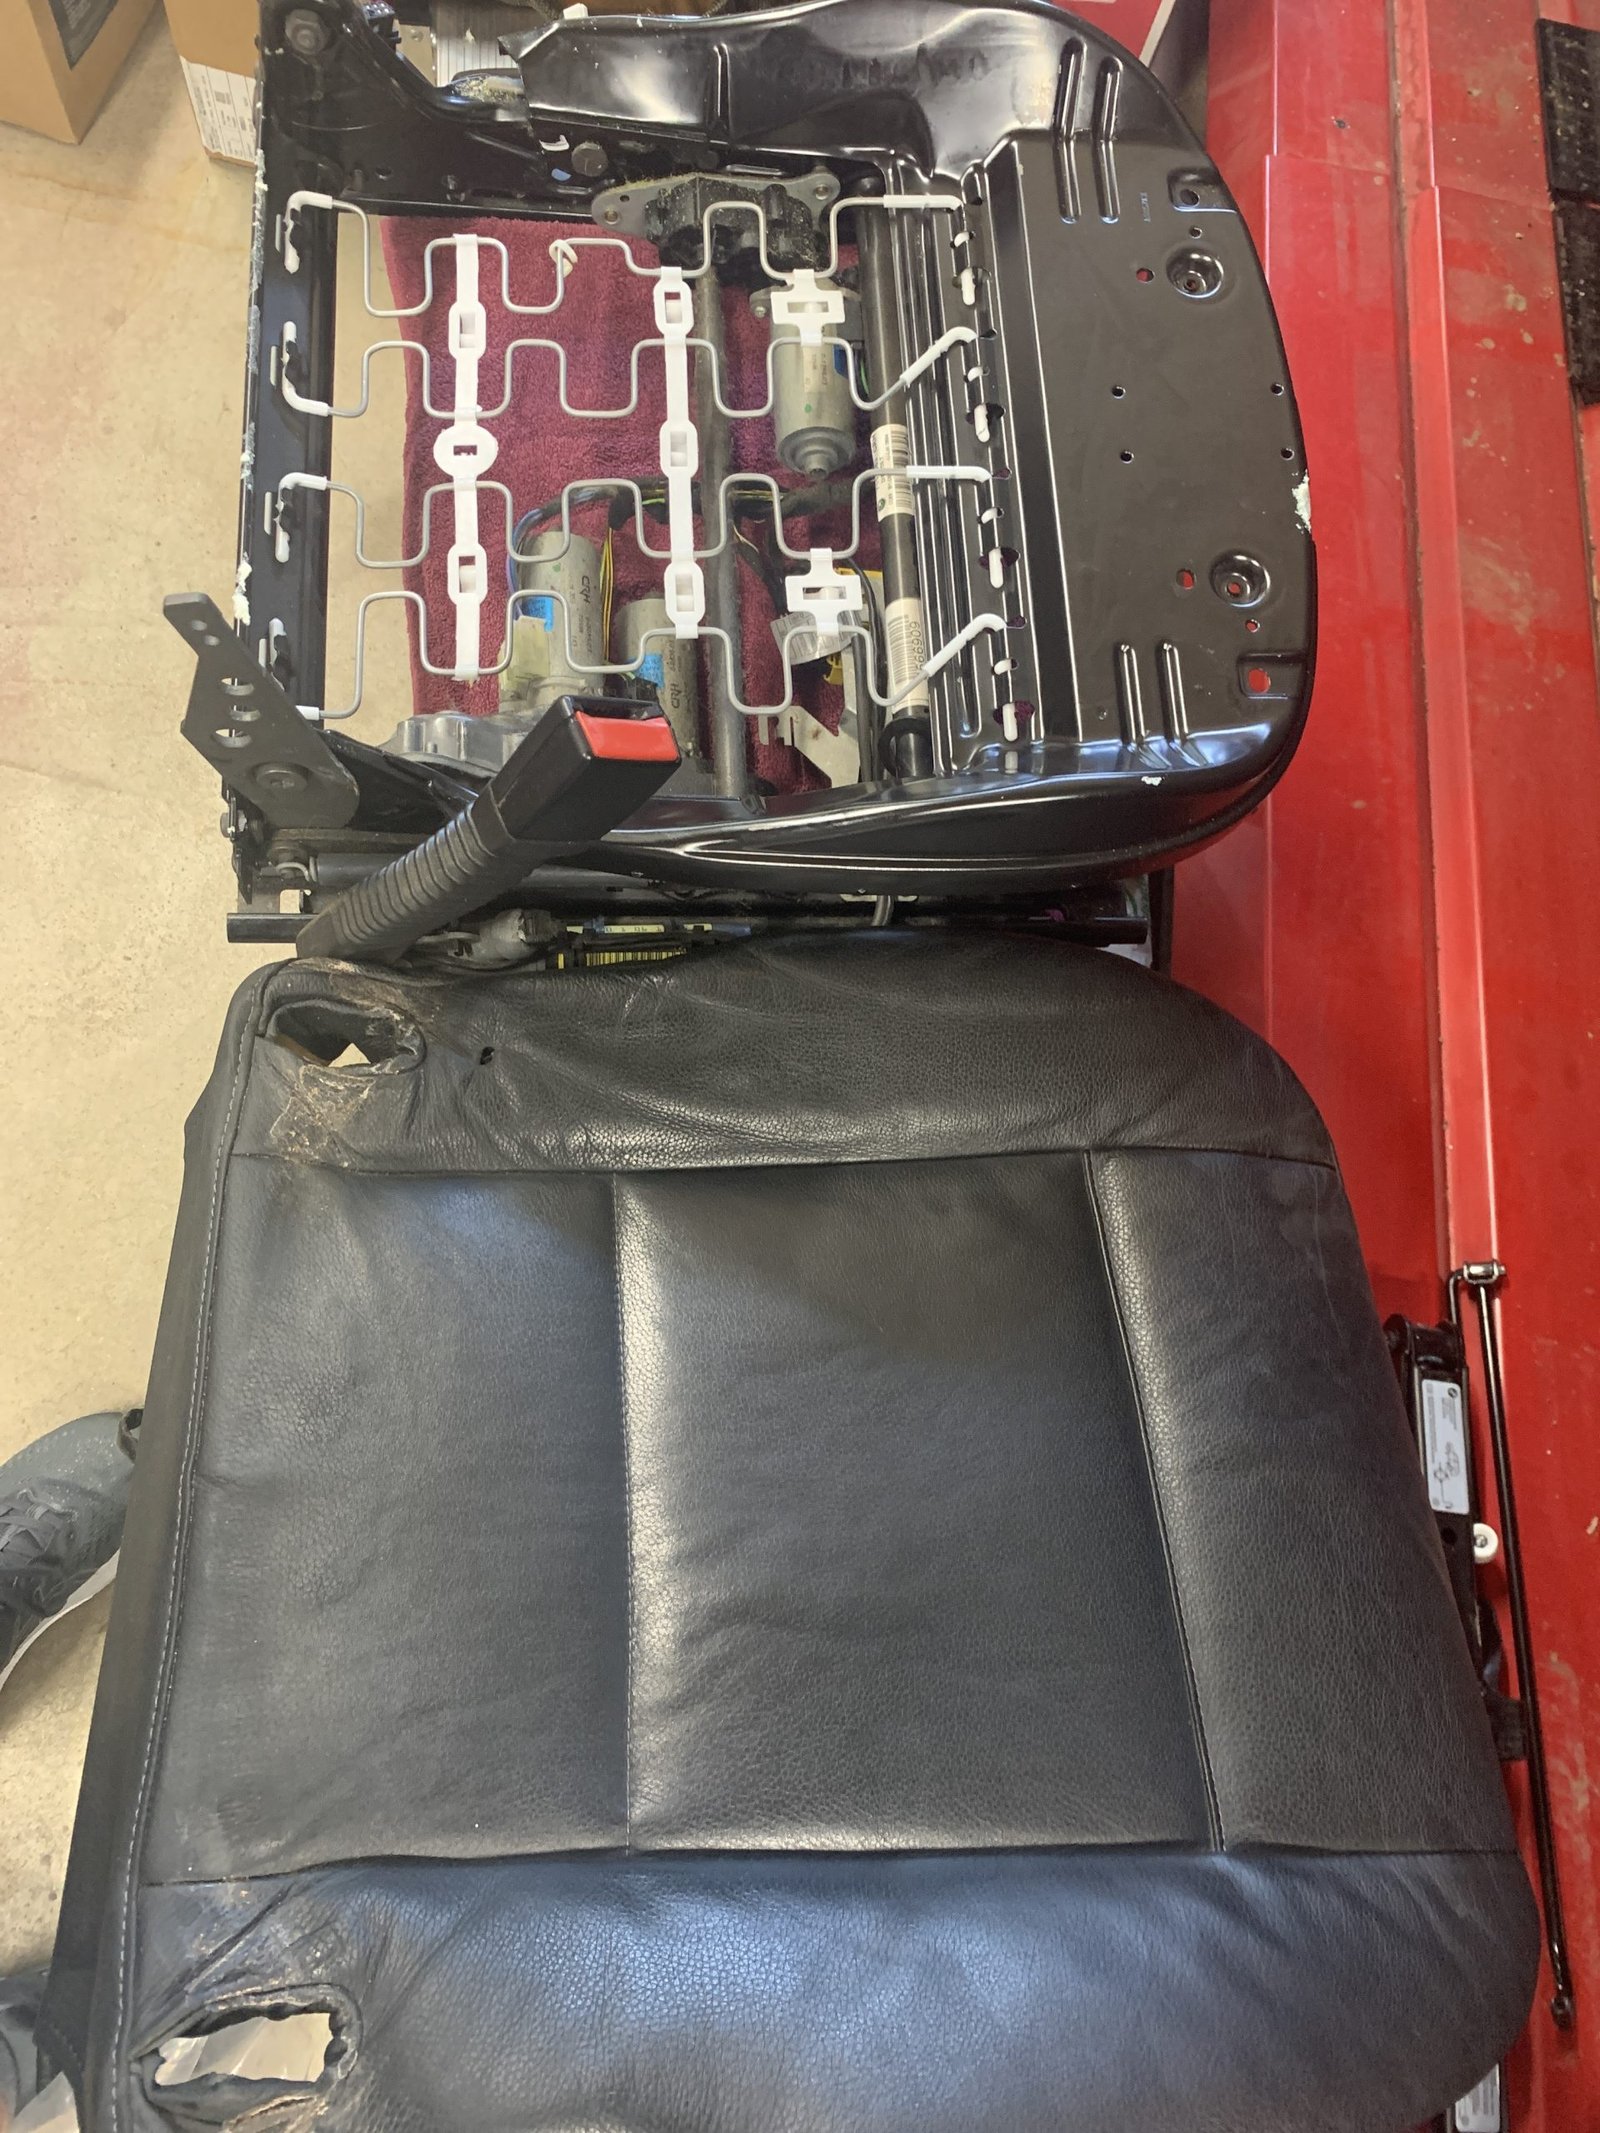
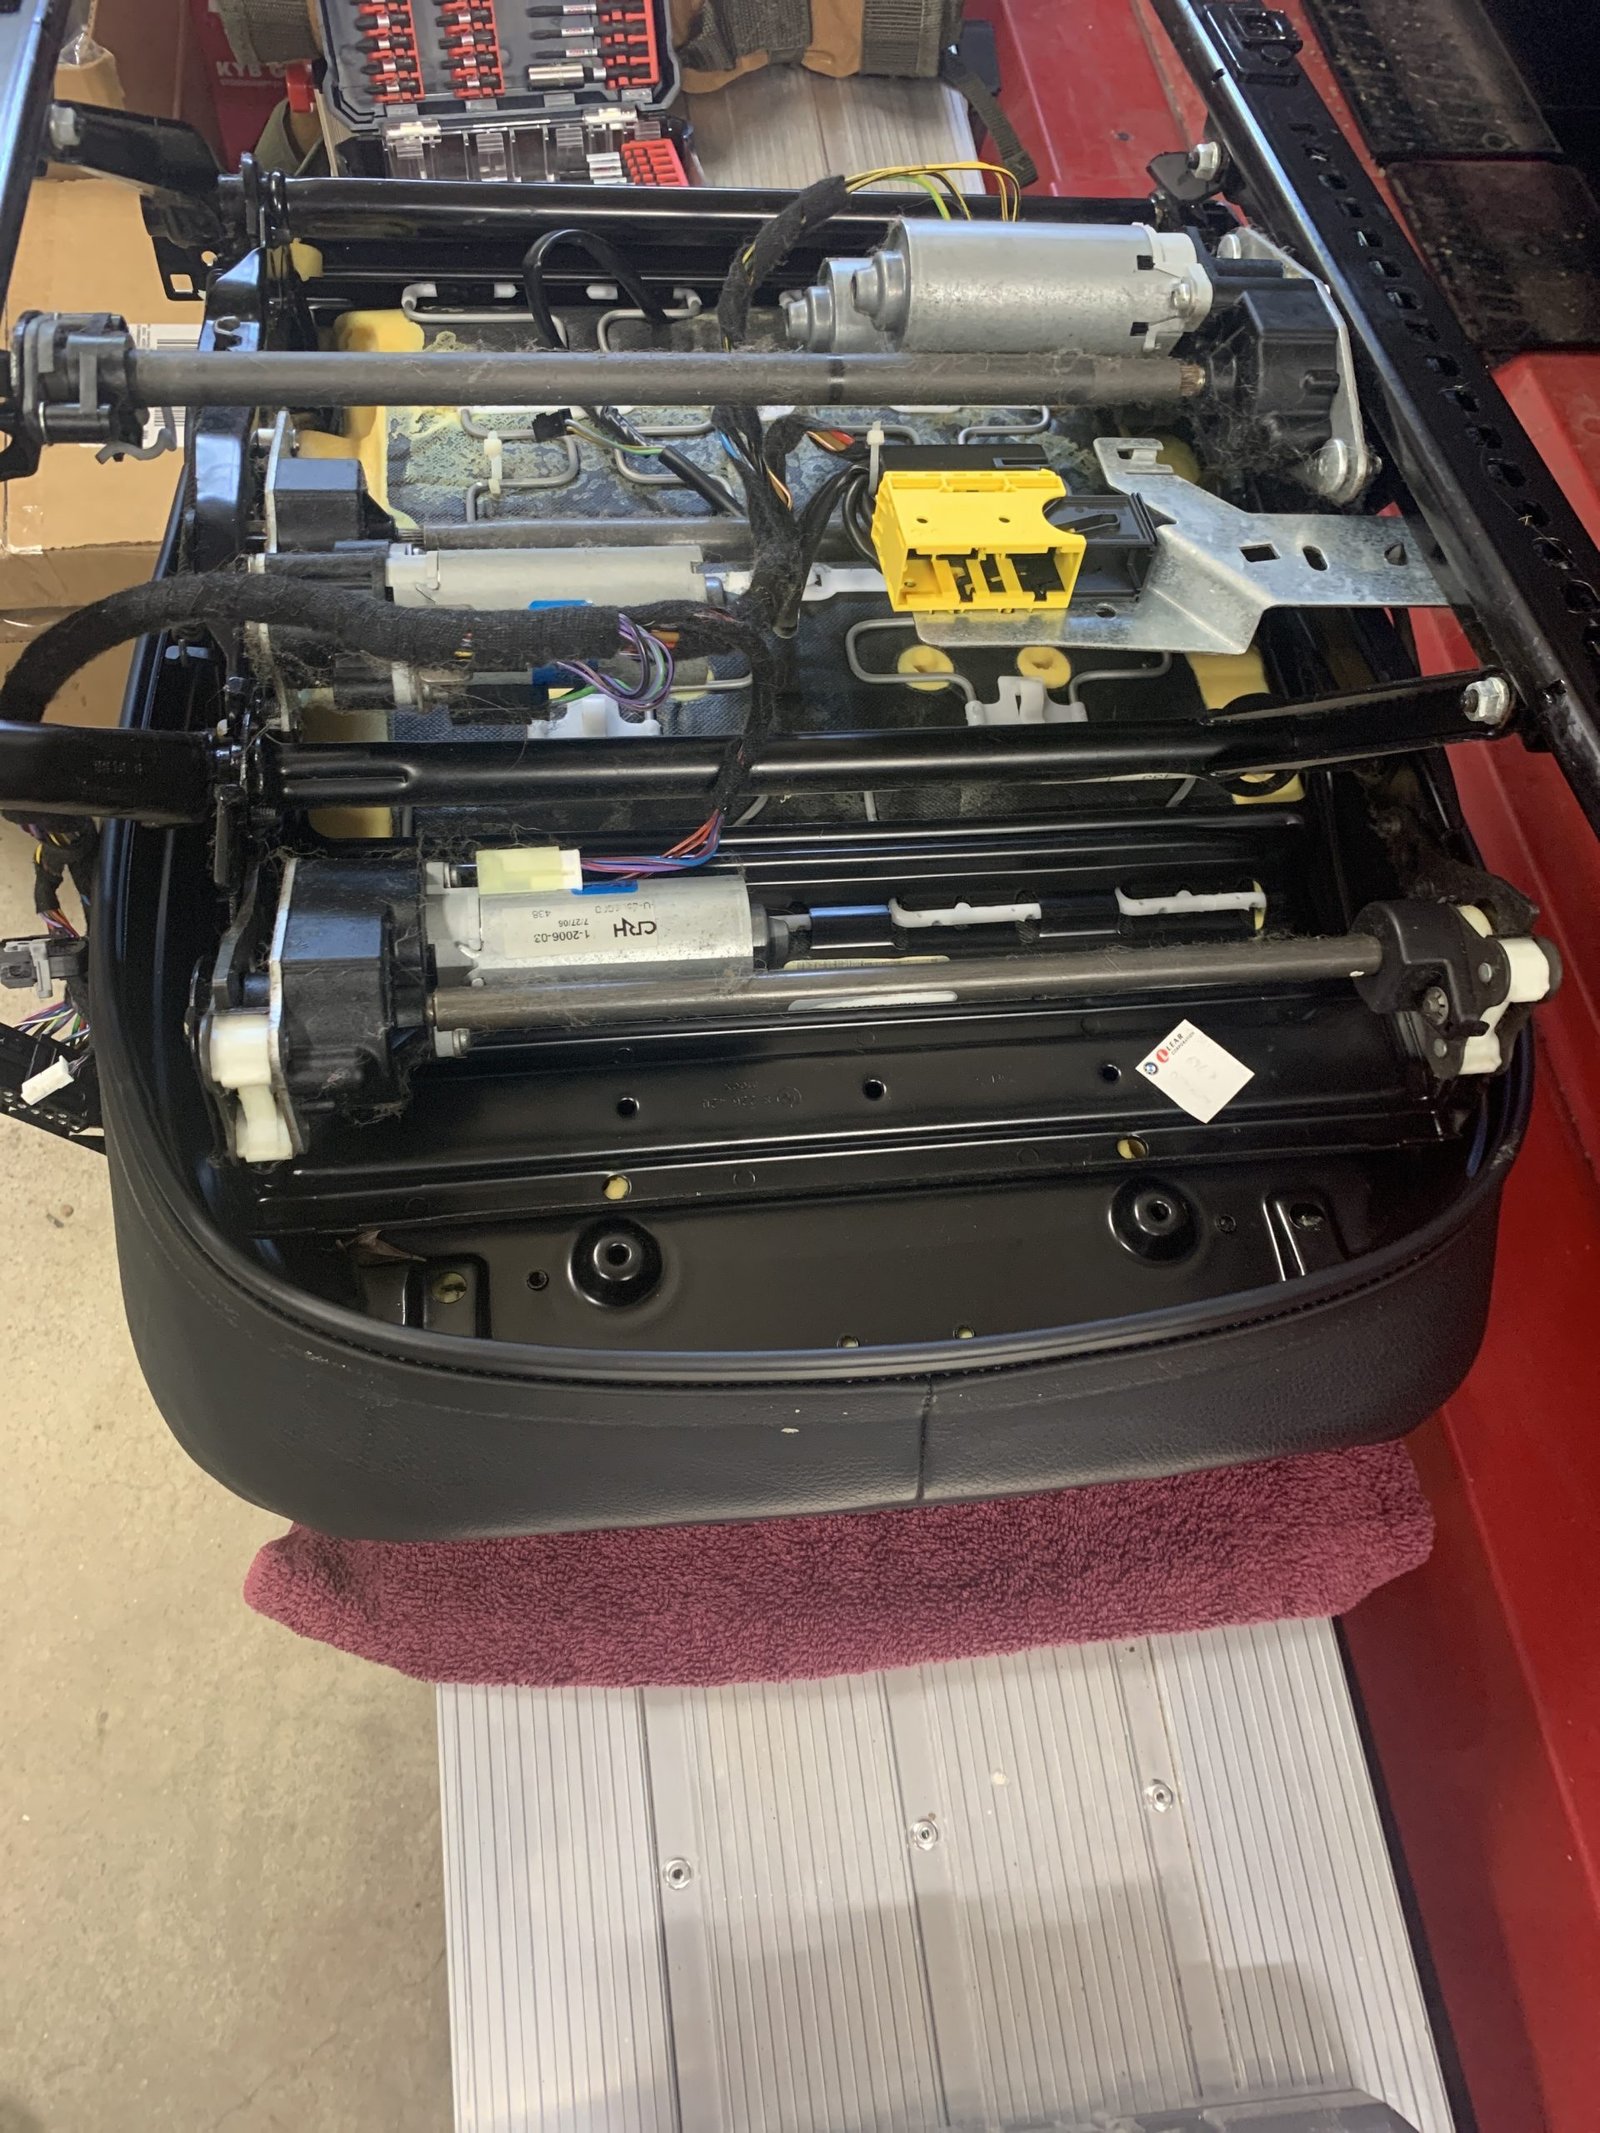
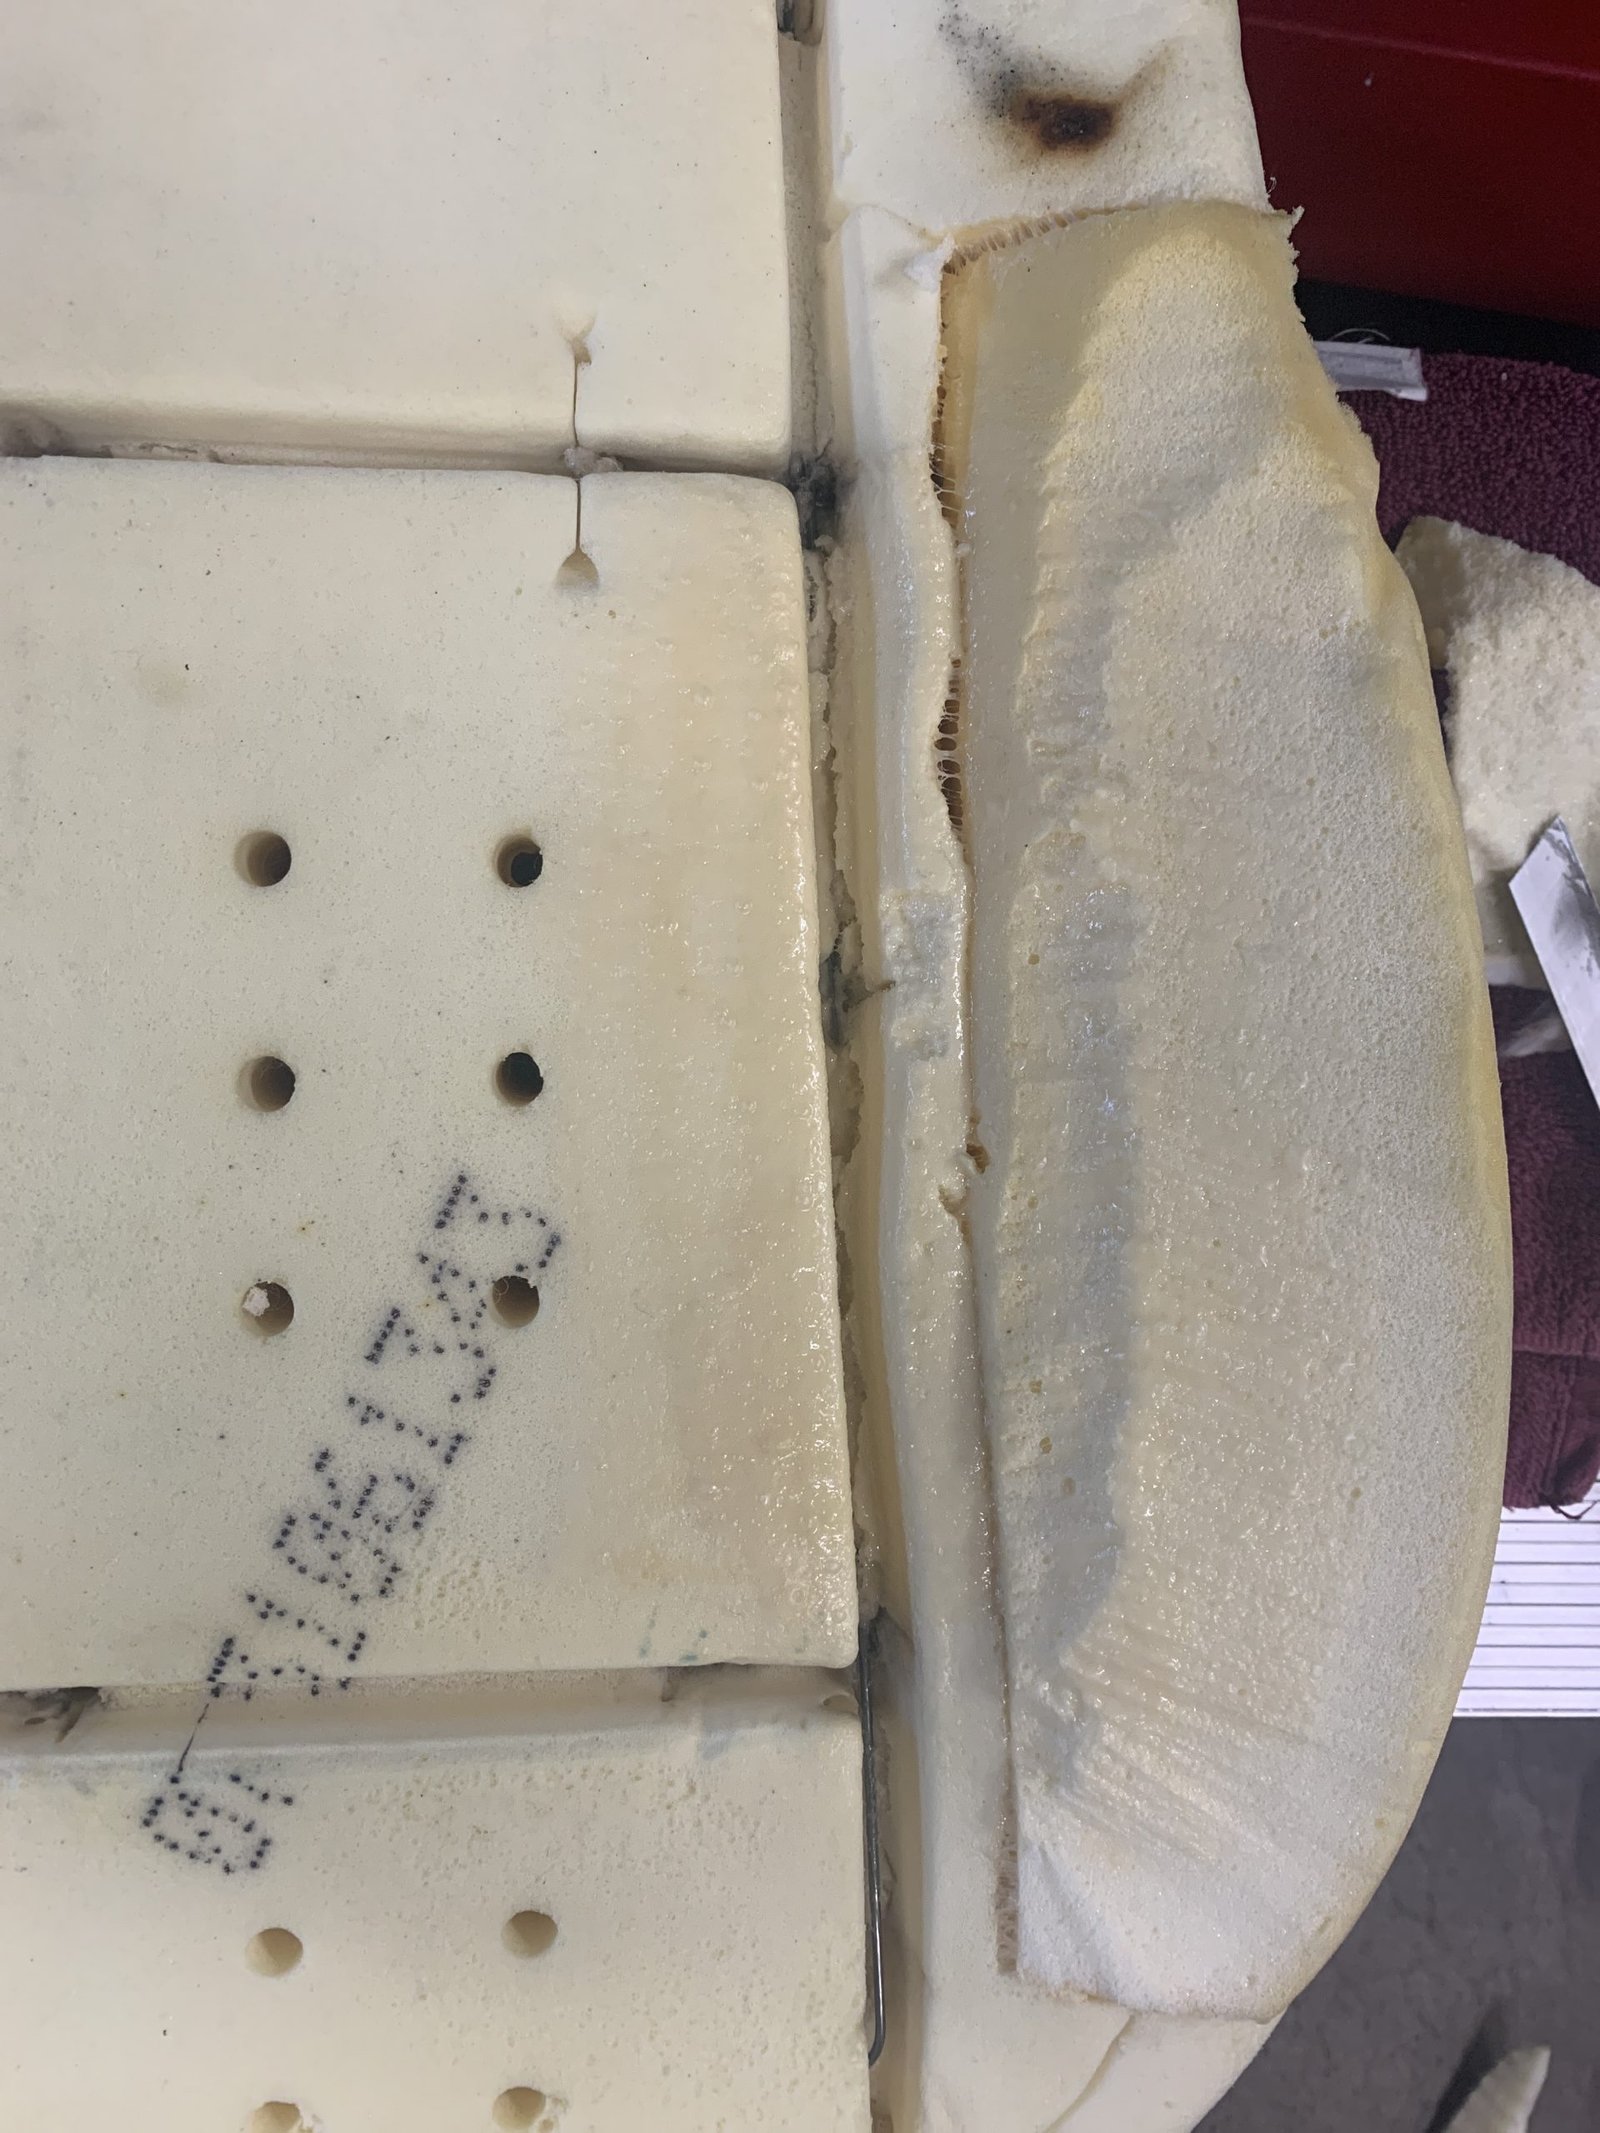
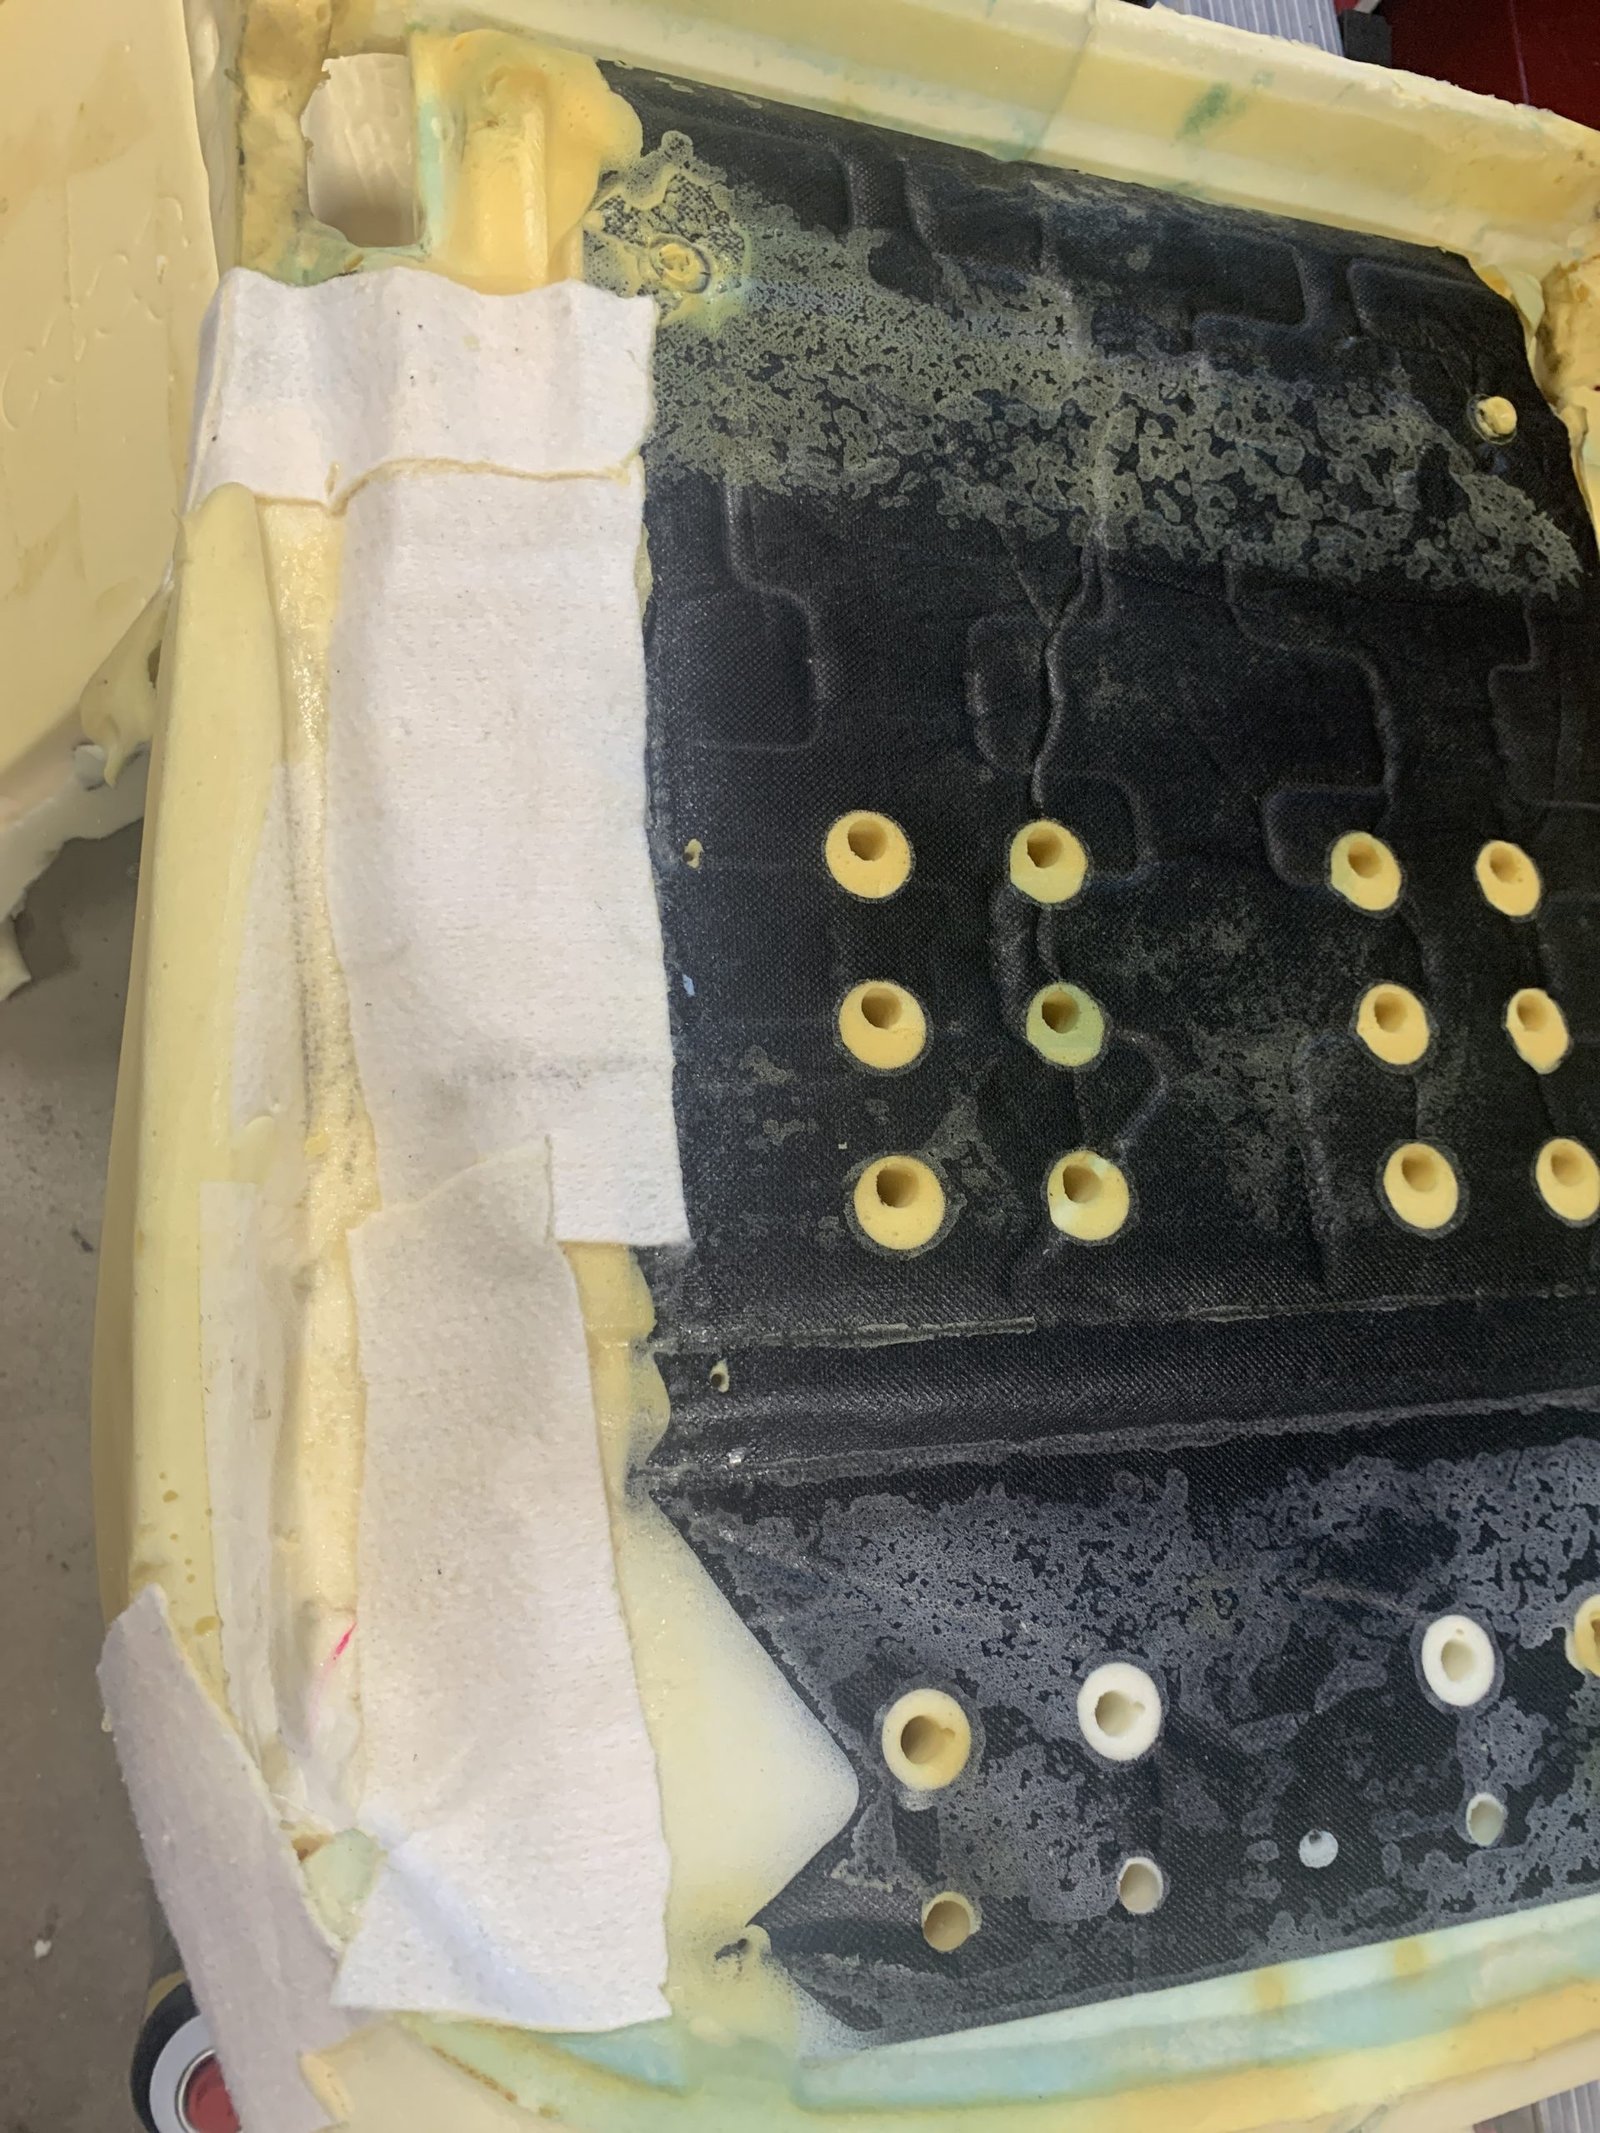
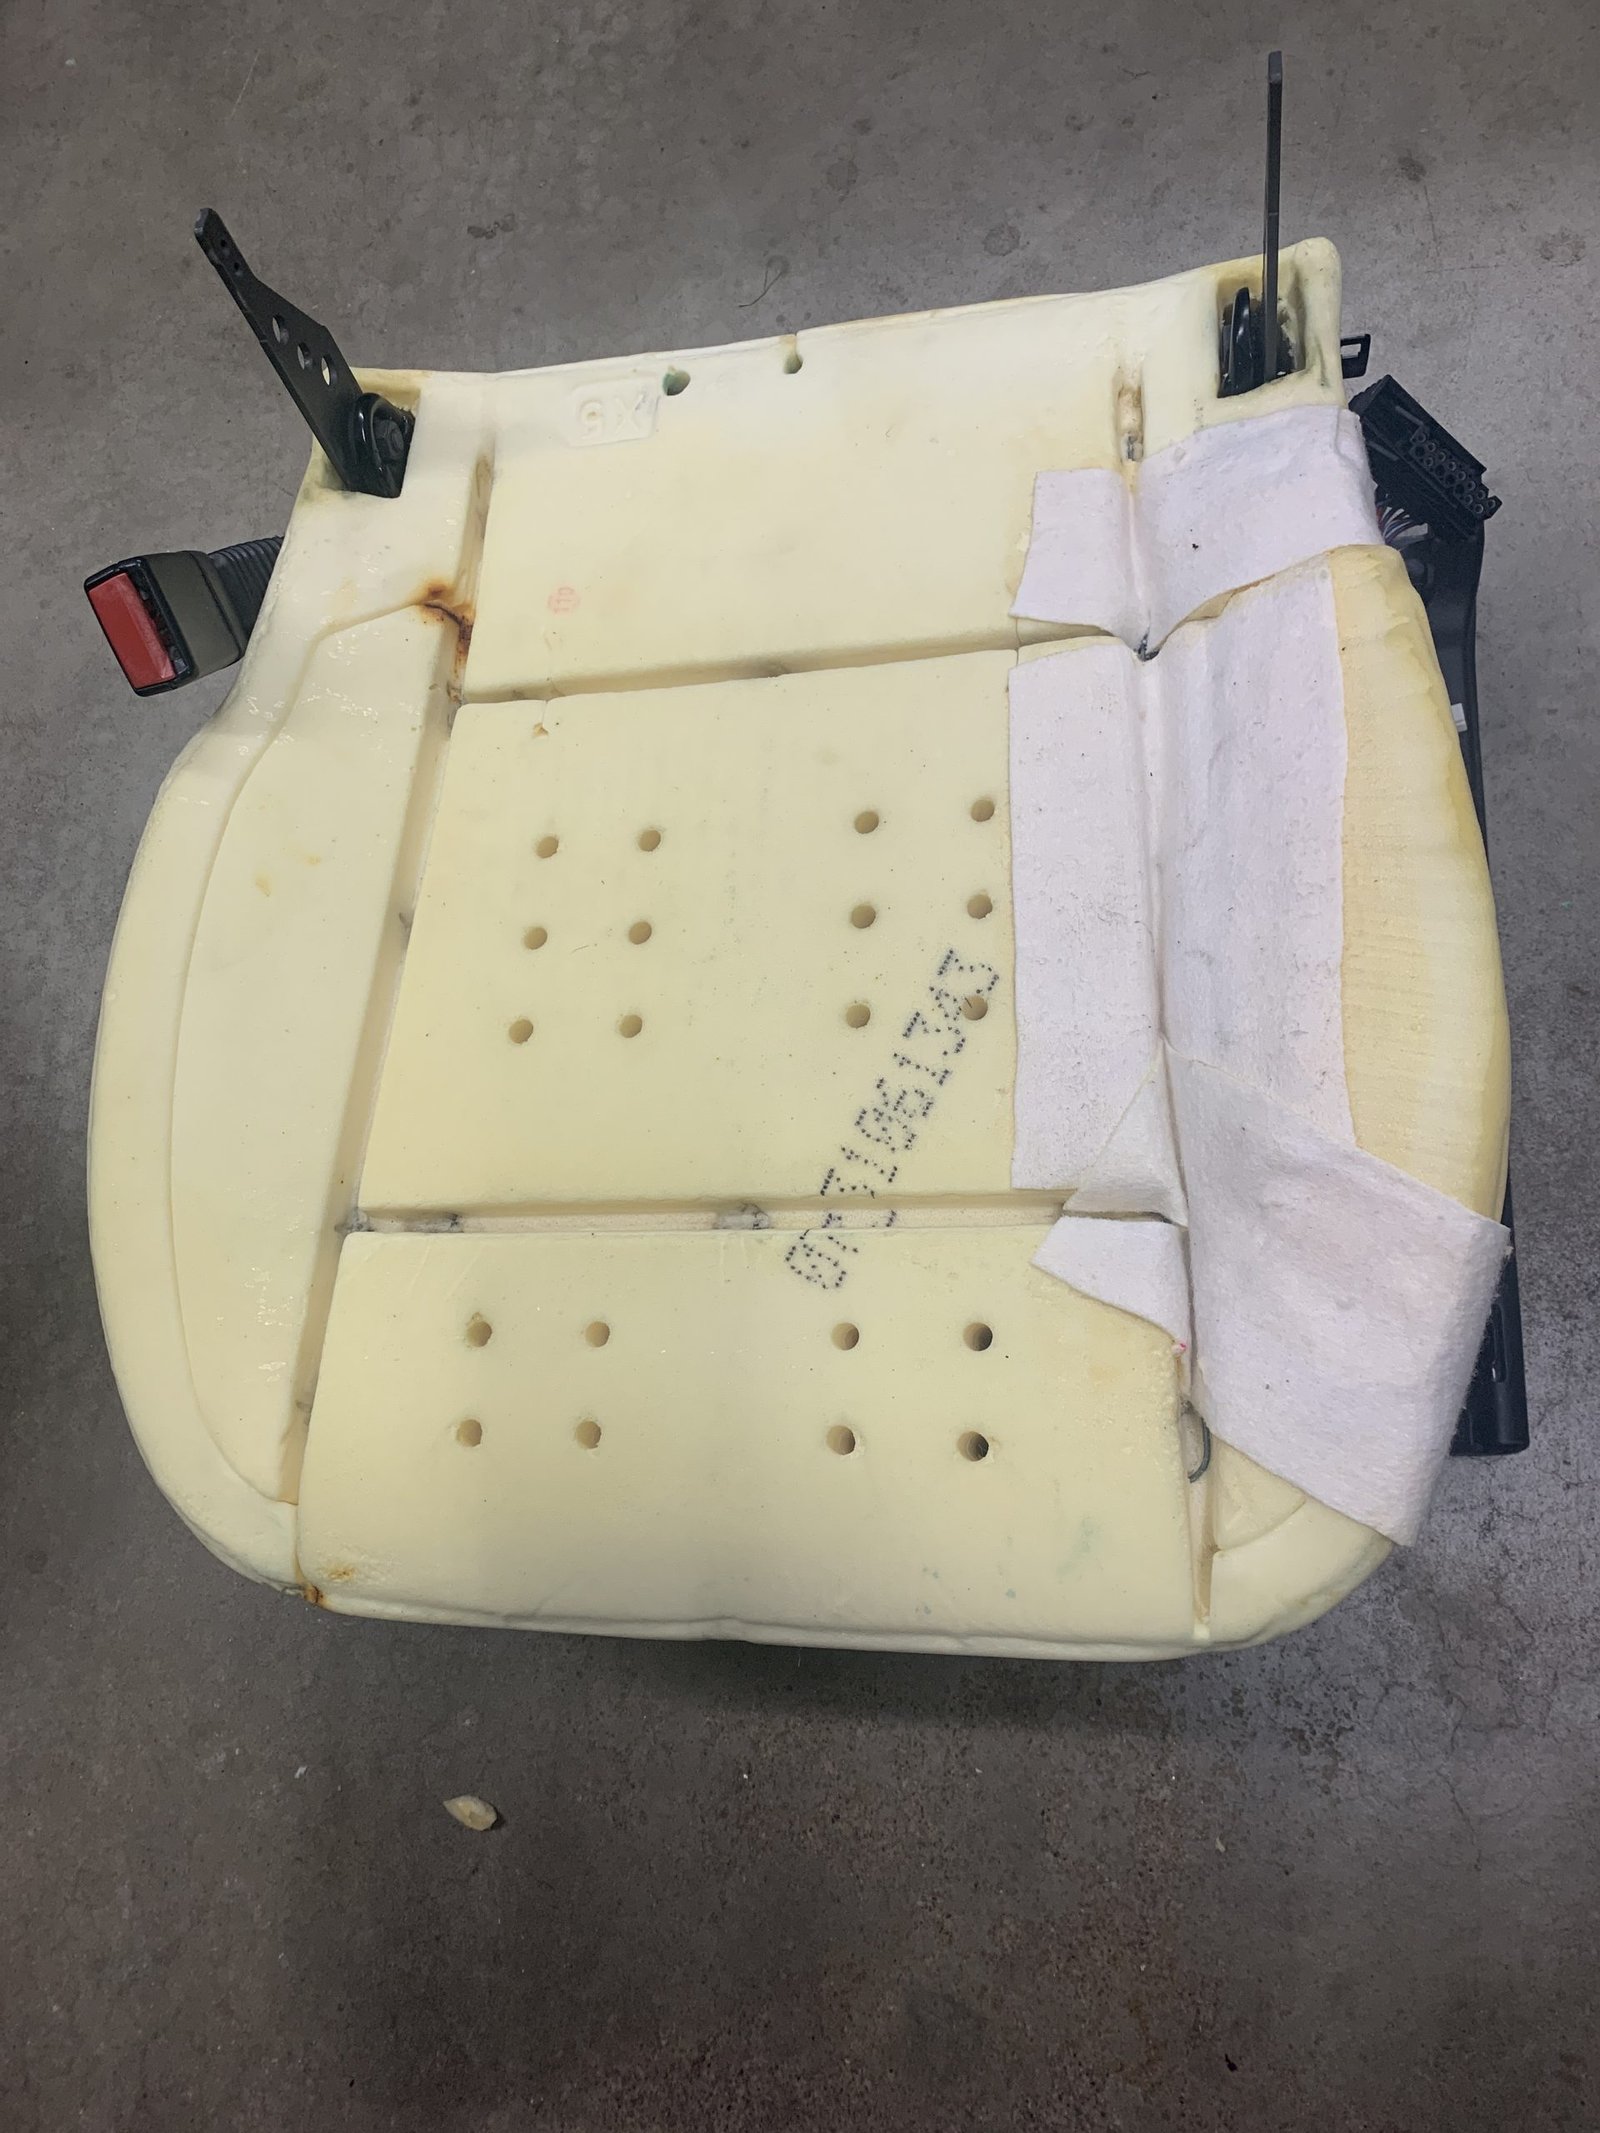
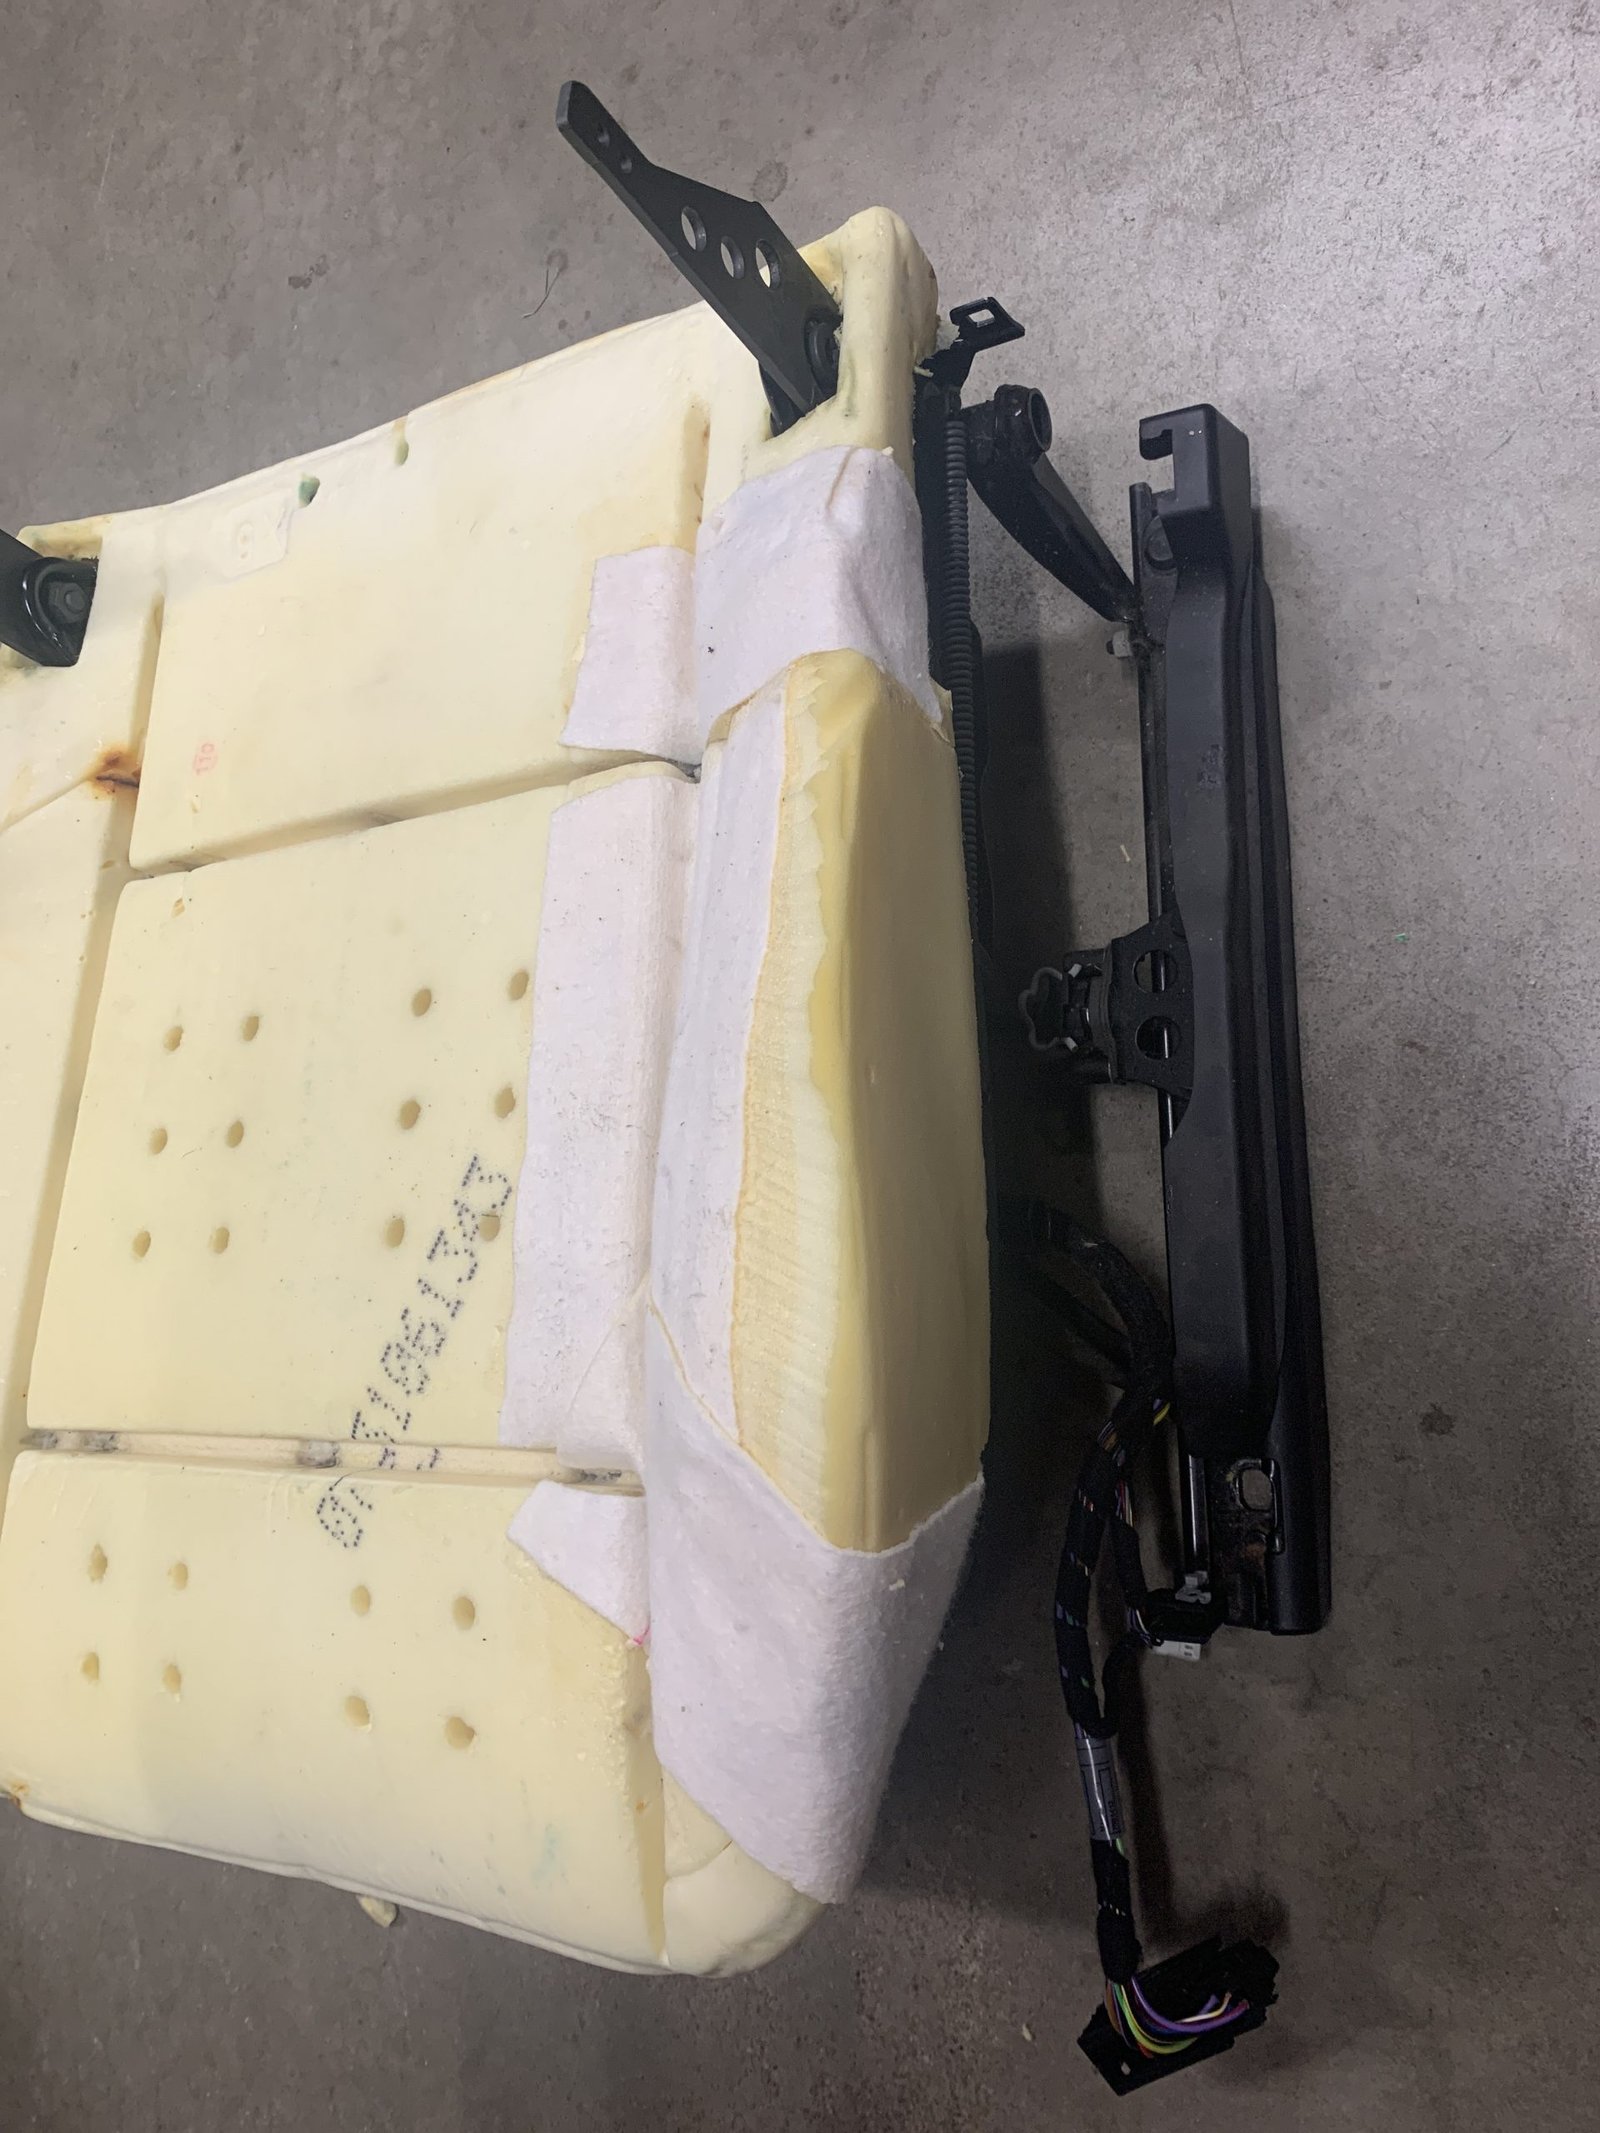
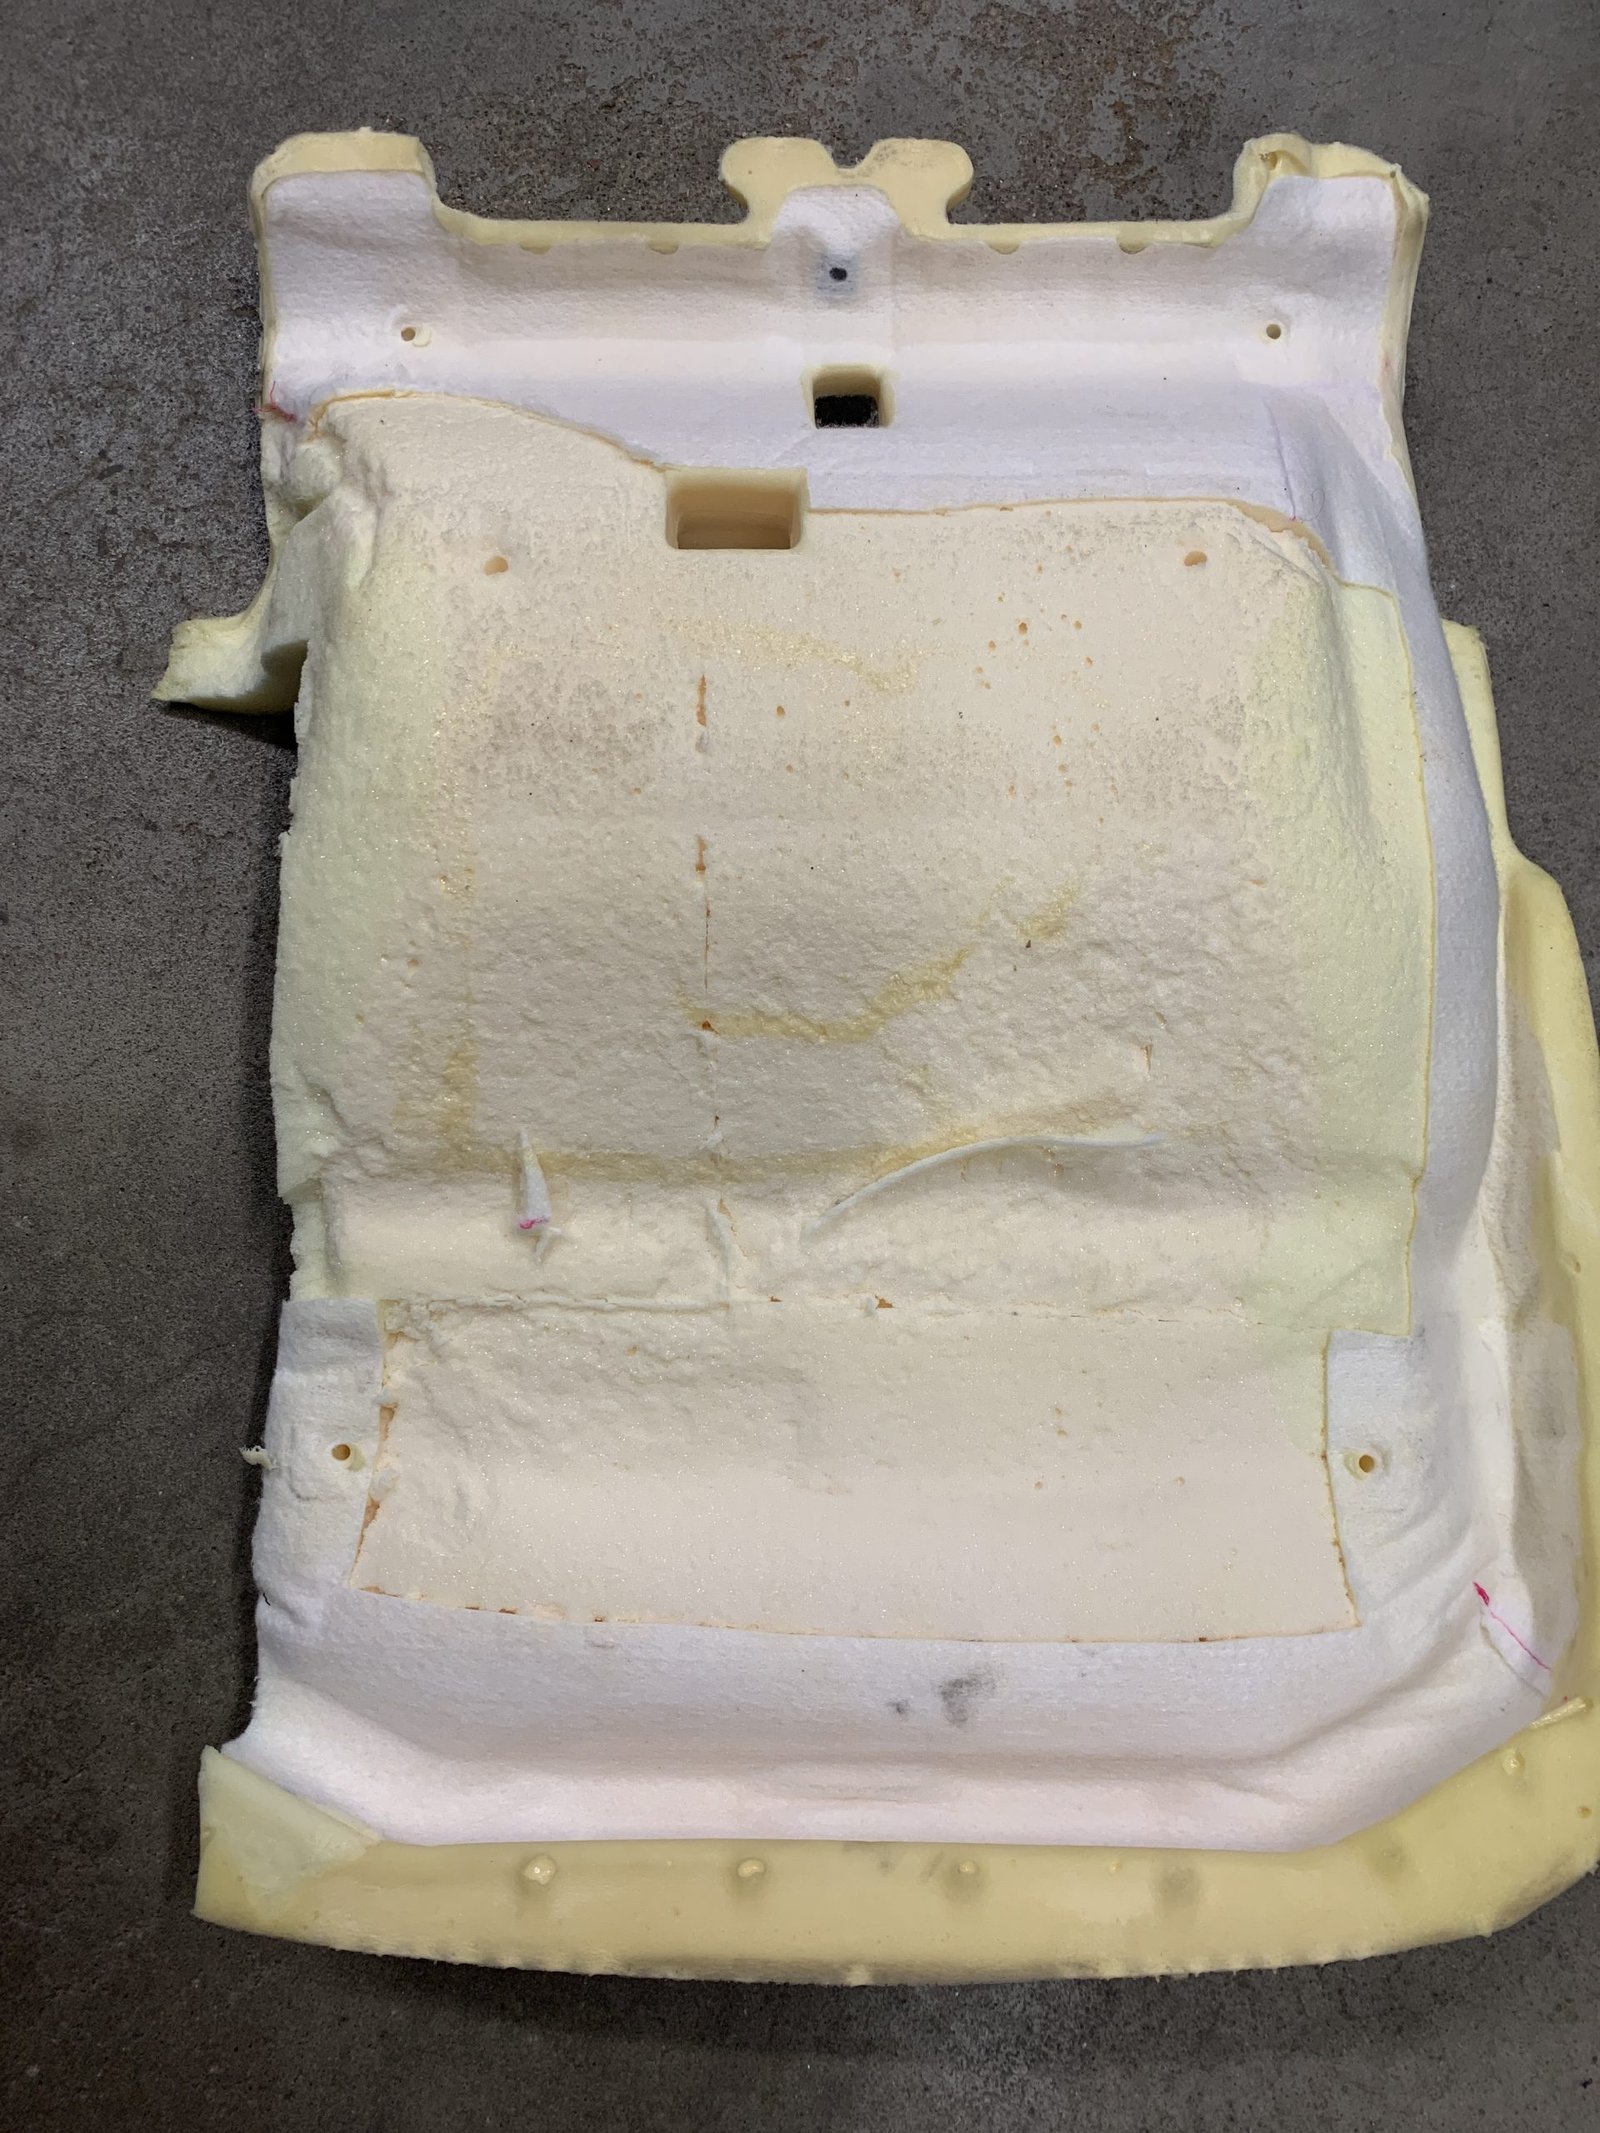
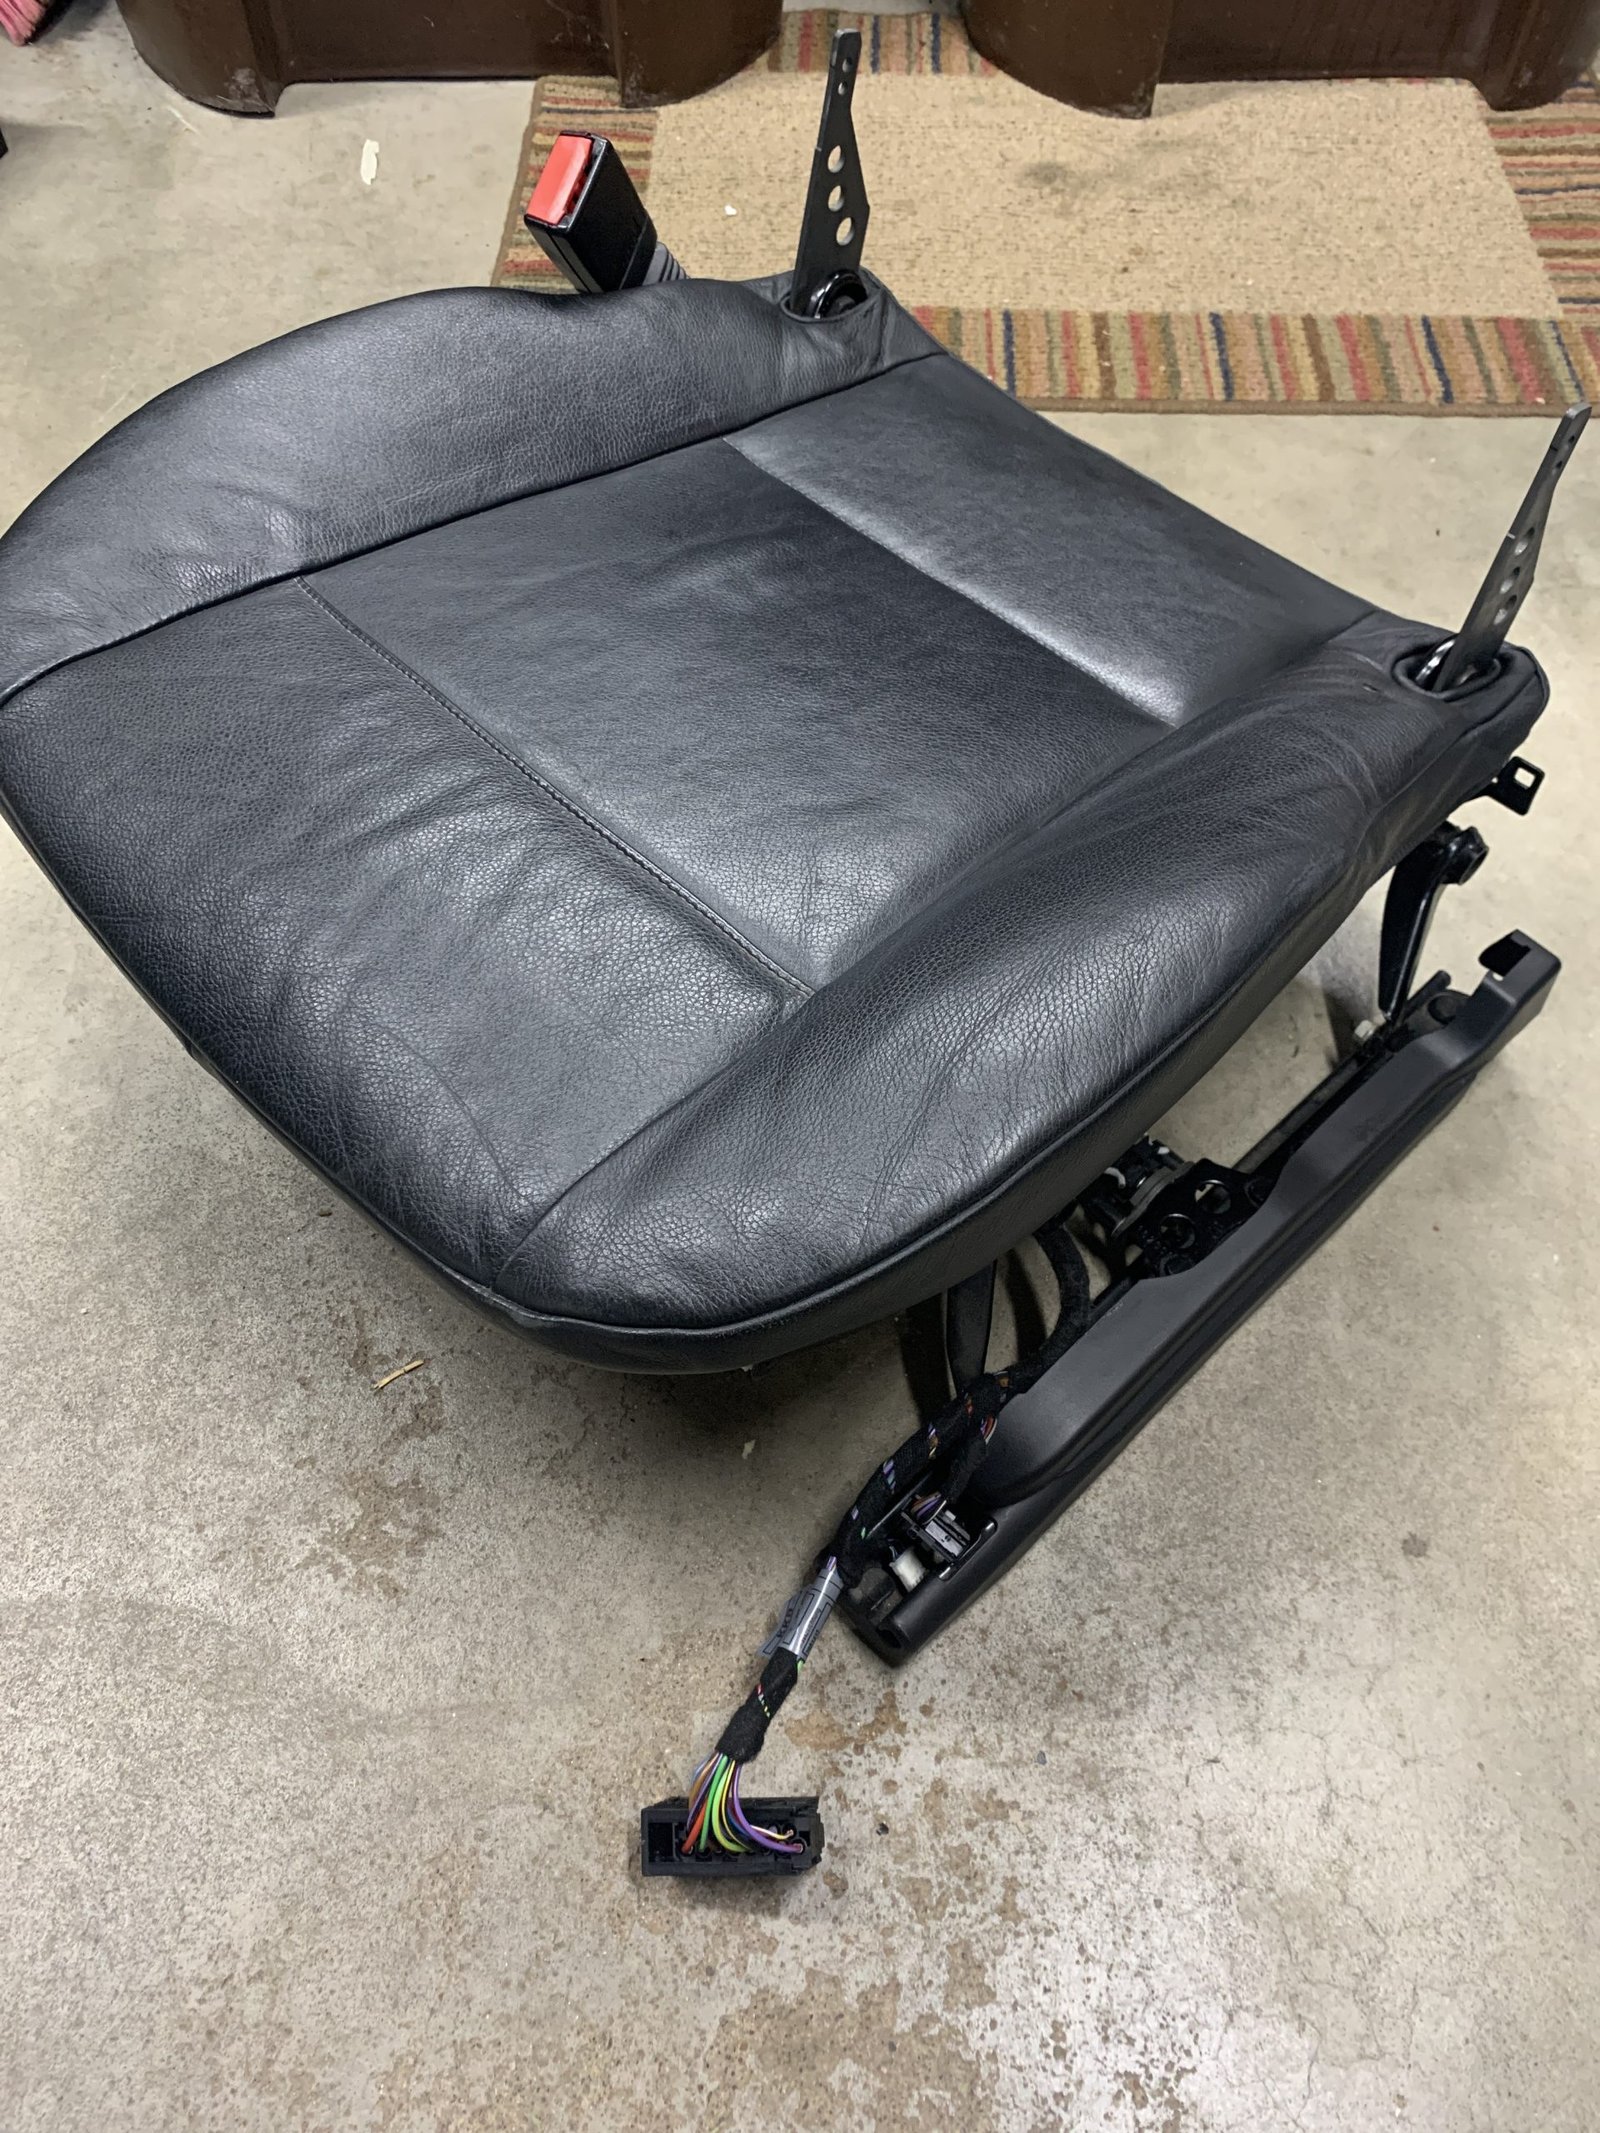
The seat cushion side bolster seemed to be soft and unsupportive on the outer driver’s seat. With 172,000 miles on the vehicle, it seemed like a repair might be a good idea.

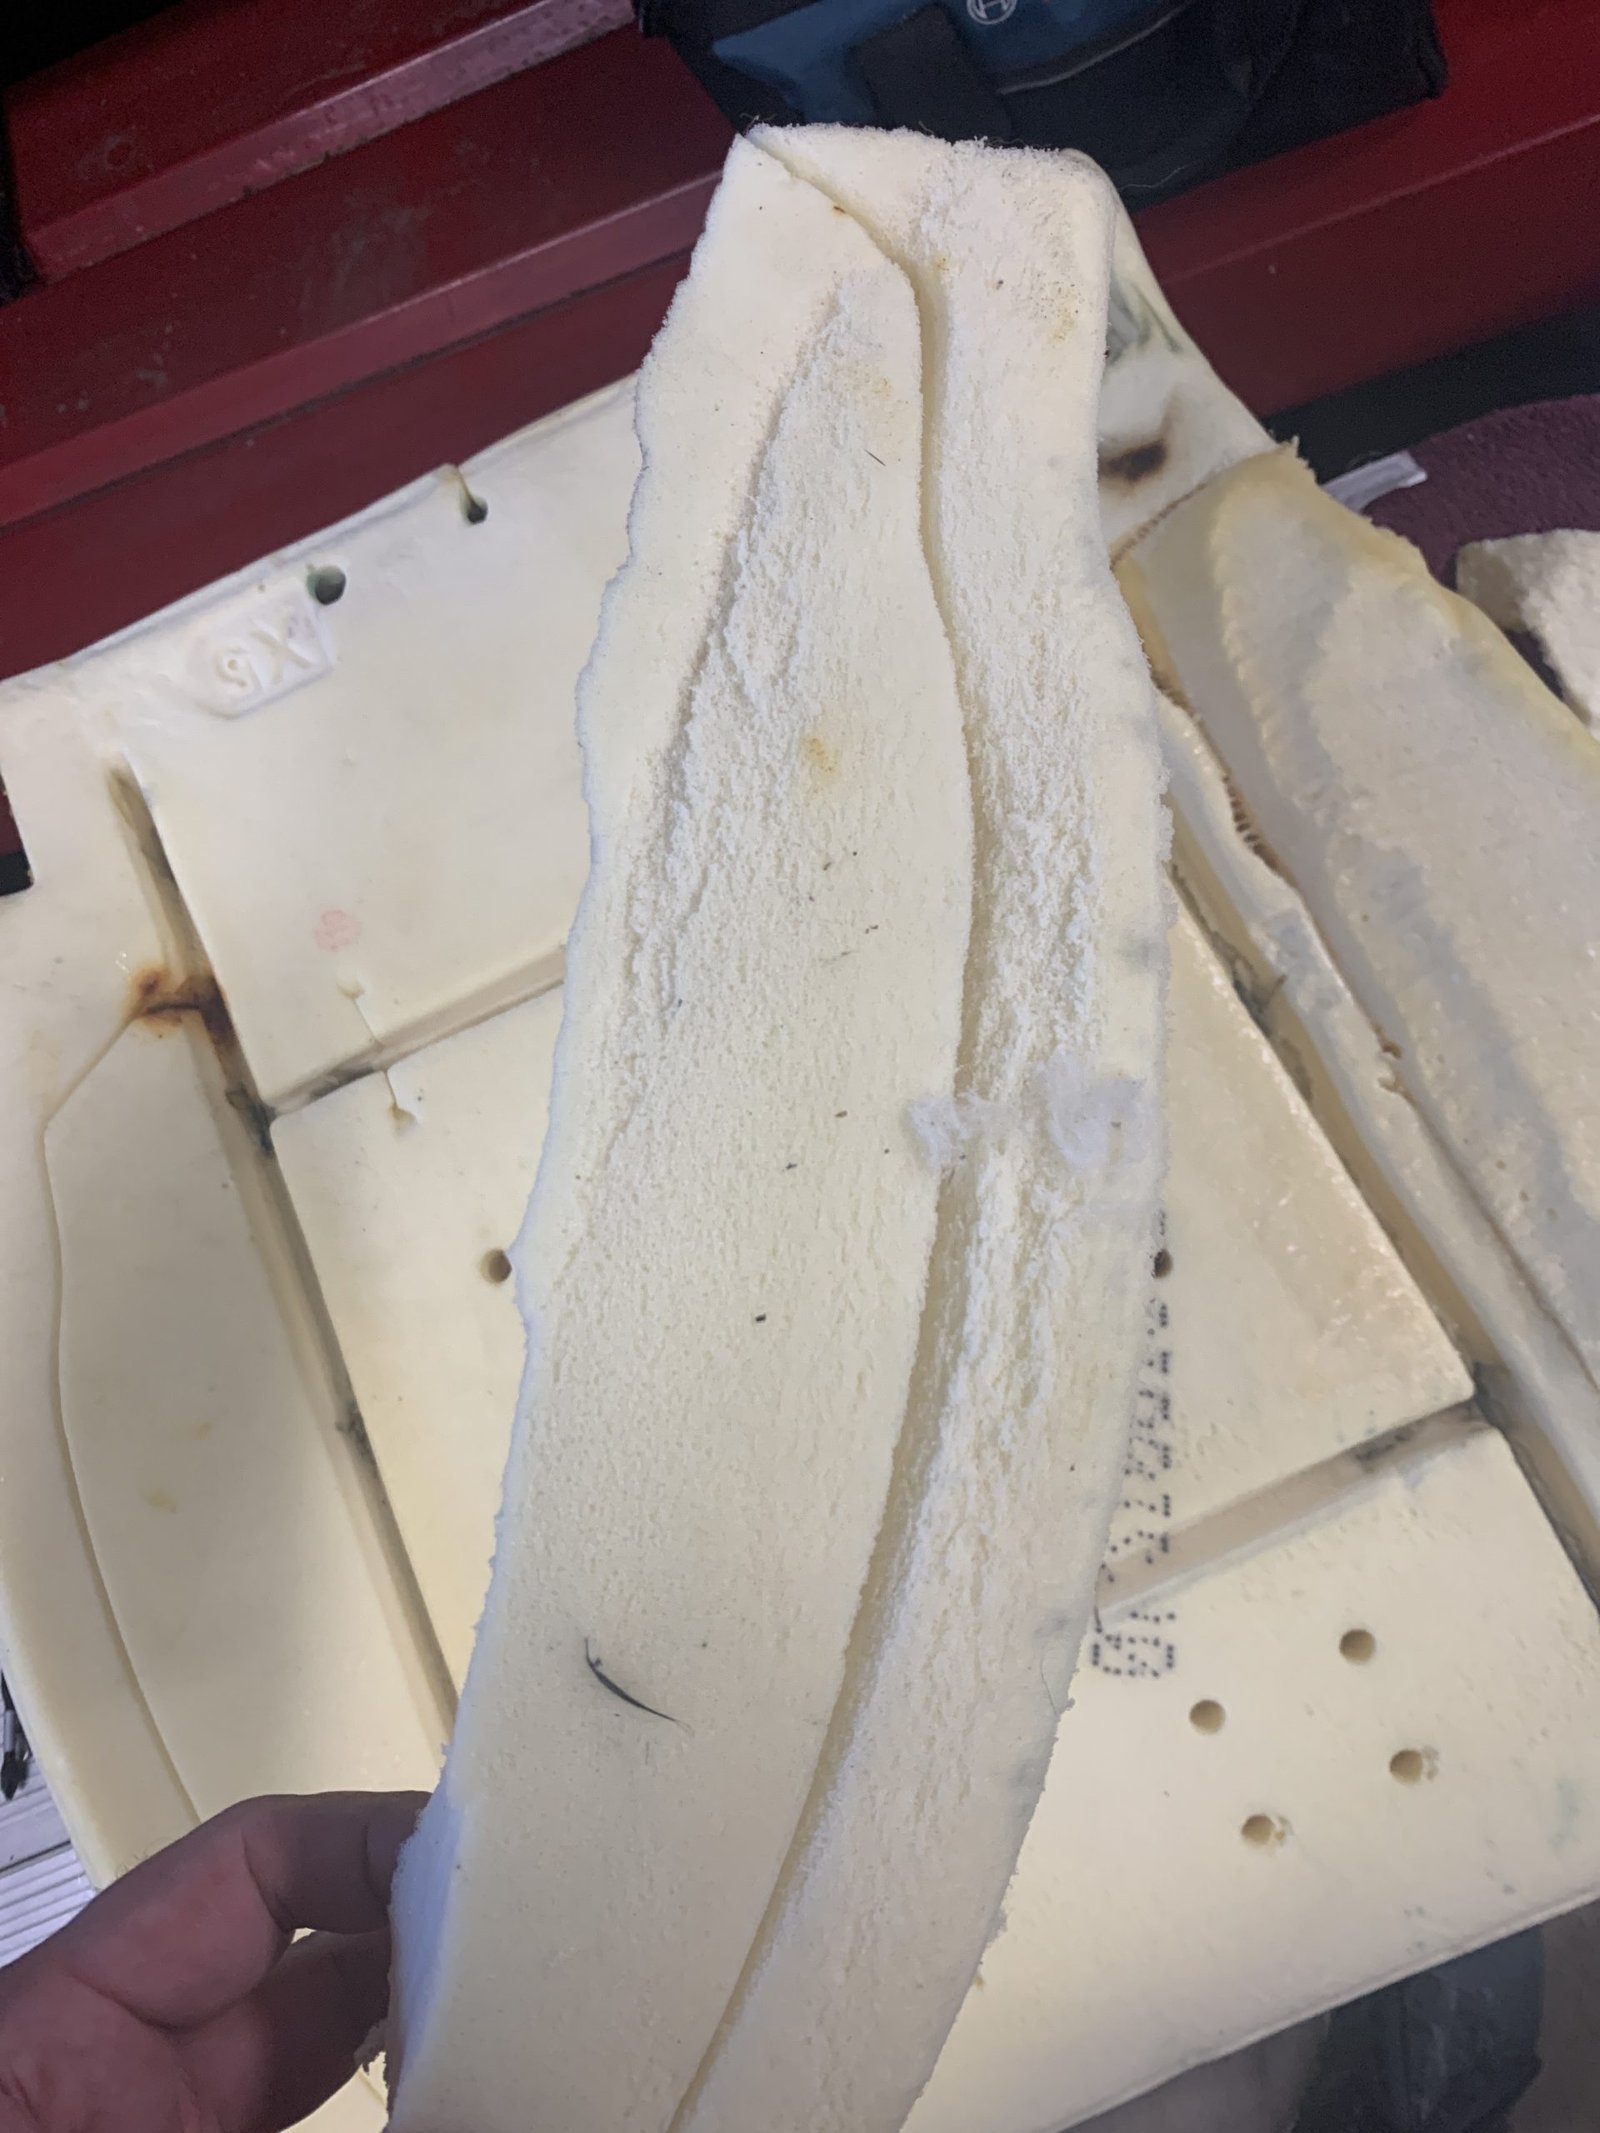
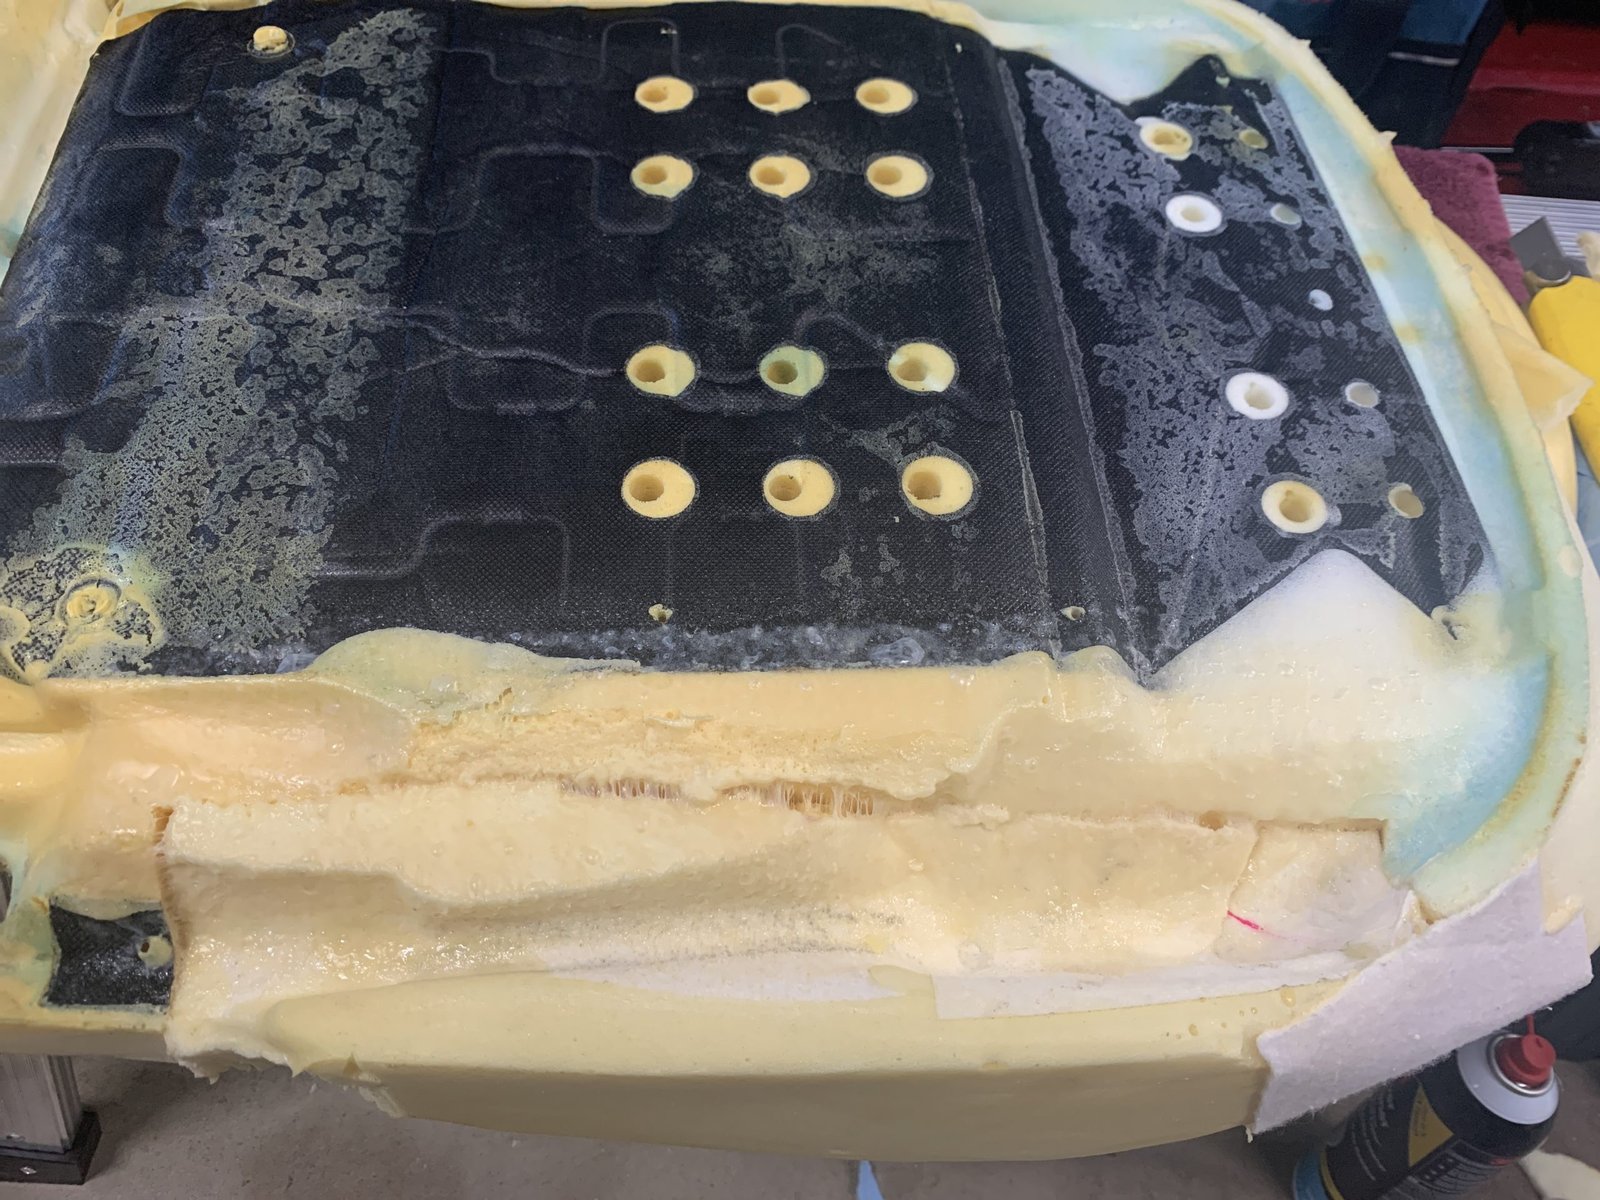
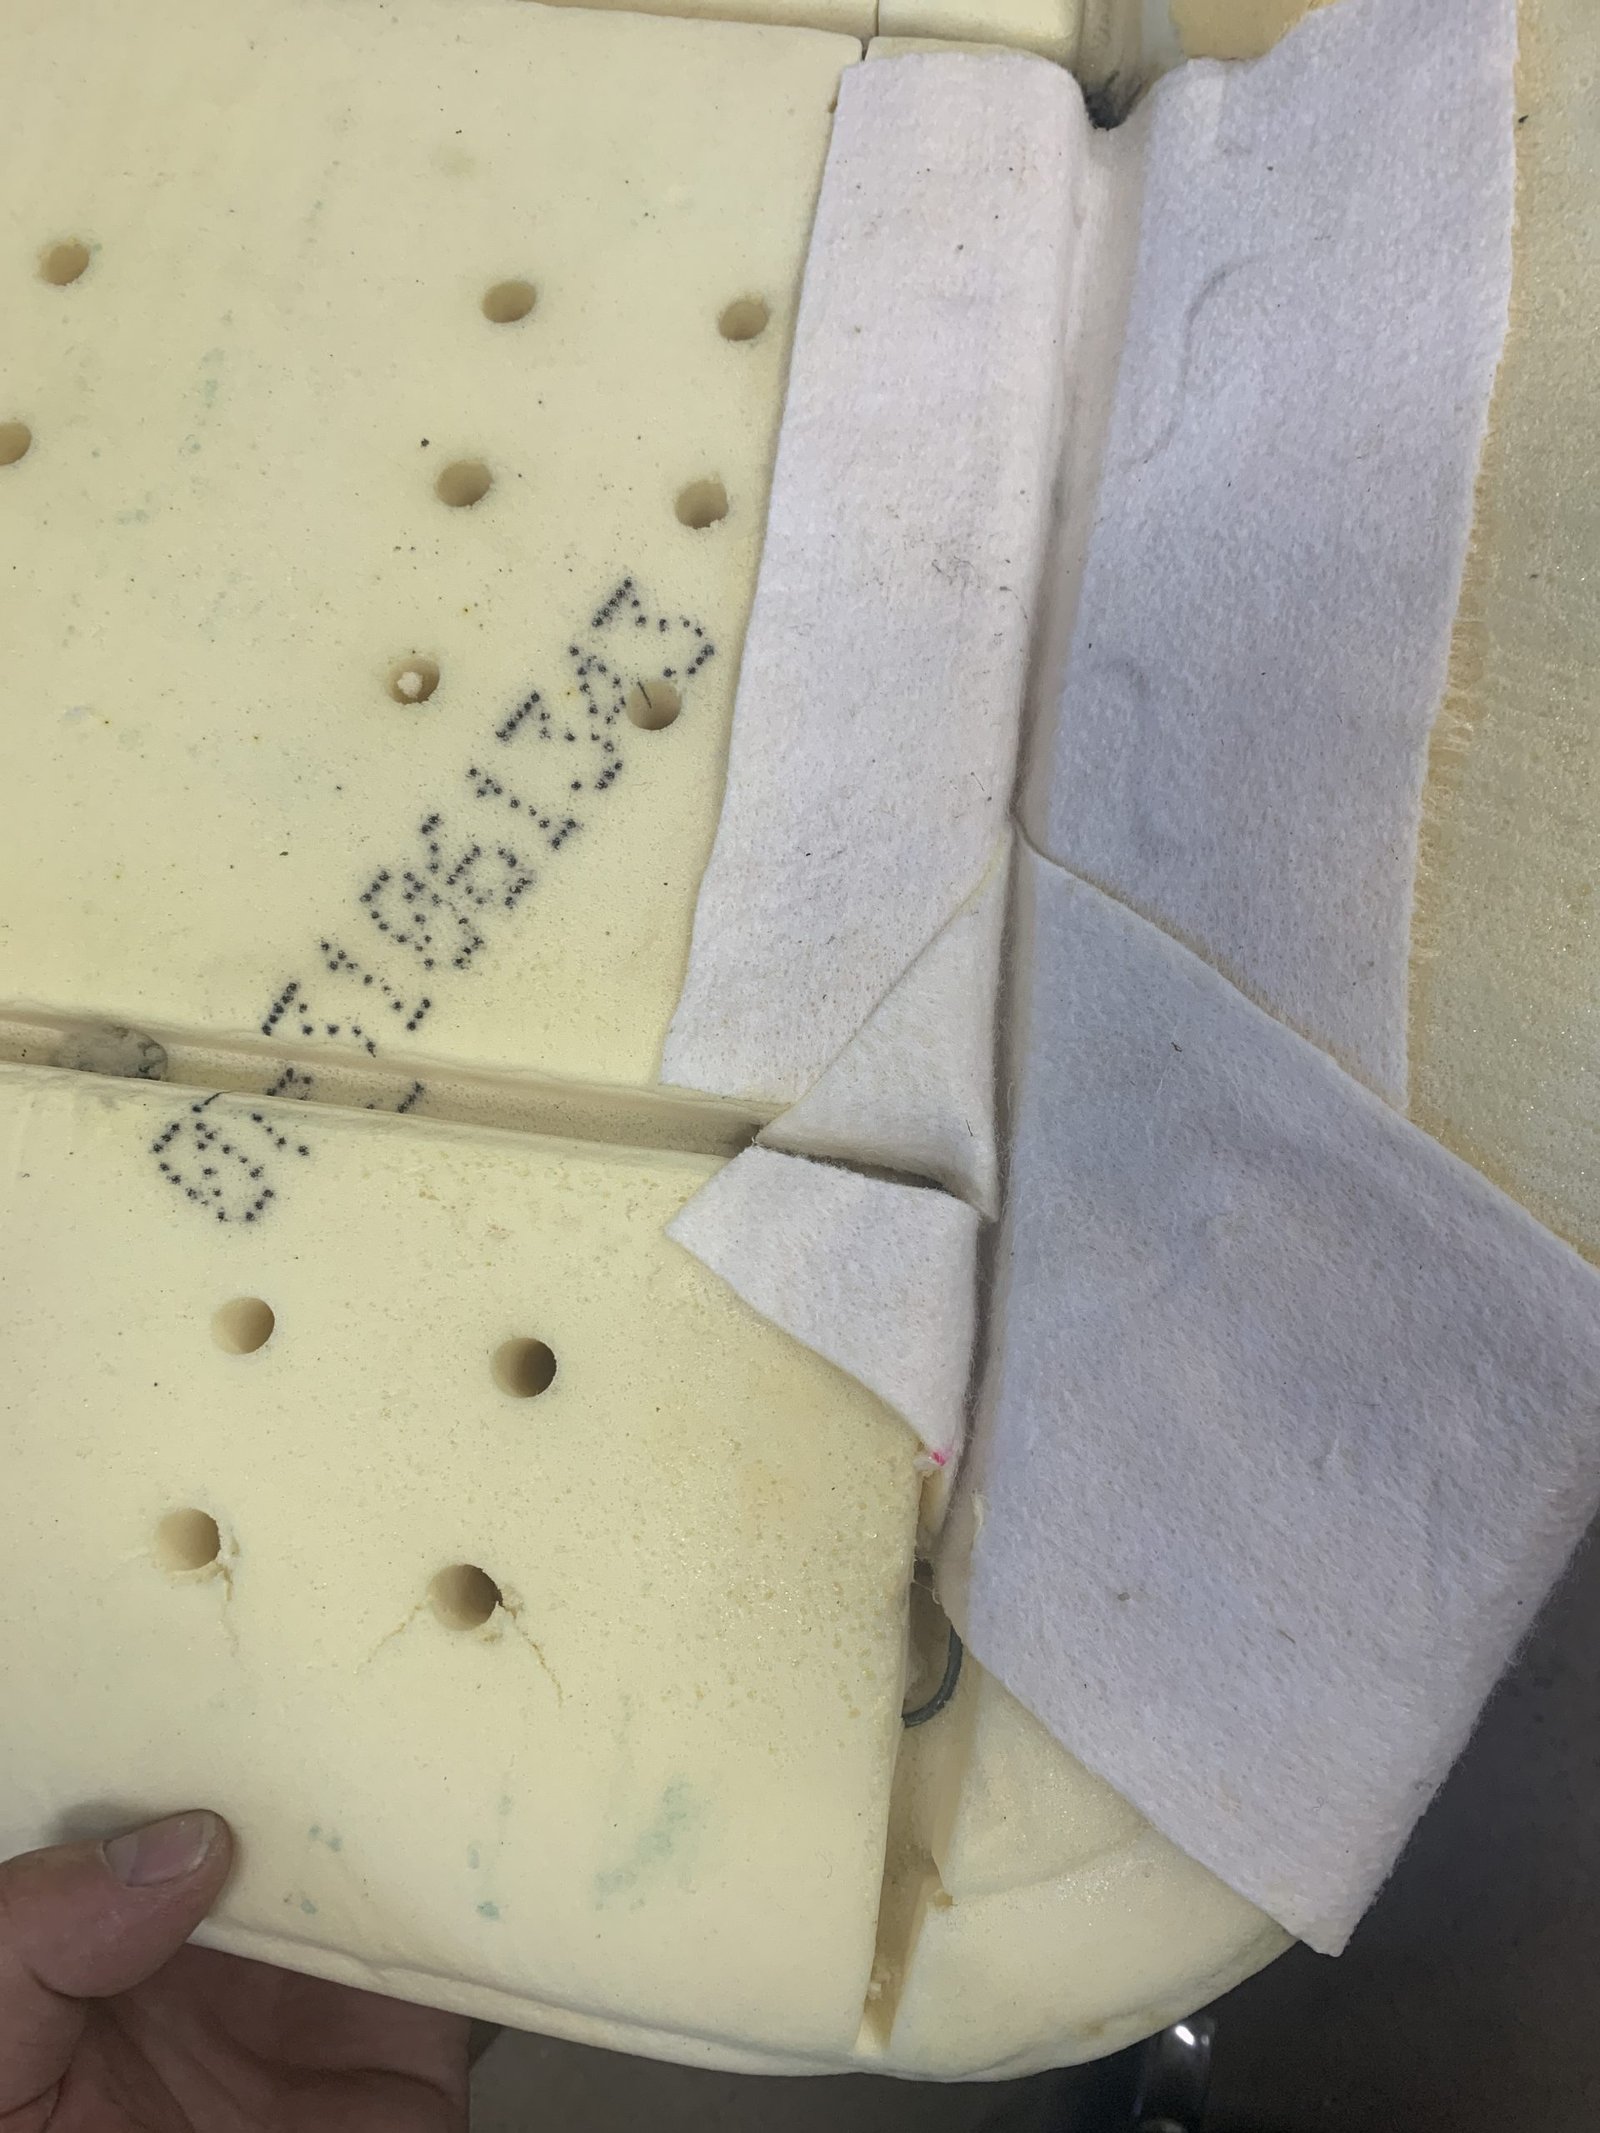
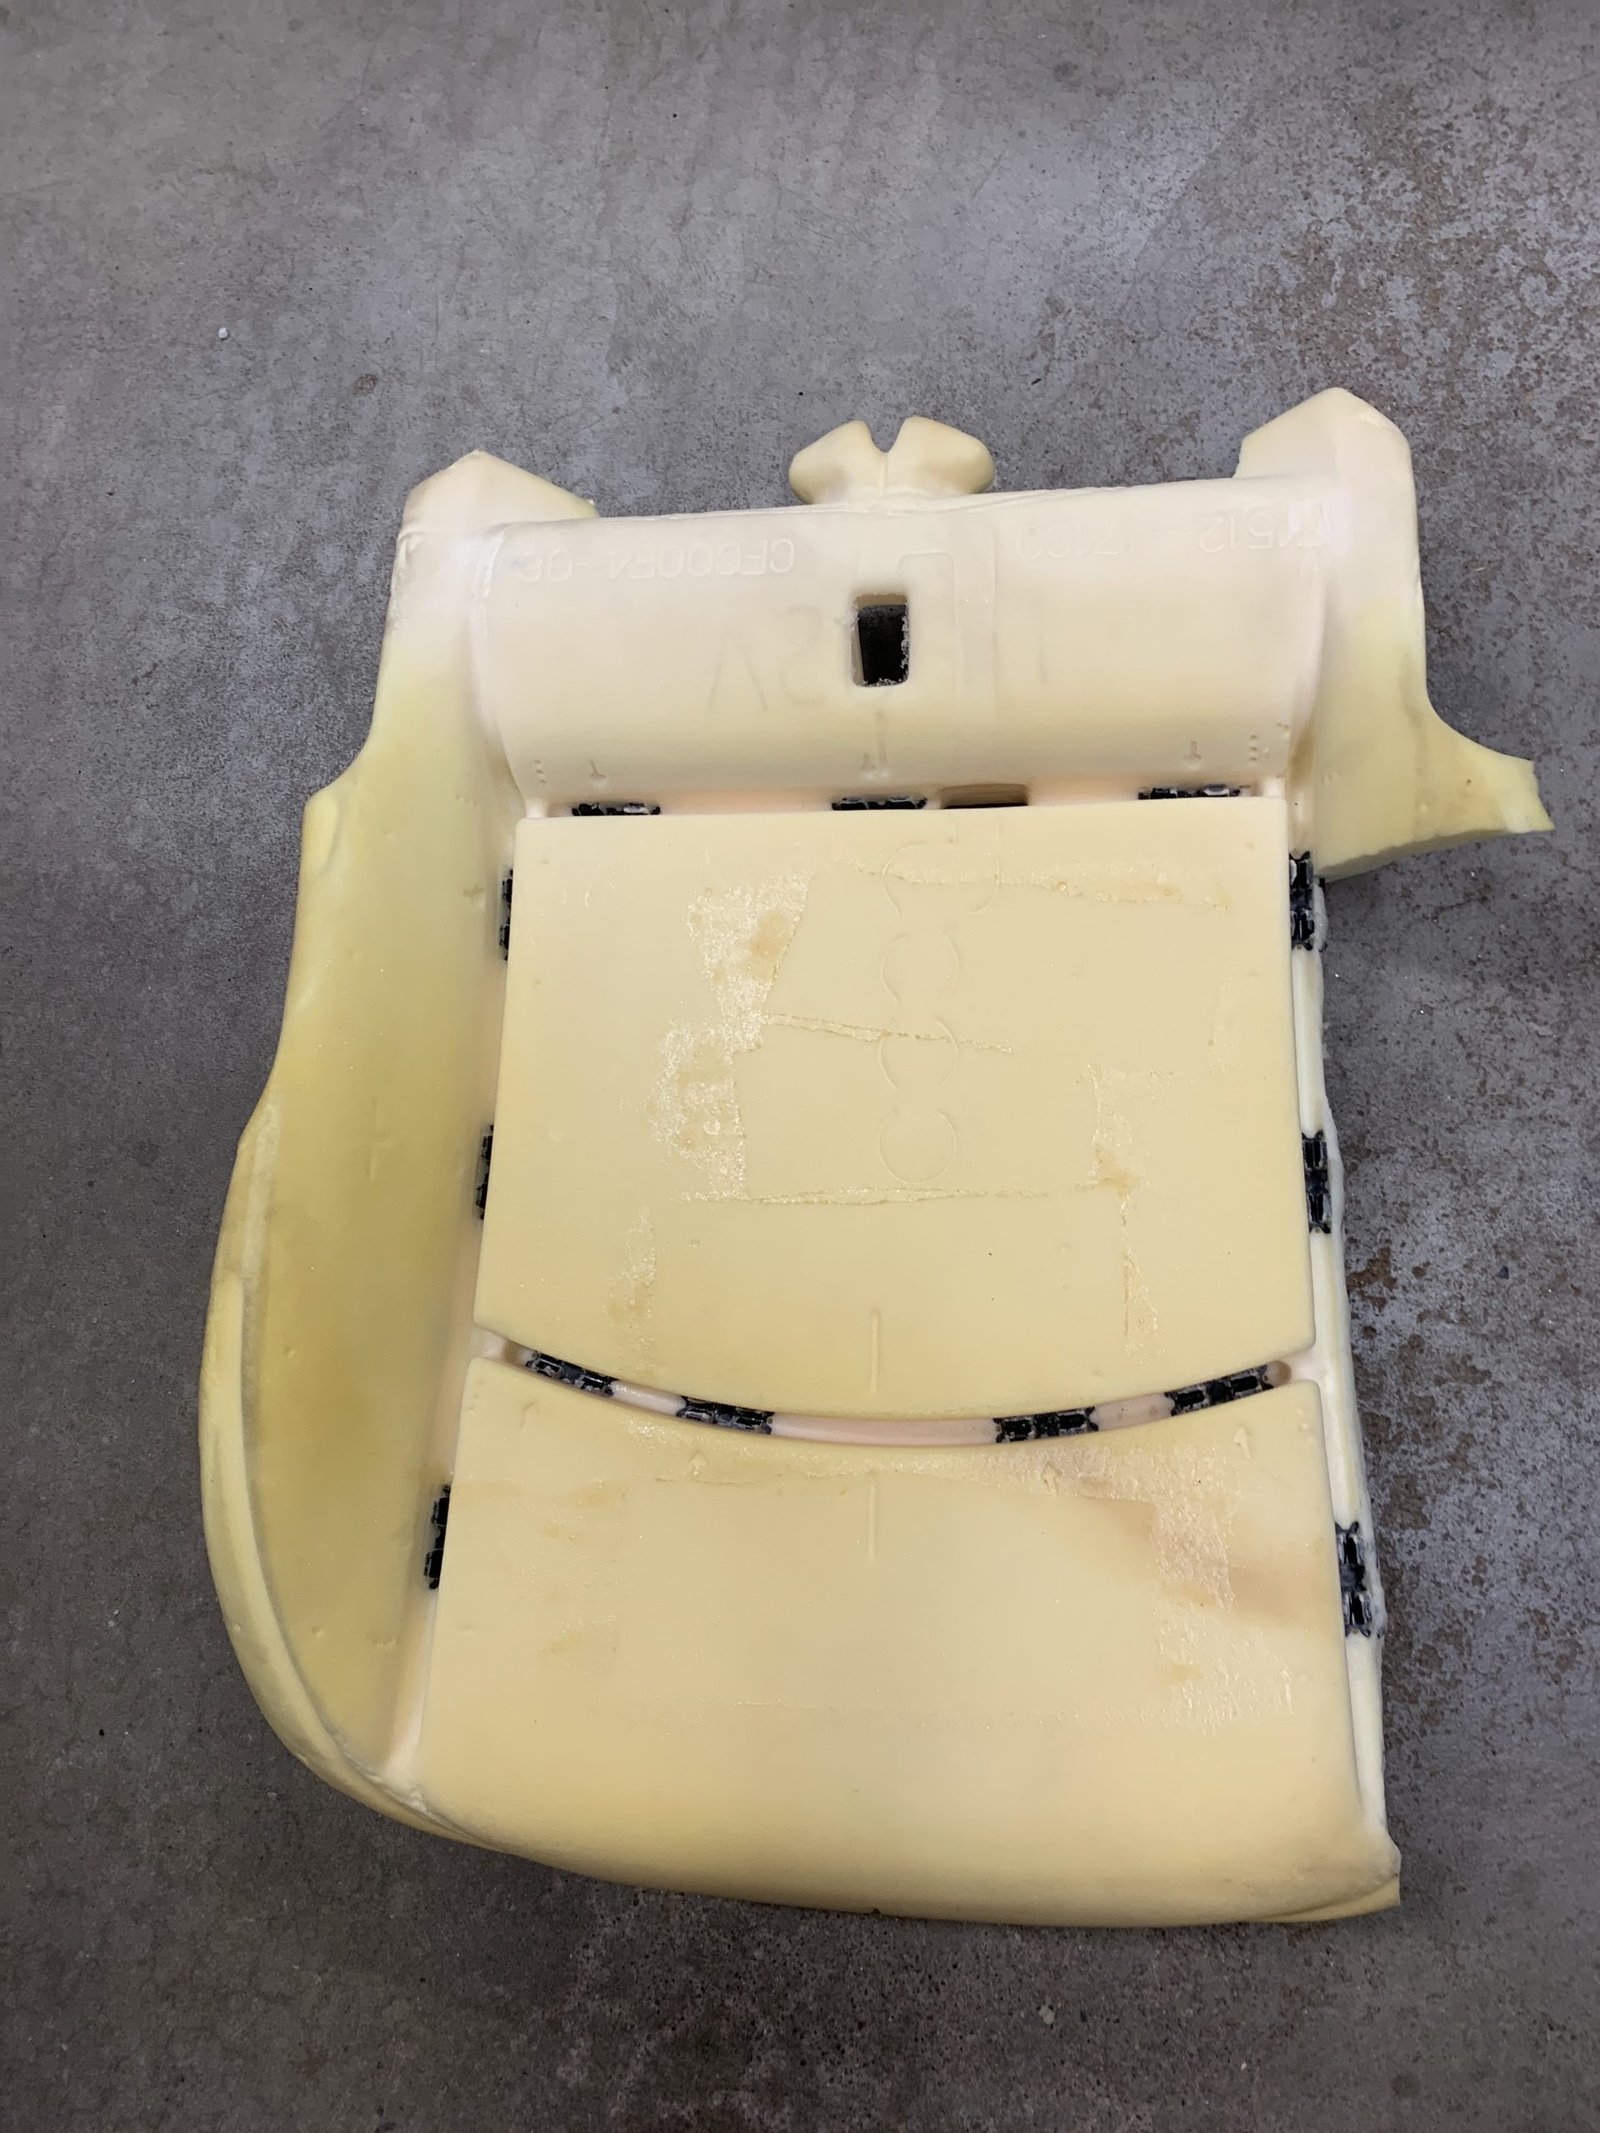
The basic process is to remove and disassemble the seat. Remove the cover from the cushion and then cut out areas that are degraded and softer than they should be. I had a spare cushion from another vehicle that I could cut up and use “parts” from. The primary piece was then glued in and fabric glued above and below the splice to give additional support and strength to the repair. I used 3M Insulation Spray Adhesive 78 to hold things together. The donor bolster was not from the same type of vehicle and there is usually some trimming required to match the old cushion’s contours.

The repair took longer than I expected it would, but I think the results were quite good and should last a long time. A new cushion was available for about $200 and would have required the same amount of disassembly and reassembly. The donor cushion was free and the additional time to cut out and splice the old cushion was the only real difference in procedure.